Class Valentines
Posted: January 11, 2012 Filed under: Arts and Crafts, Holidays Leave a commentLittle heart erasers from the Dollar Spot at Target + free printable (HERE)

= fun, easy class valentine treats for the boys’ classes:

Project Life 2012
Posted: January 11, 2012 Filed under: Project Life, Scrapbooking | Tags: nurture: creativity, nurture: organization 1 CommentAs I get ready to finish up Project Life 2011, I am immensely grateful for all the memories, keepsakes, and photographs housed within its pages. Having lost all the photographs of my kids from their infancy to now stored on our old computer, a devastating loss, the only photos I have of the last year are those printed and inserted into Project Life. A simple system of memory keeping: take pictures, print out, insert, journal. Repeat. It has singlehandedly changed the way I look at daily life: I have learned to see the joy in seemingly mundane daily tasks, I have learned that those small, everyday moments really do make up the fabric of our memories, our lives. I have become much more motivated to carry my camera around and USE it. I have found myself in situations where I think: “that is SO project life-able”. I cherish my kids’ artwork and love that it can easily be included. By far the biggest “gift” of Project Life: instead of a pile of photographs, collection of scrapbook papers and embellishments, and mental notes as to what to do with it all, I have a completed album of pictures, journaling, and memories. Done. Absolutely, wholeheartedly LOVE Project Life:

Included my goal for Project Life 2011 in the title page: “Document more, forget less, and cherish it all.” Done.

Before embarking on Project Life 2012, I needed to de-clutter, organize, and rethink my approach. While I would love to have a dedicated crafty magic space in the house (aka. an office), it’s just not feasible. Most of my paper goodness lives in the garage, along with a table that lies unused. While I appreciate the space in the garage, it’s not the most user-friendly, happy space in the house and it’s hard to craft in the garage while the boys run around inside the house, destroying everything in their path. As a result, I do much of my crafting IN the house at the kitchen table or in the dining room. And our dining room currently looks like this:

And my kitchen counter looks like this:

Determined to organize the goods, purge the things that have gone unused for months, and in some cases years, and develop a system that allows me to easily transport goods from room to room, I bought these bad boys from the dollar section at Target. And some clothes pins after seeing the amazing, fantabulous Mish Mash Blog. Goal: to streamline and organize the above chaos and madness.

Voila: the end result. You can SEE the actual dining room table. First time in months. The bare essentials.


White tub. Journal spots and labels of many different varieties:

Red tub. Letter stickers, embellishment stickers, and cup of pens/scissors/etc:

Smash book tub. I plan to use the Smash book for One Little Word, as well as incorporate the embellishments into Project Life. Everything needed in one spot:

Revamped, organized Project Life station on kitchen counter. Bring it. Ready to go…

Christmas Card Mini-book
Posted: January 9, 2012 Filed under: Goals, Holidays, Scrapbooking | Tags: nurture: creativity, nurture: organization Leave a commentSuper simple solution to make all the photo cards we received this Christmas into a keepsake booklet. Just punch holes, add binder rings, voila – done. I added a piece of thin cardboard to the back and a clear plastic page for the front for stability.

Last year I consolidated cards into a 12 x 12 scrapbook page but ended up losing a lot of actual card/photo. I love that the booklet keeps them all intact and doesn’t take up much space.

Simple embellishment for title/cover:

It will go in our Christmas memory box with a few other goodies:

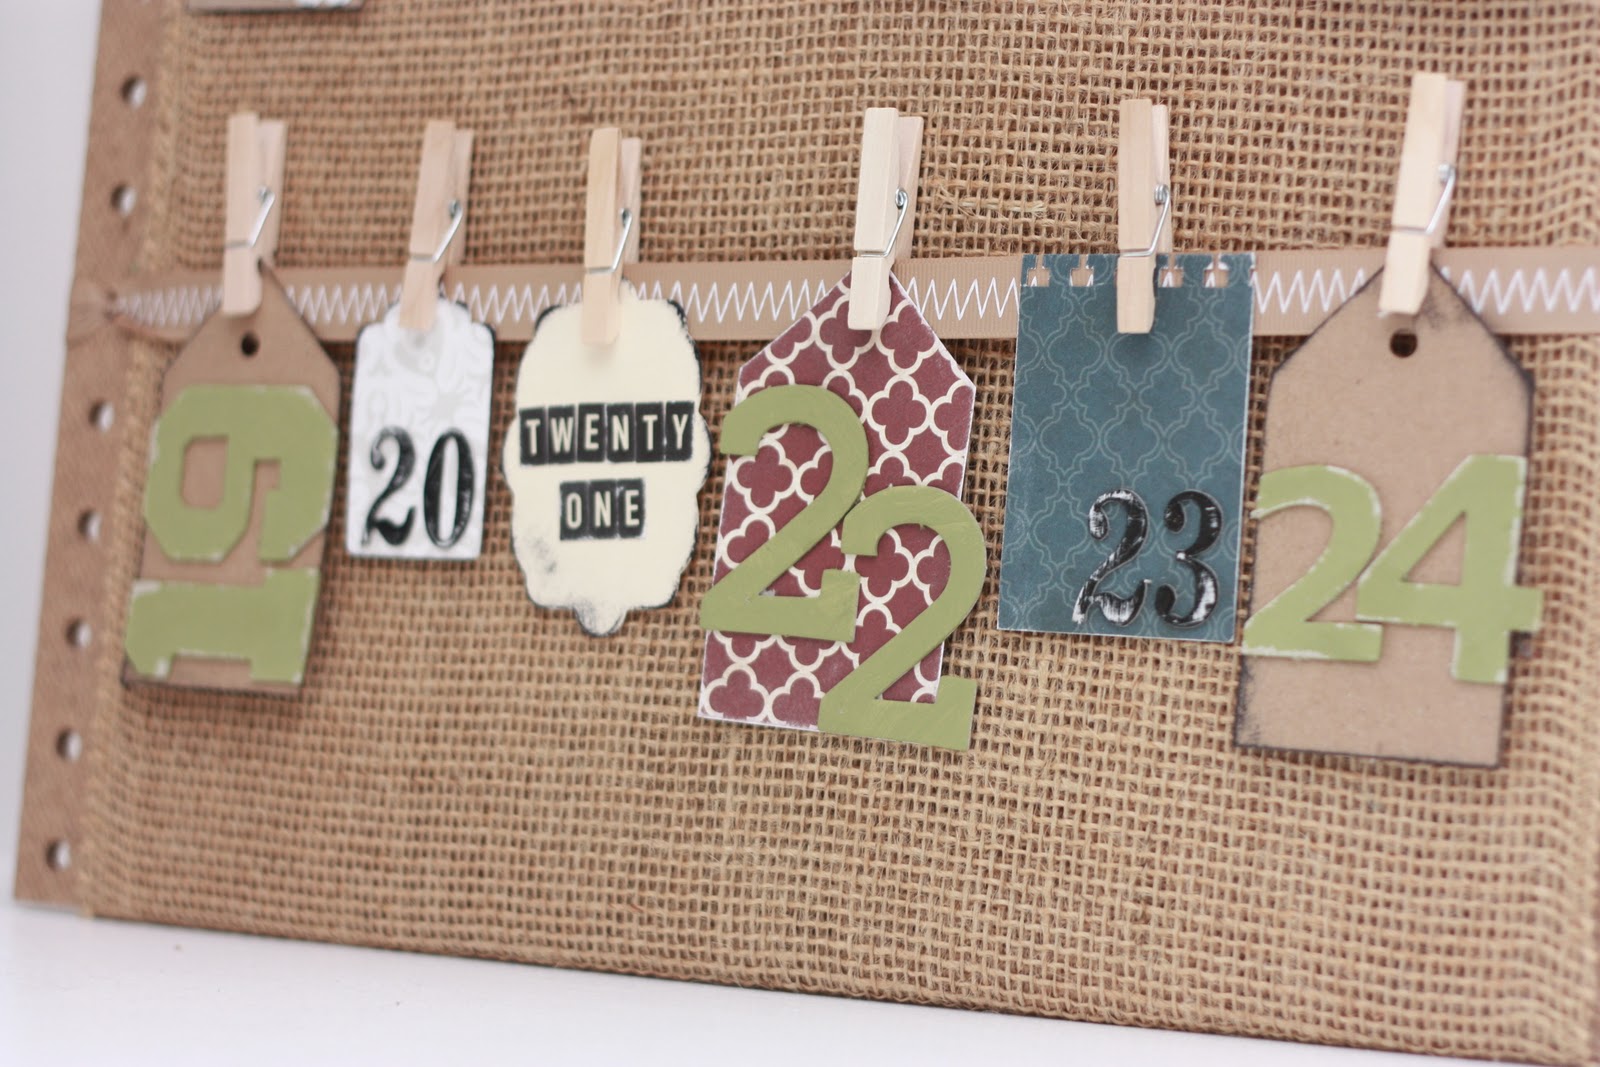
DIY Advent Calendar
Posted: November 27, 2011 Filed under: Arts and Crafts, Holidays, Scrapbooking Leave a comment |
| Remaining section of $1 scrap peg board + piece of burlap + clothes pins + various pieces of scrapbook paper = fun advent calendar |
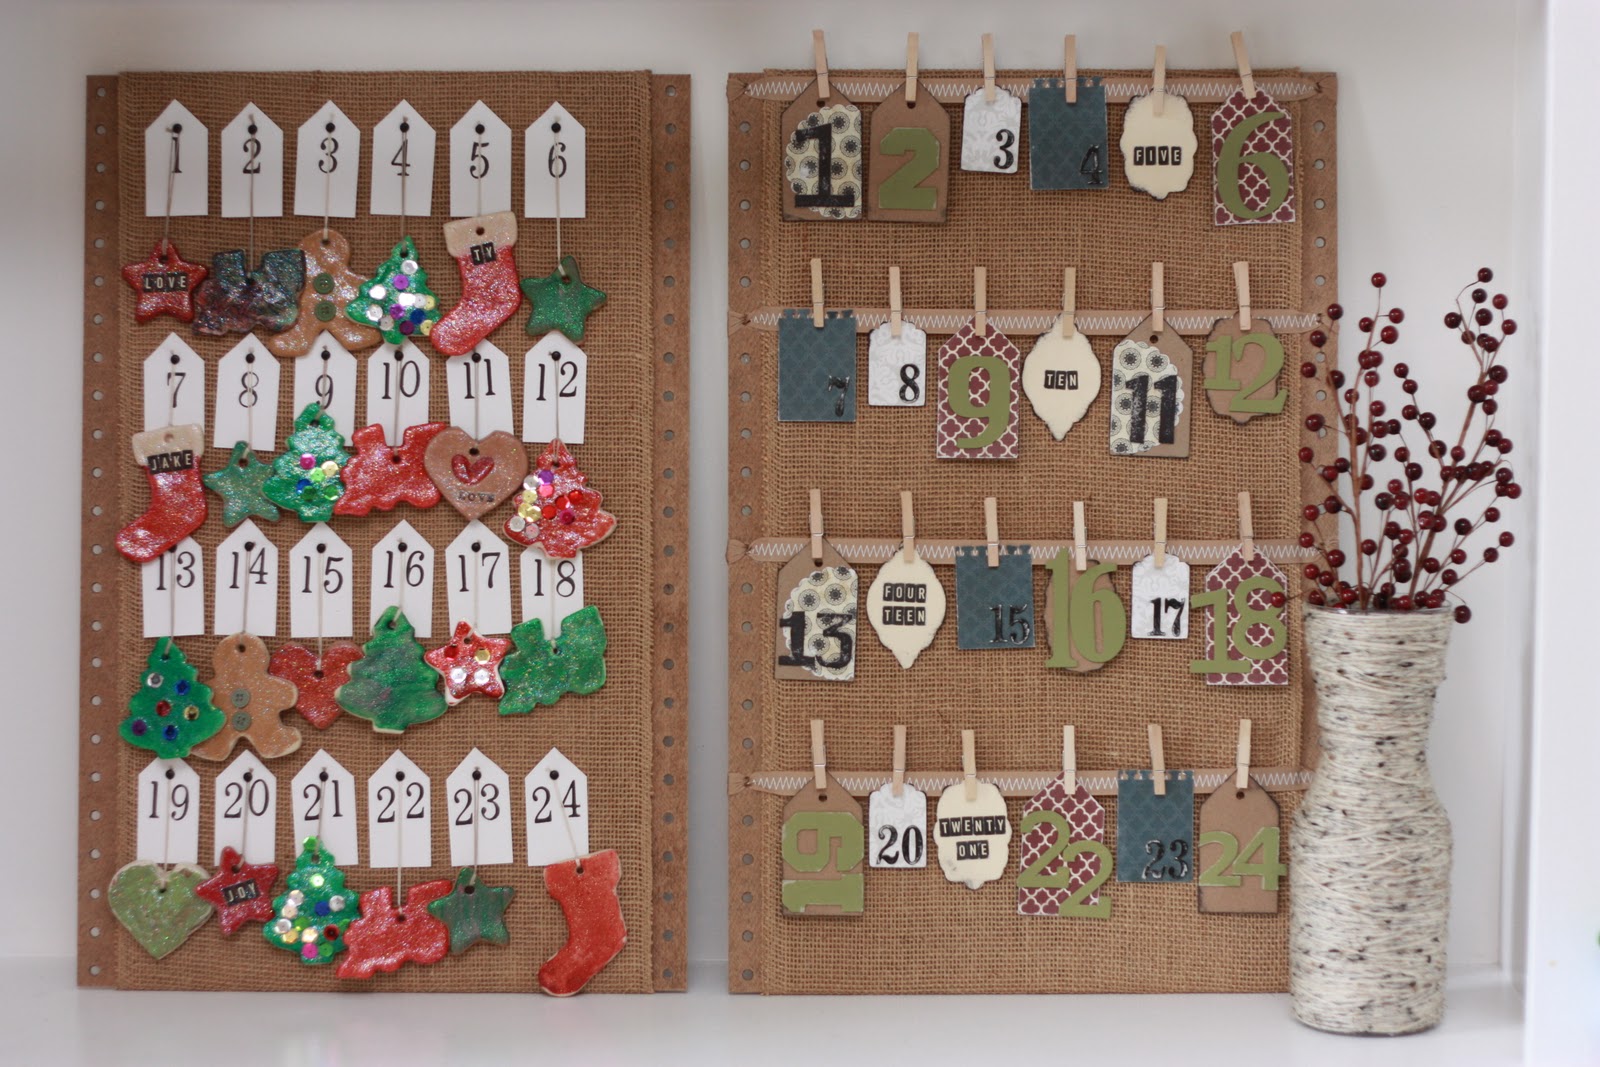 |
| The result of a fun Girls Night In crafty night and a morning of crafting with the boys…I couldn’t decide which one to use, so we’ll use them both. |
Kid Made Salt Dough Ornament Advent Calendar
Posted: November 27, 2011 Filed under: Arts and Crafts, Holidays 1 Comment |
| It makes me smile to see the boys’ handy work displayed. I am excited to put ornaments ON our tree for the first time in four years. No little toddler hands to pick them off. An ornament a day until Christmas… |
 |
|
A combination of salt dough ornaments and the handmade clay ornaments…
|
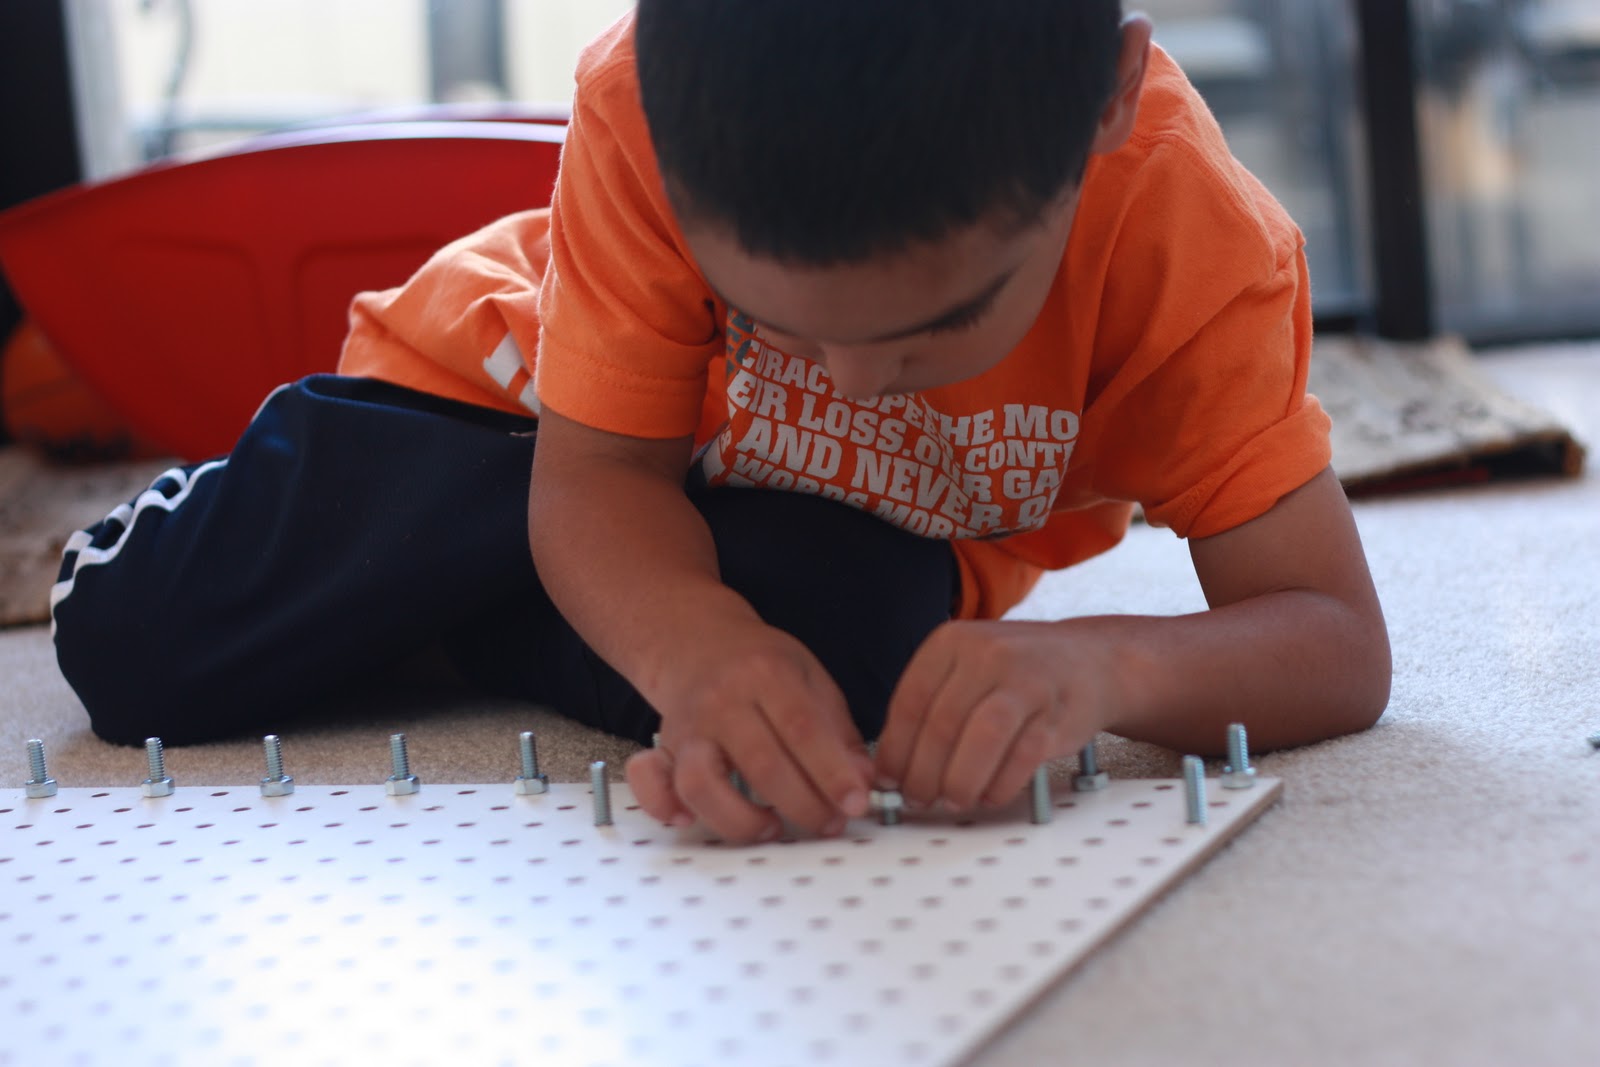
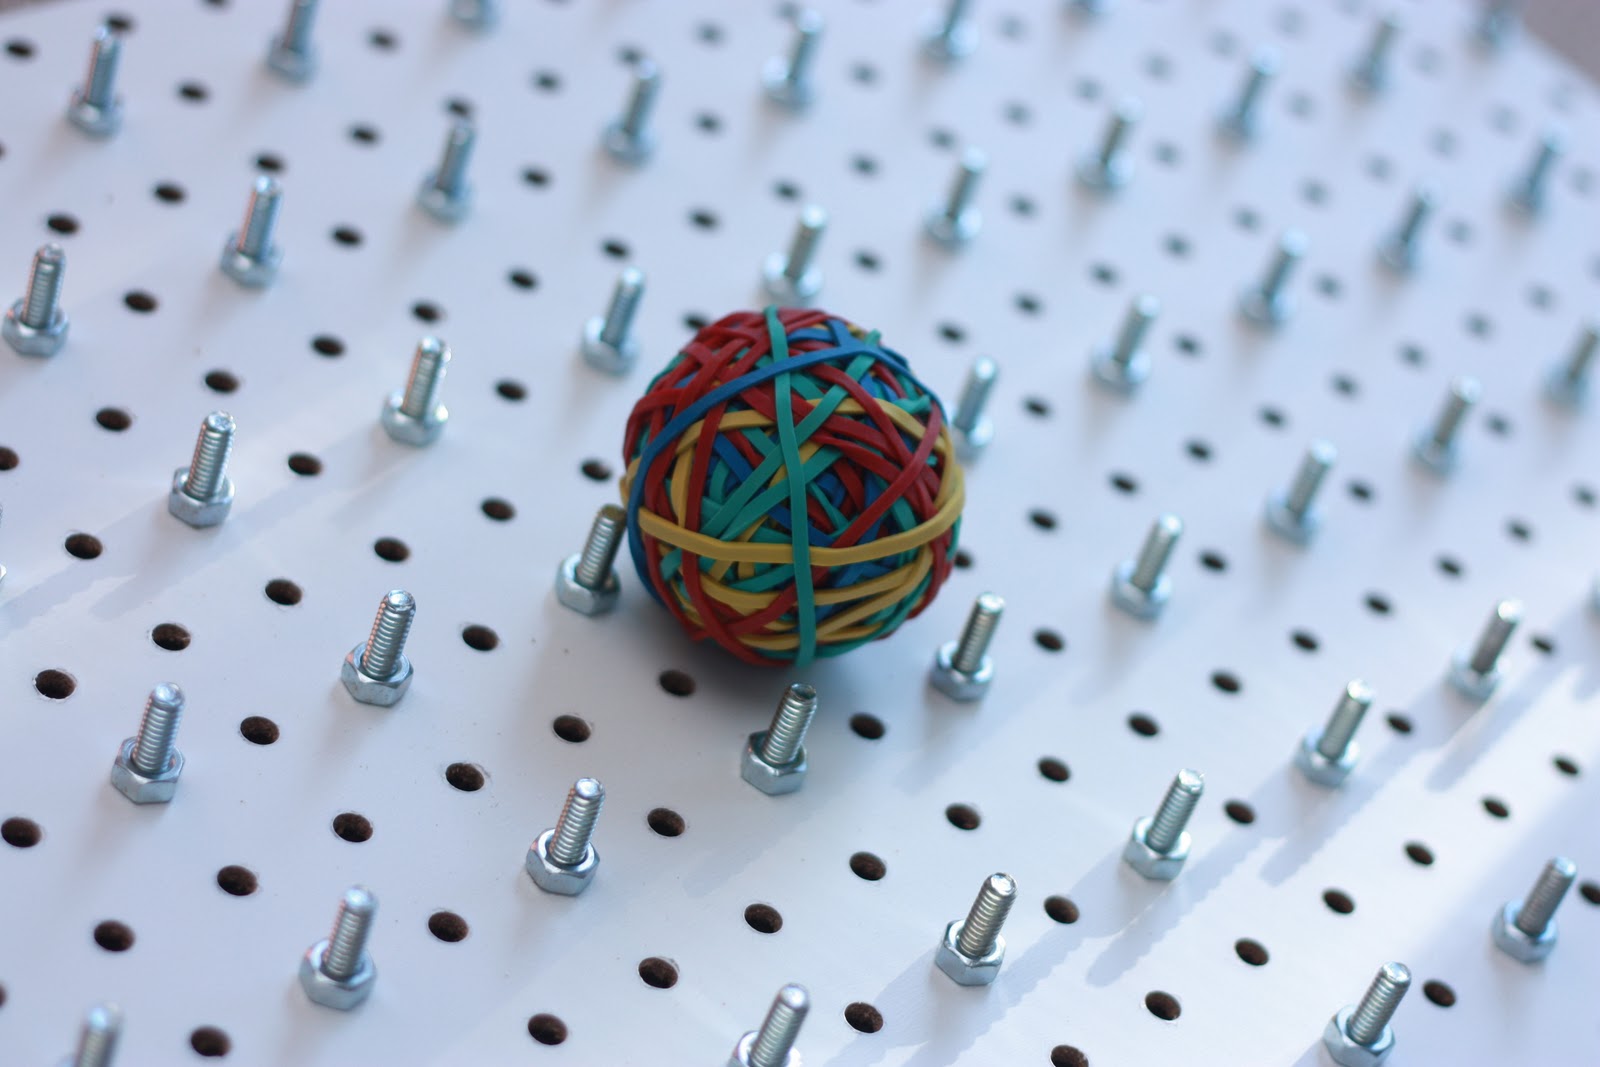
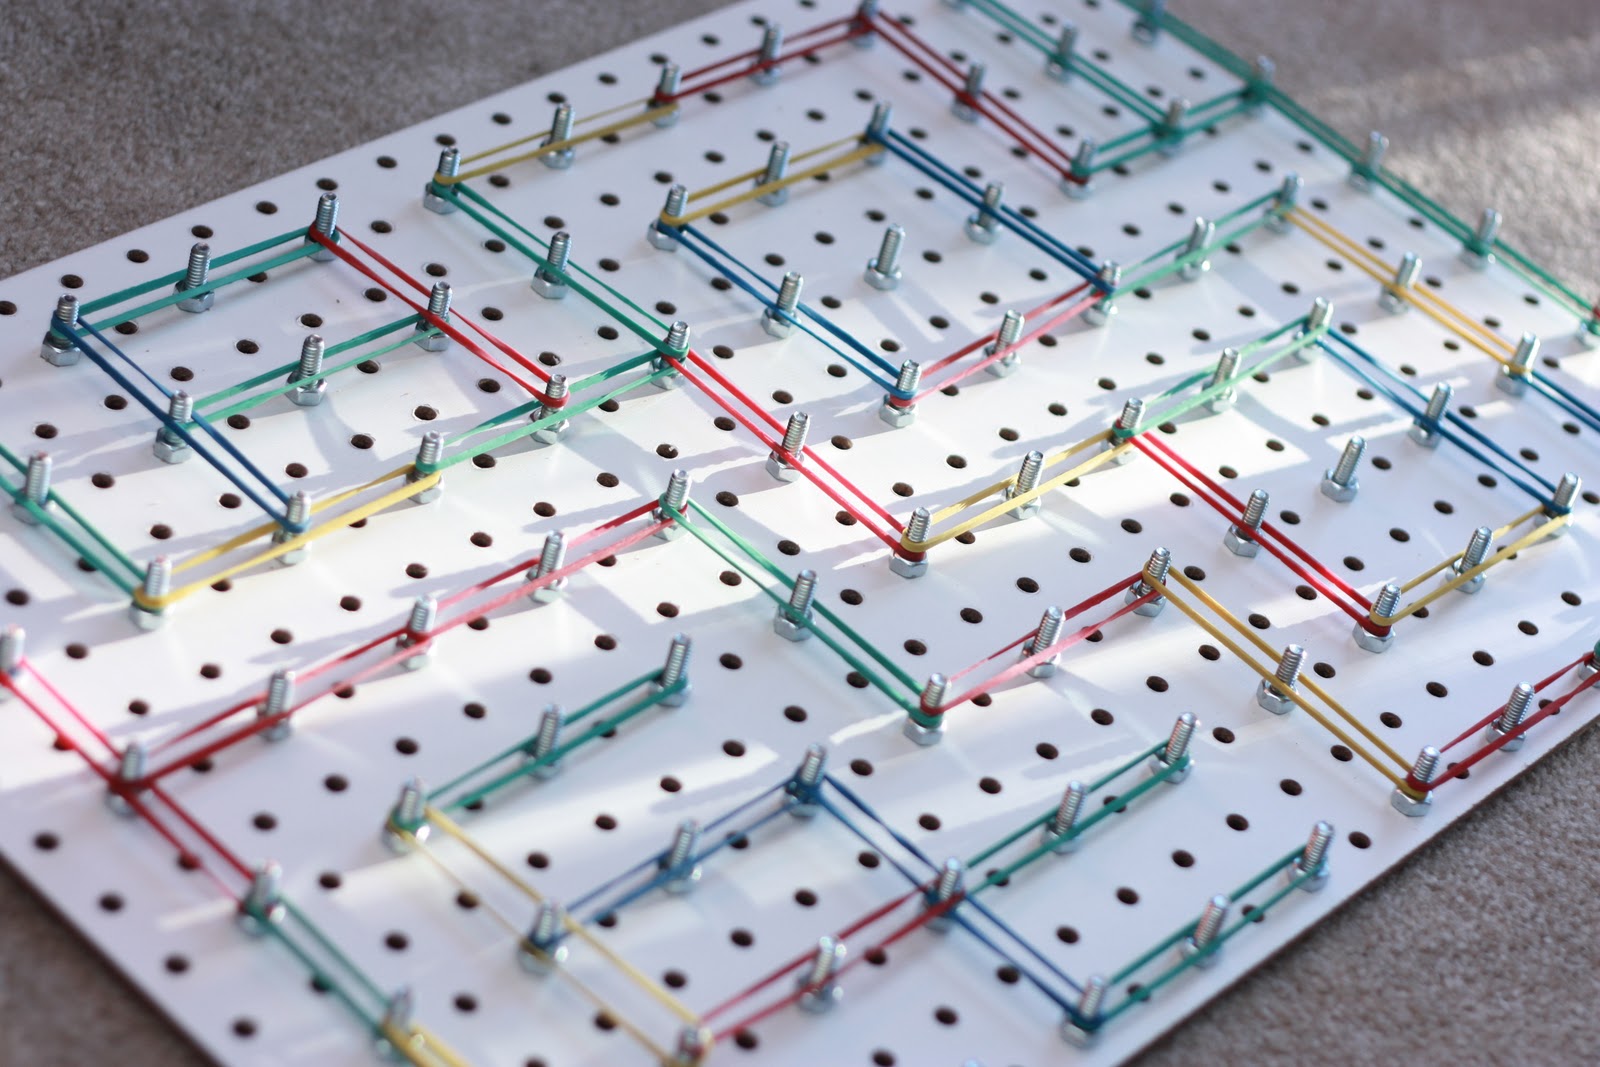
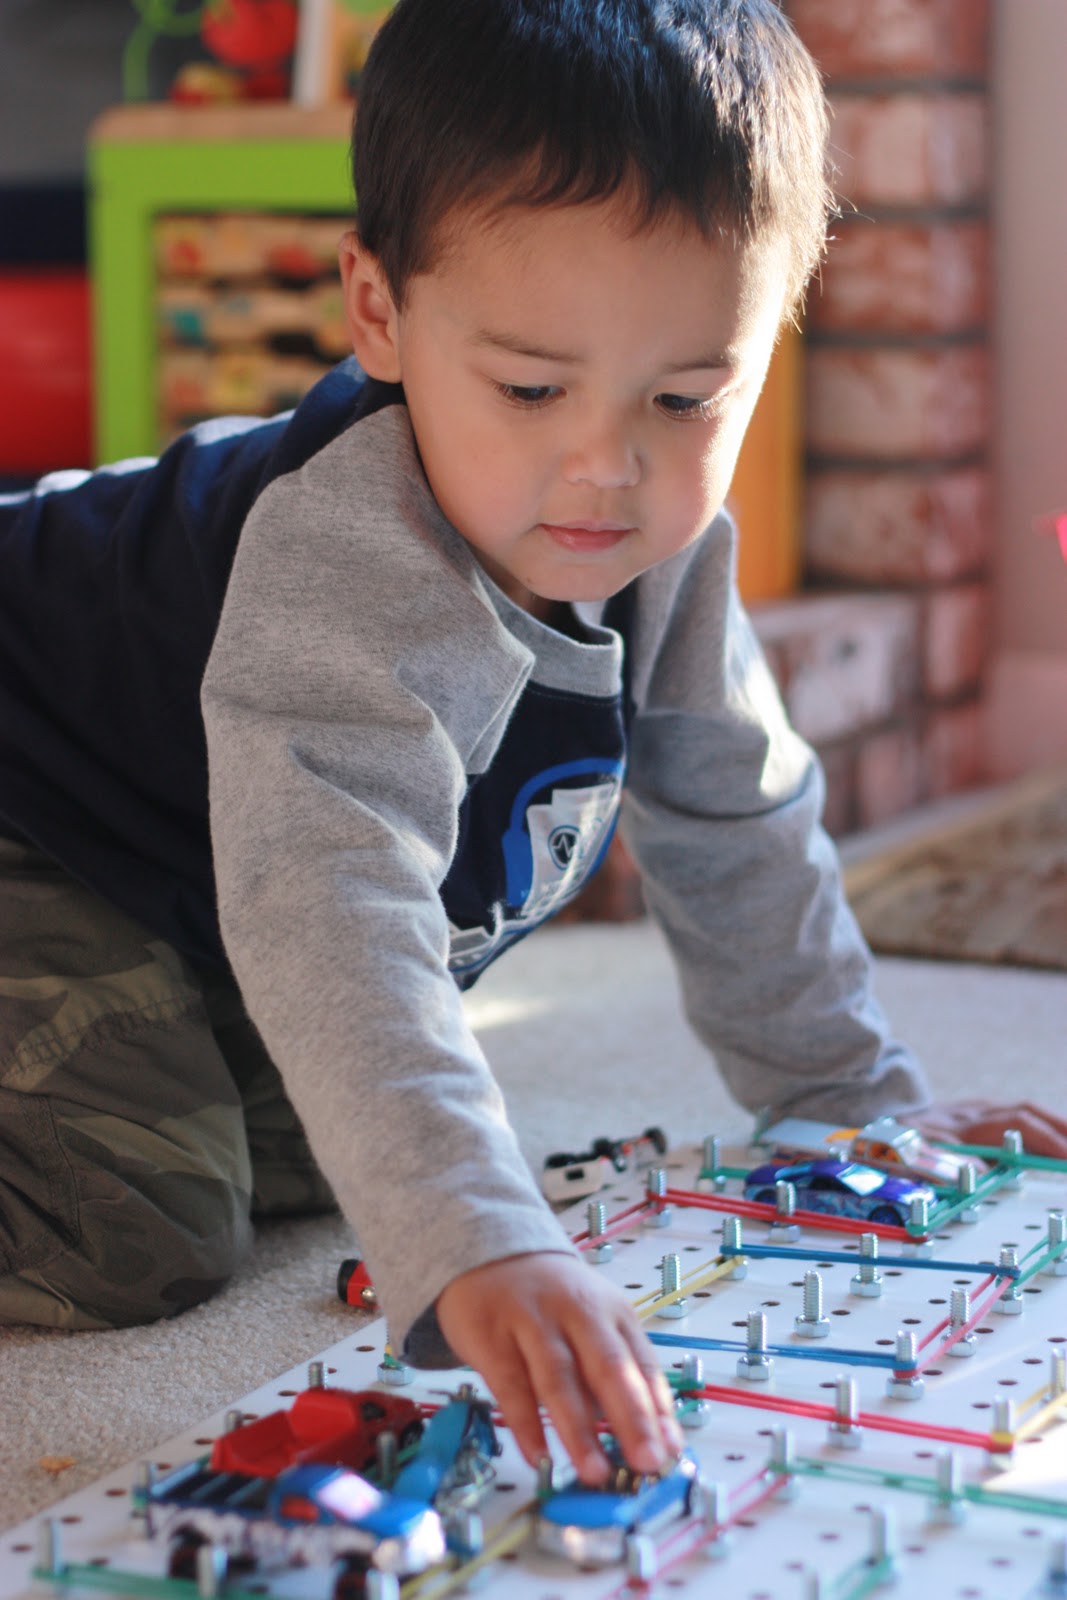
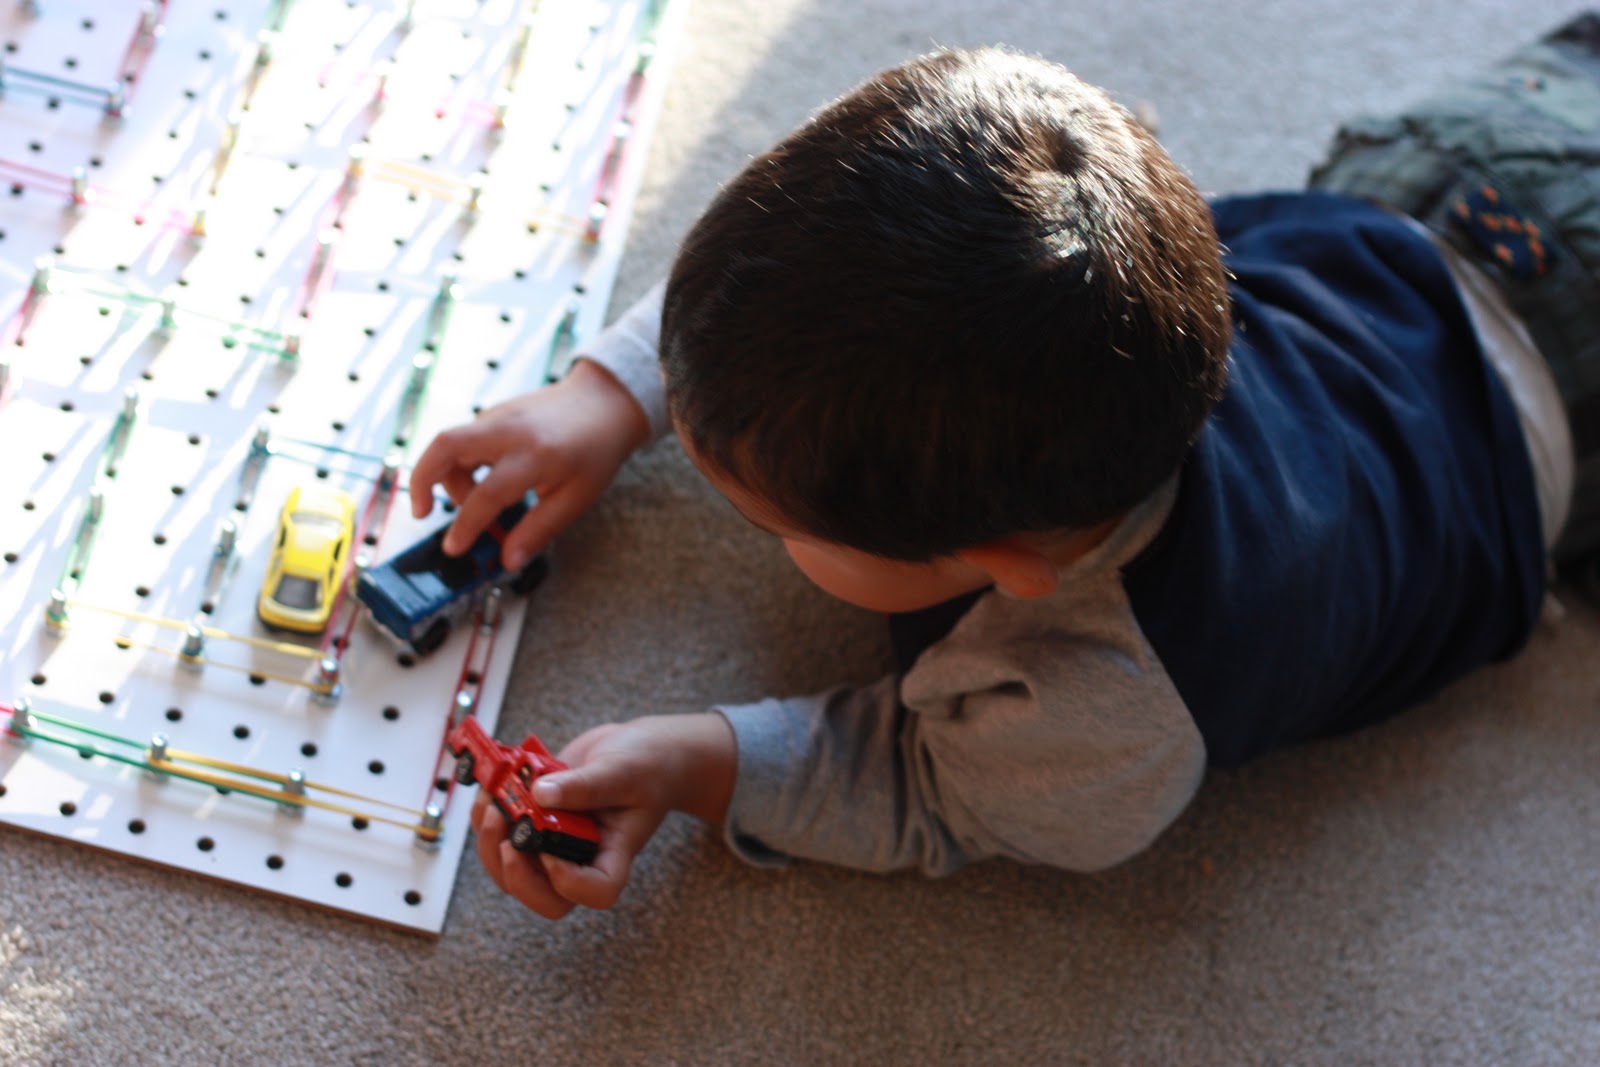
DIY Geo Board/ Car Maze
Posted: November 23, 2011 Filed under: Fun Activity 1 Comment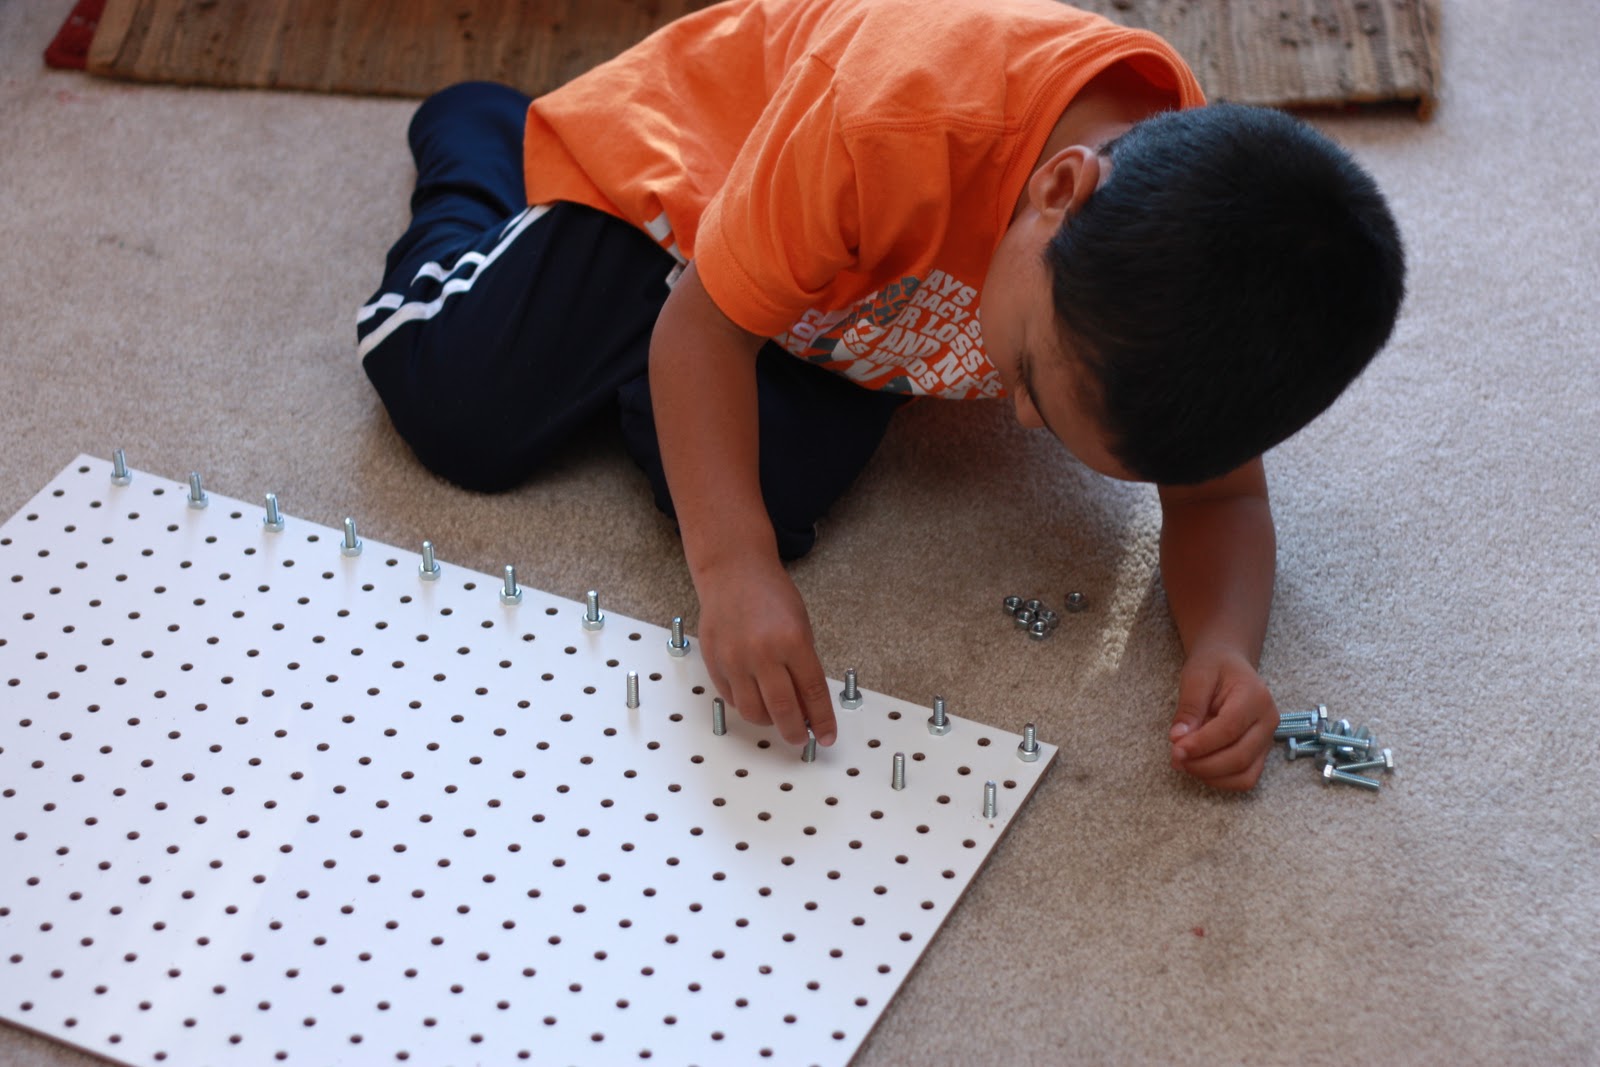


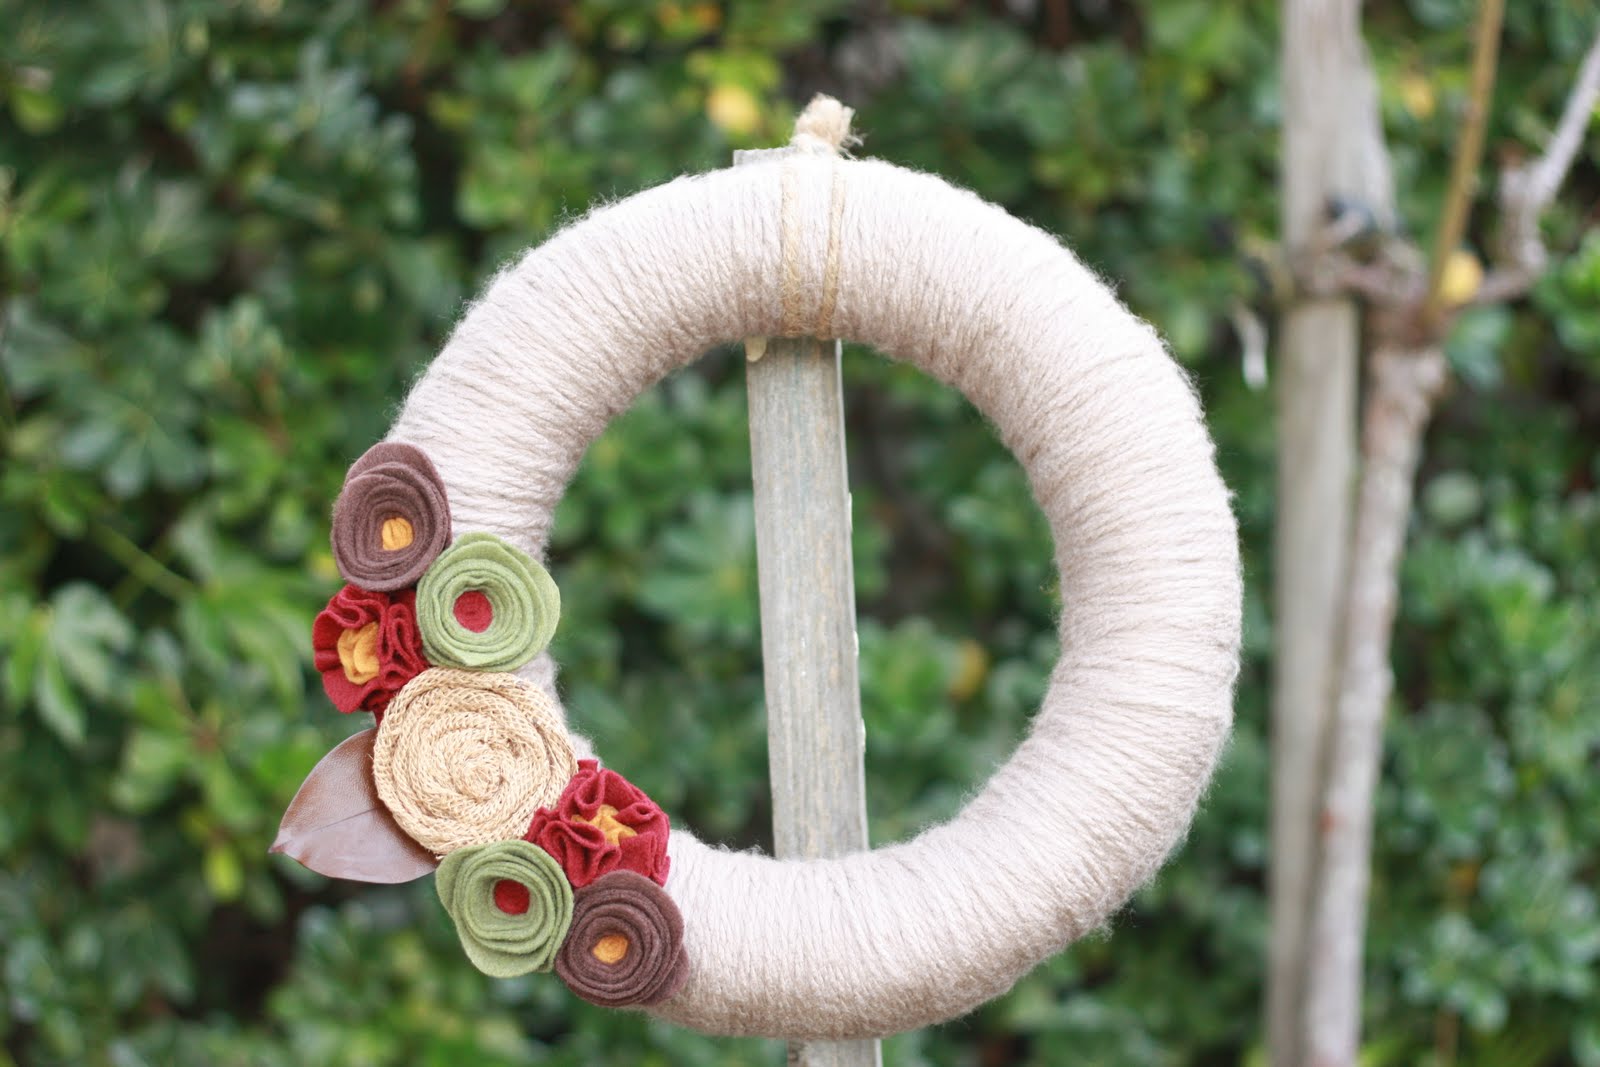
No Scrap Left Behind: Paper Plate Yarn Wreath
Posted: November 13, 2011 Filed under: Arts and Crafts, Holidays 1 Comment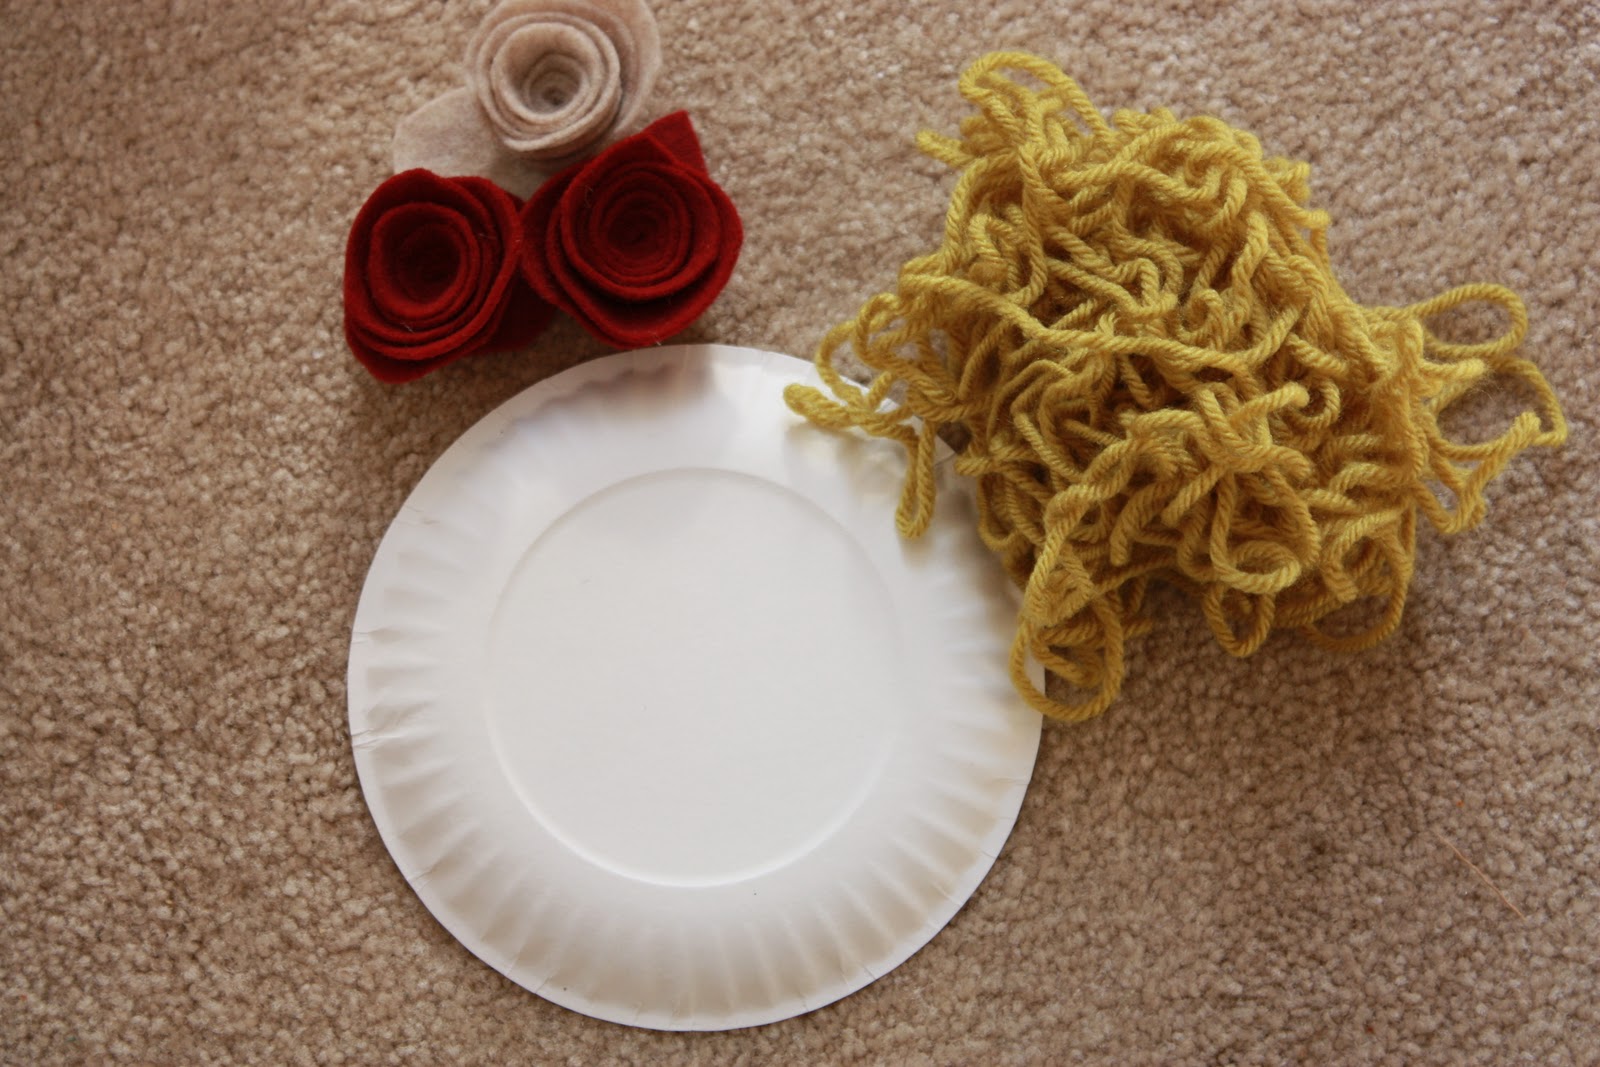 |
| Scraps and leftovers from various projects this weekend + small paper plates |
 |
| Cut out the center of paper plates (I used three to make sure they would be sturdy enough to hold the wreath shape). Use a glue gun to place a small strip of glue, adhere yarn, and start wrapping. And wrapping. And wrapping. |
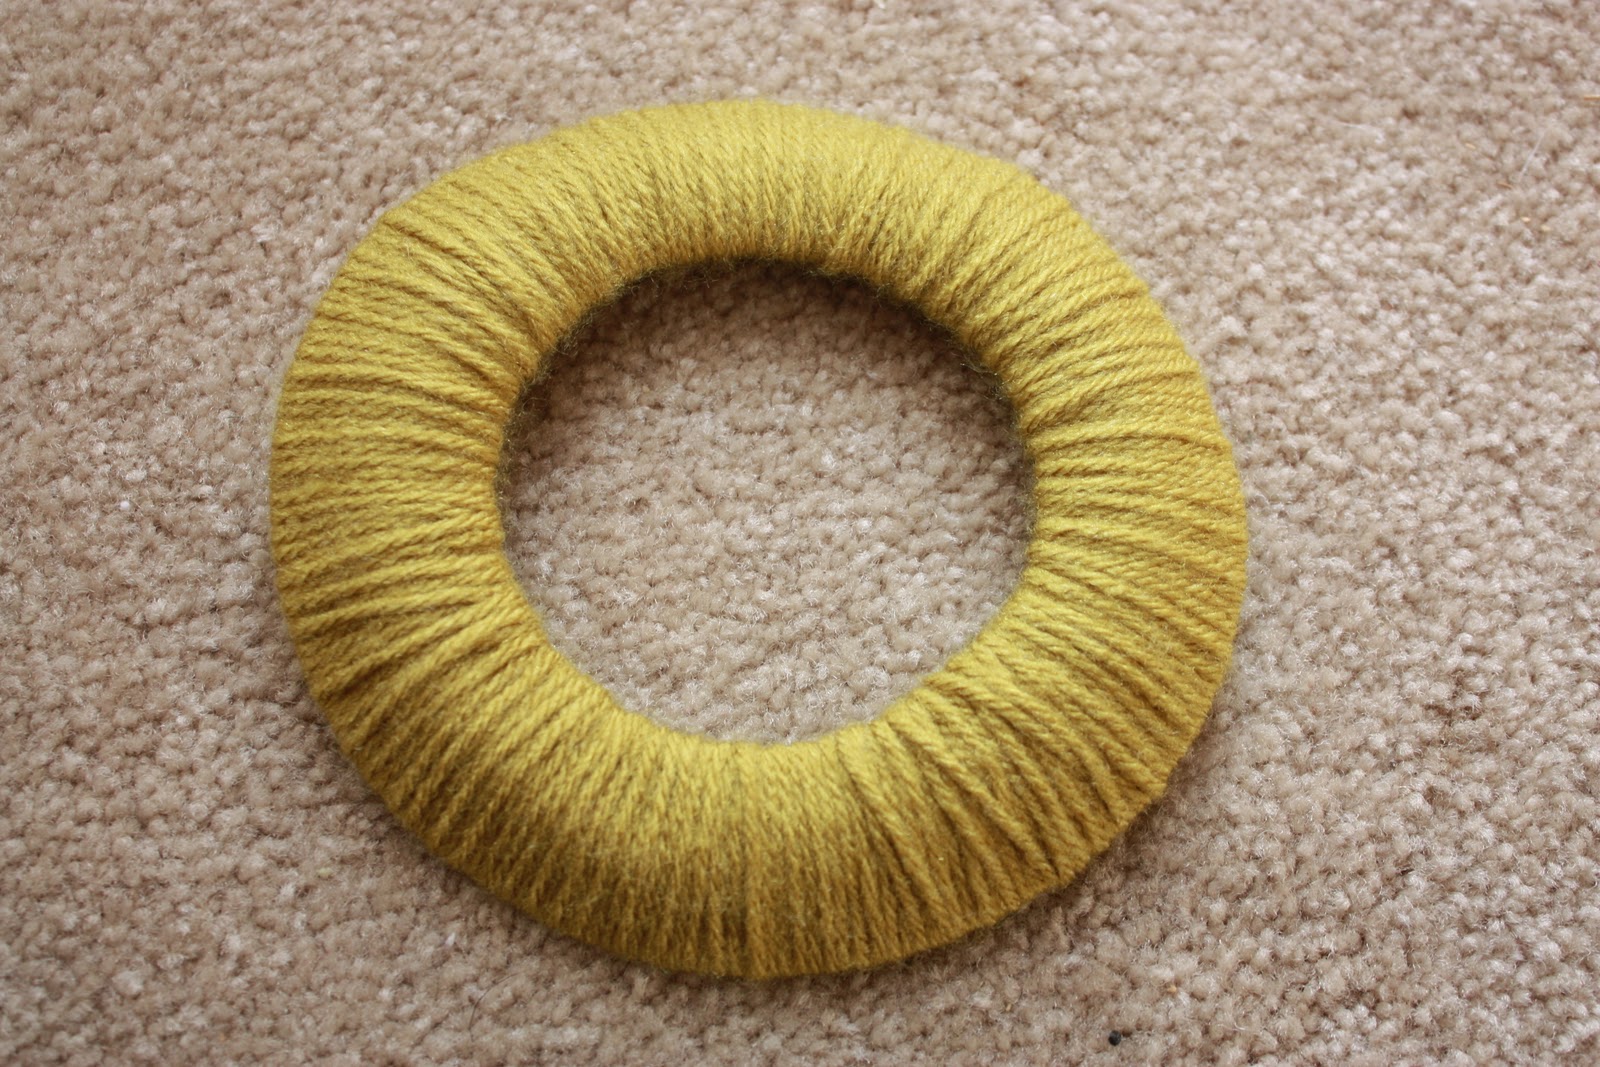 |
| Keep wrapping yarn until you have gone all the way around and covered the entire plate surface. Place a small strip of glue on the back with glue gun to adhere the final piece of yarn. |
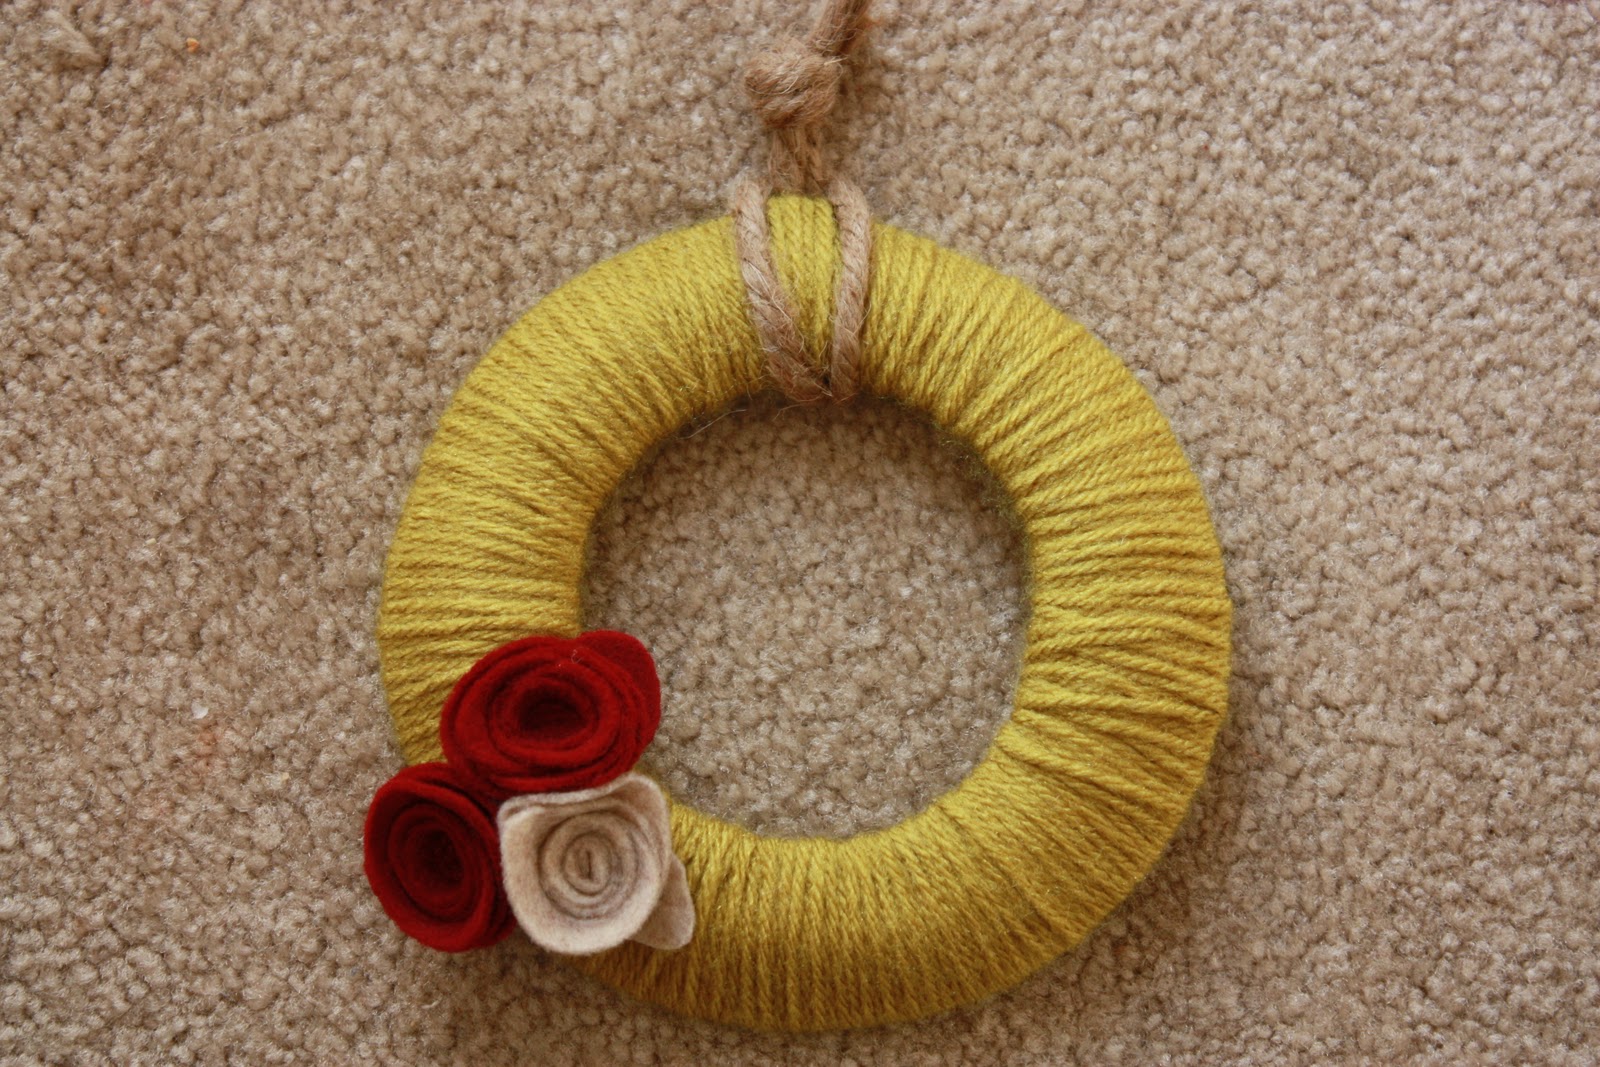 |
| Adhere leftover felt flowers. Super easy, super cheap wreath ornament. Or gift tag (you can punch out a tag using card stock and glue to the flowers). Or photo frame. Or place card setting for Christmas dinner. So many possibilities… |

Christmas Wreath
Posted: November 12, 2011 Filed under: Arts and Crafts, Holidays Leave a comment