DIY Advent Calendar
Posted: November 27, 2011 Filed under: Arts and Crafts, Holidays, Scrapbooking Leave a comment |
| Remaining section of $1 scrap peg board + piece of burlap + clothes pins + various pieces of scrapbook paper = fun advent calendar |
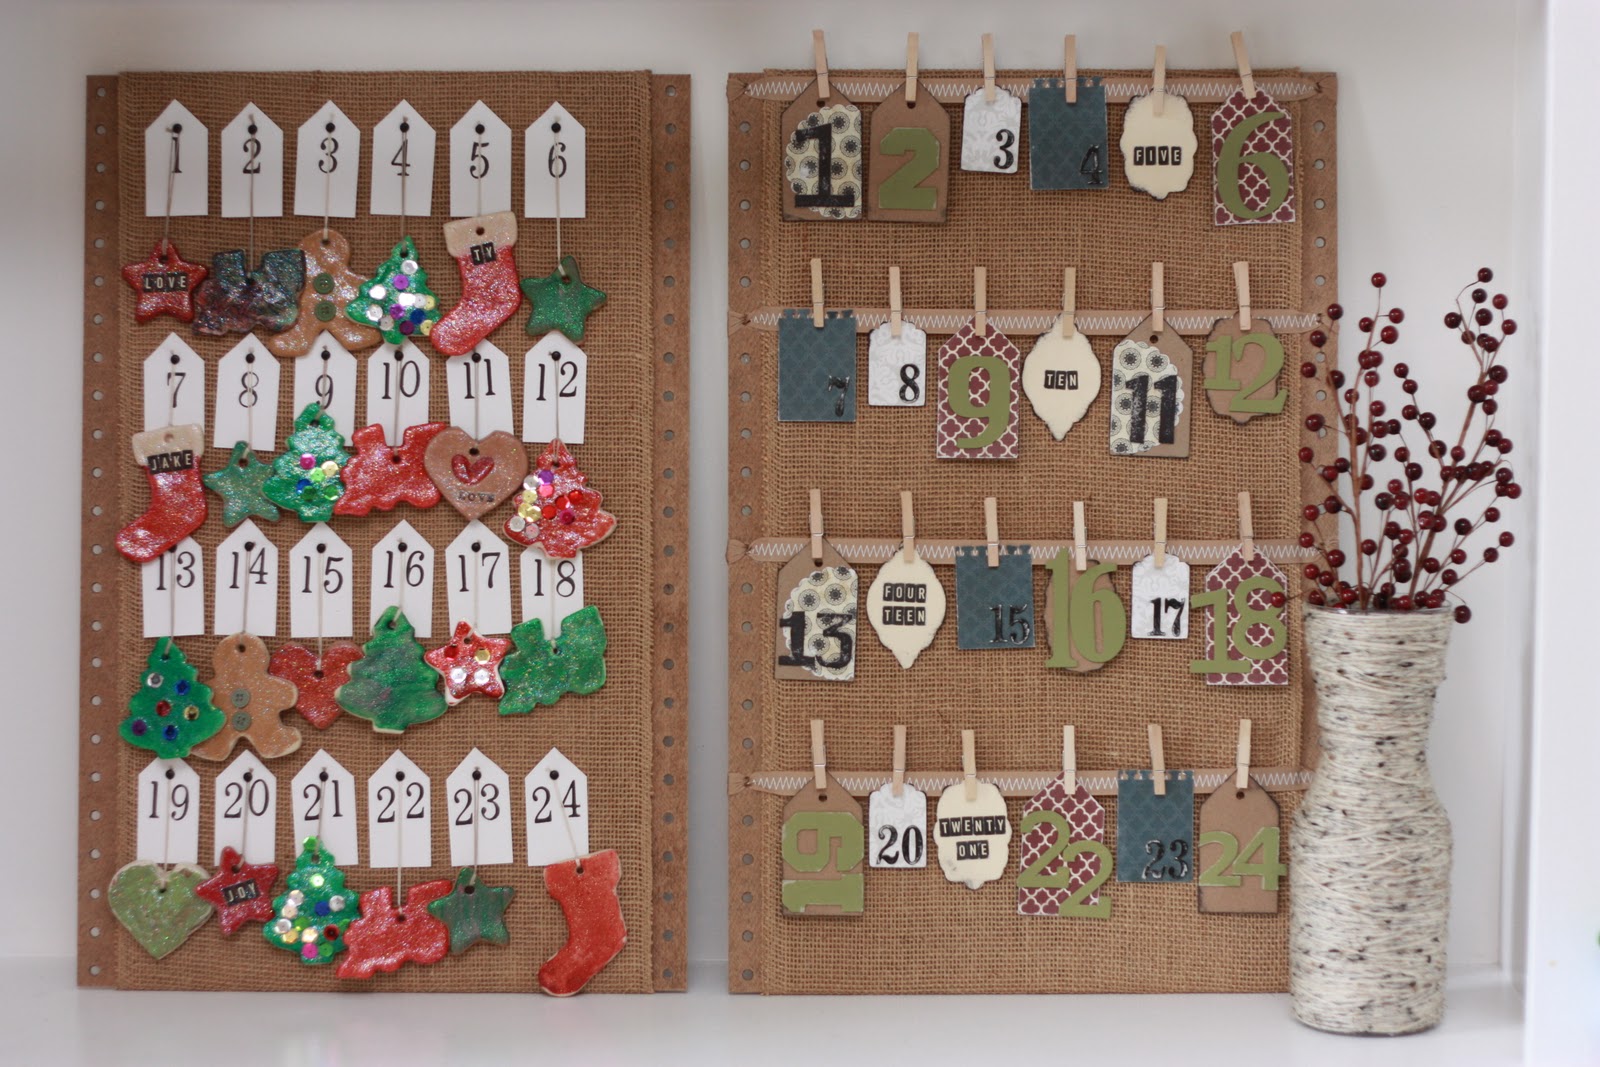 |
| The result of a fun Girls Night In crafty night and a morning of crafting with the boys…I couldn’t decide which one to use, so we’ll use them both. |
Crafty Chi Flowing…
Posted: November 12, 2011 Filed under: Arts and Crafts, Scrapbooking Leave a commentI have a few new loves in my life these days: yarn, a glue gun, felt, and Pinterest. If you haven’t checked out Pinterest **cough, cough MOM** check it out. It’s a crafters paradise with a gabillion ideas and projects (along with kiddo crafts, fashion boards, home decor ideas, and more). I noticed a surge in wreaths posted lately: felt, yarn, burlap. I loved them all. I feel a little, okay, a lot, out of my comfort zone with anything other than paper but I wanted to give it a shot. I ordered some burlap, hit up Joanns for a wreath form, felt, and a glue gun, and started in on my first wreath. First attempt:

I also bought some yarn and attempted wreath two. I absolutely LOVE this one. The different colors, textures. I ended up adding another layer of yarn around the wreath for added thickness and have since made a second to be hung on our front doors:

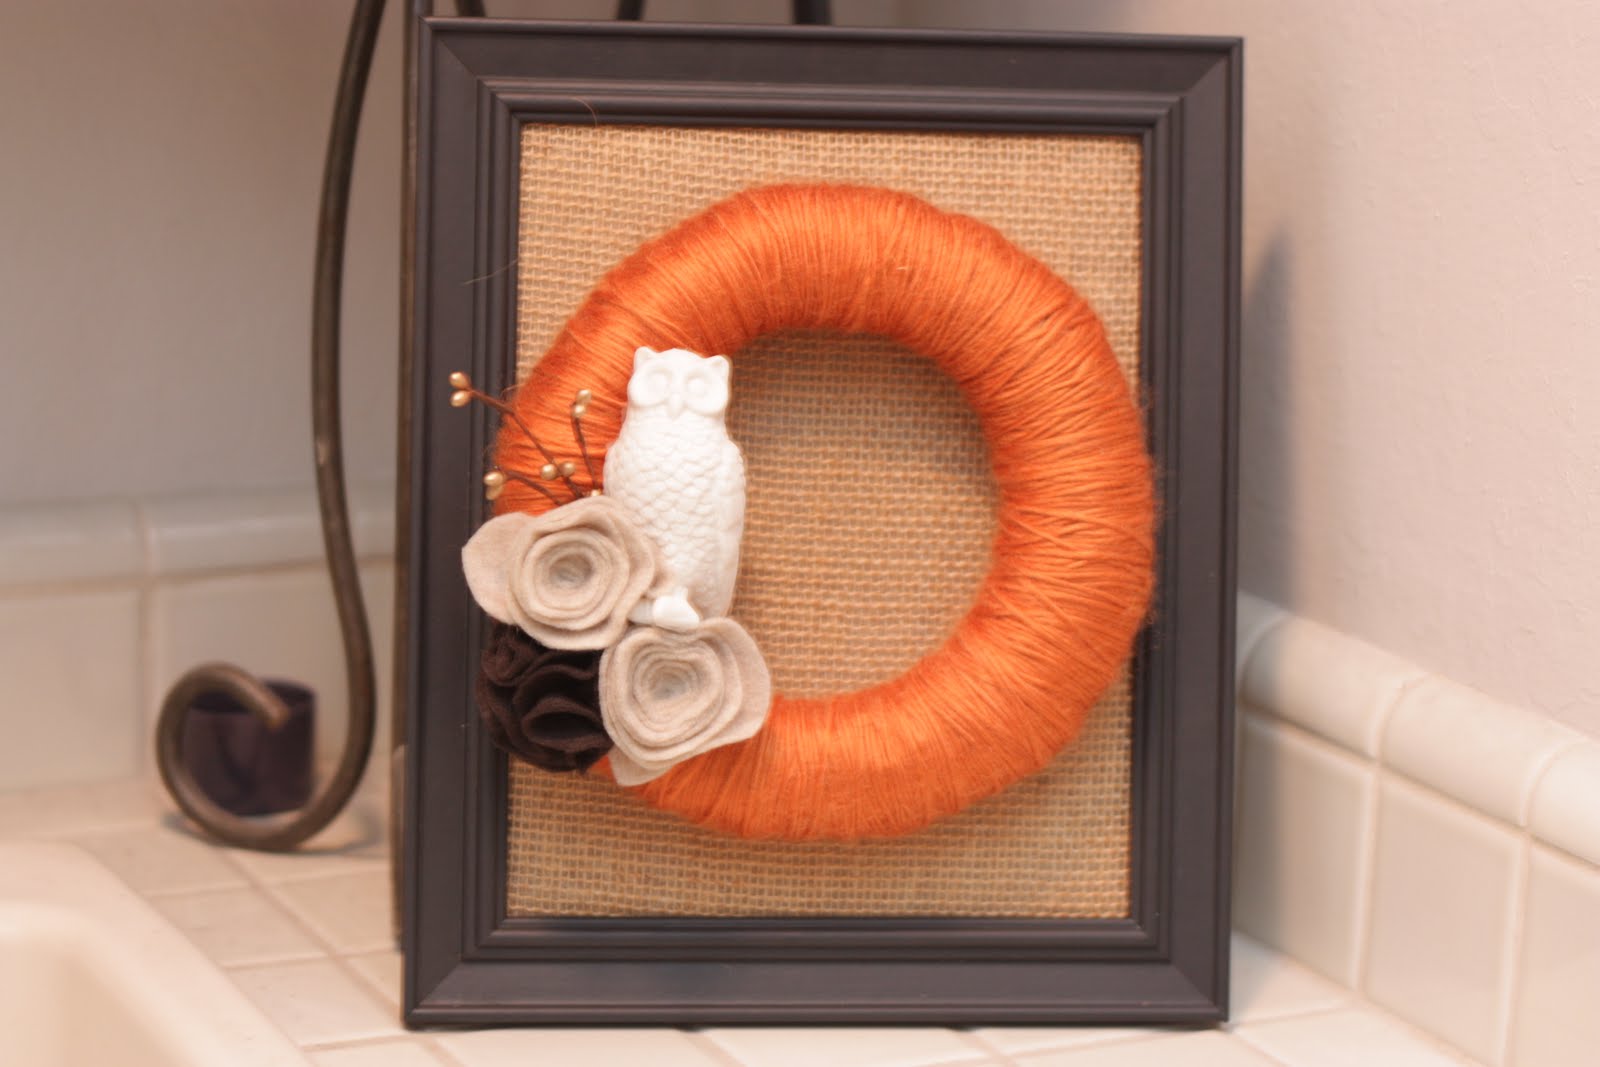
I have a new found love for felt flowers:

And wreath three. I wanted to make one with fall colors in honor of Thanksgiving. This one is currently hanging on our front door:

Learned a new flower technique for this one:

And lastly, a mini wreath. I have since found a little mason jar to put in front of our thankful owl. The boys and I will write on little strips of paper things we are grateful/thankful for and then read them or scrap them later. Or maybe even write them on a piece of paper and then attach to the frame with the date (roll it up and stick it next to the owl)…I am liking this idea.
Christmas Advent Calendar
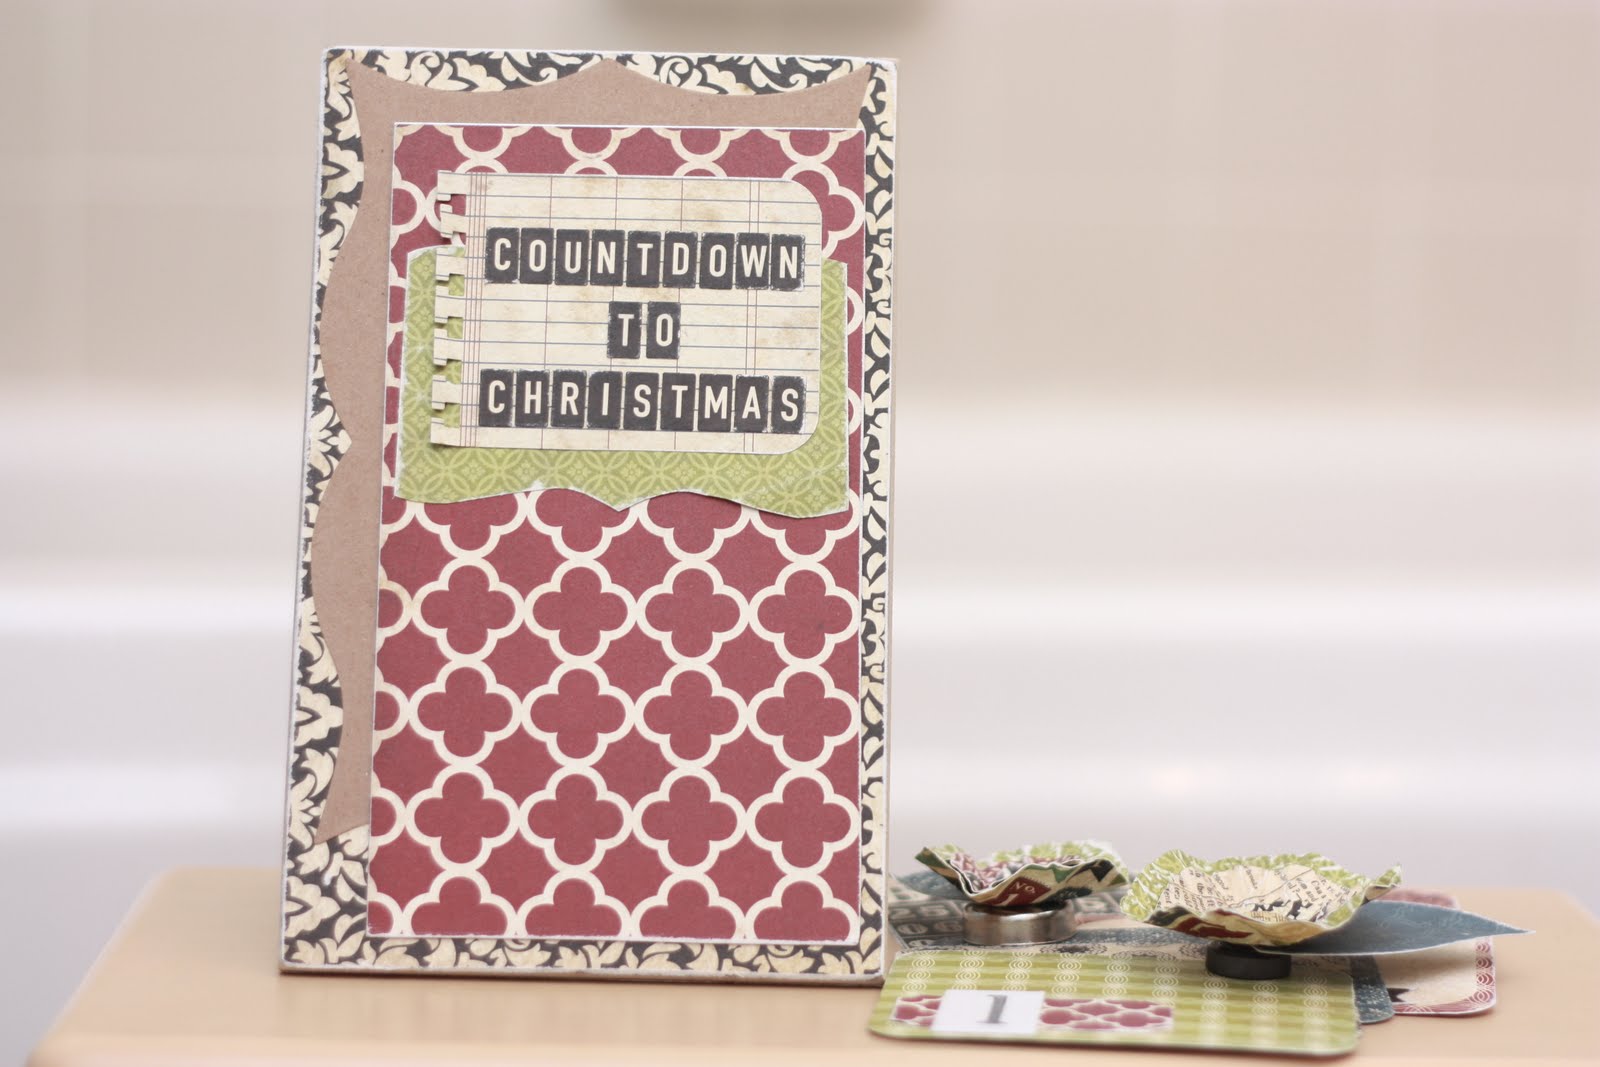
Posted: October 31, 2011 Filed under: Holidays, Scrapbooking Leave a commentI have been wanting to make an advent calendar for a long time but couldn’t decide on the overall format: fleece, paper, pockets, booklet…then I came across a set of magnet boards. And the Echo Park Times and Seasons collection. Inspiration struck.
A magnetic, interchangeable advent calendar:
A magnetic, interchangeable advent calendar:
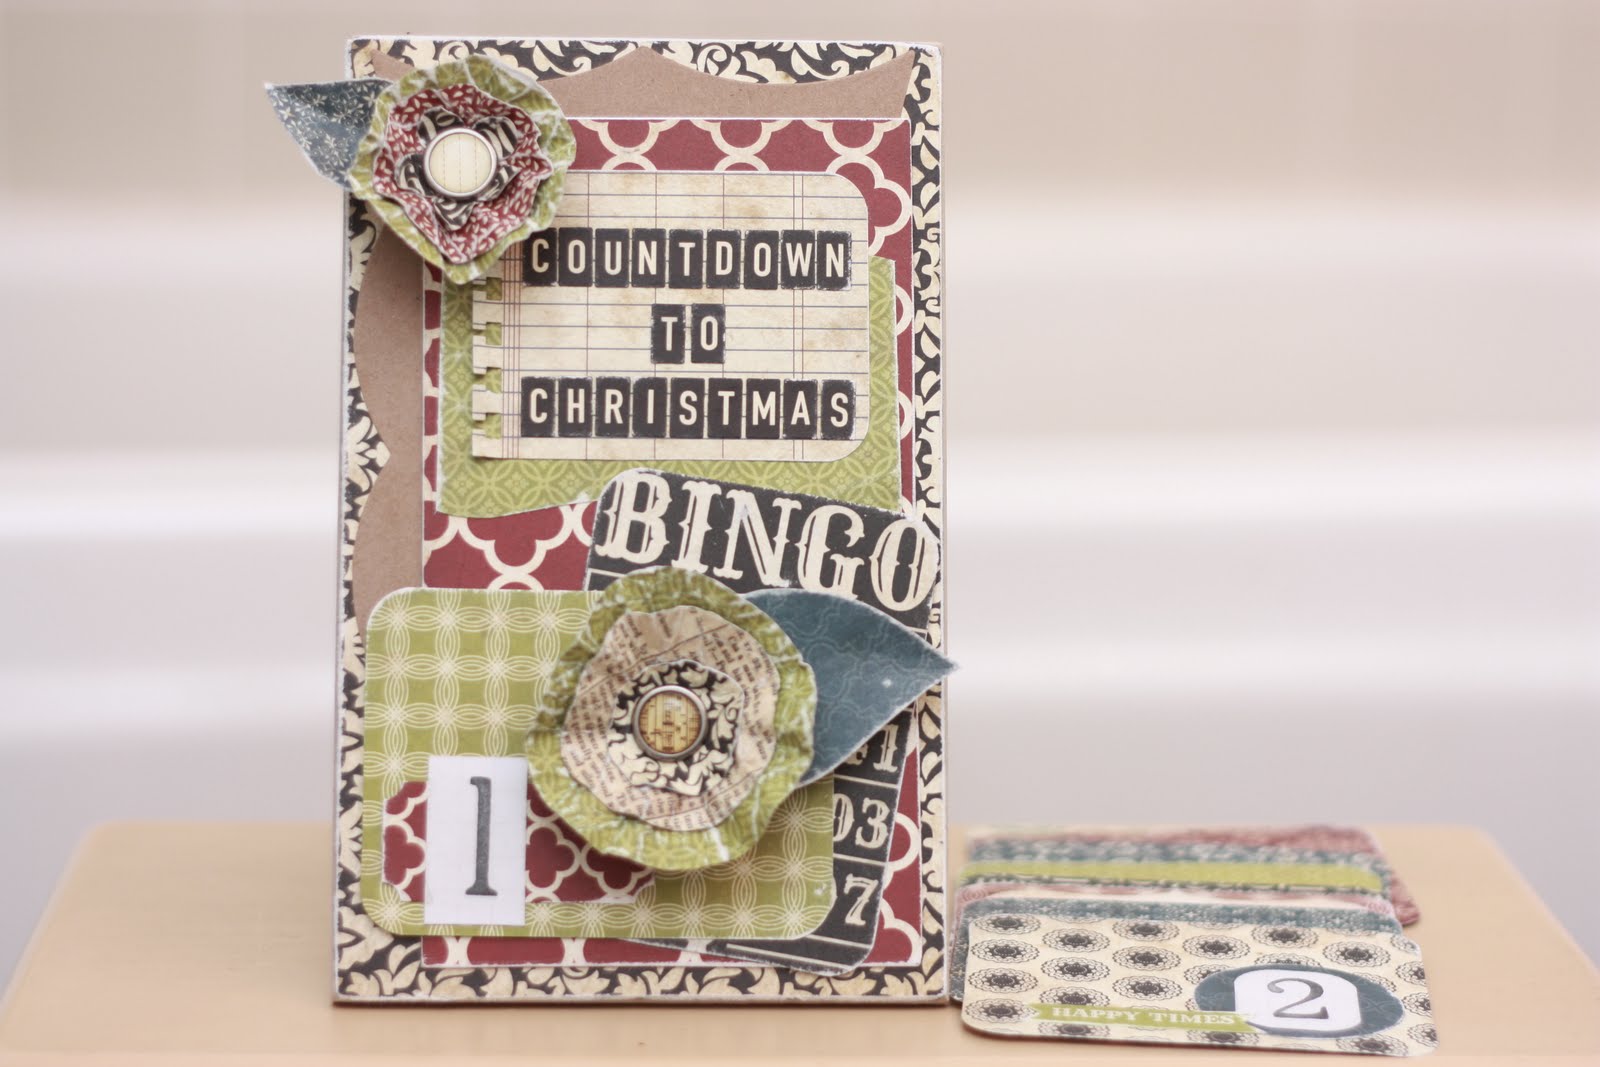
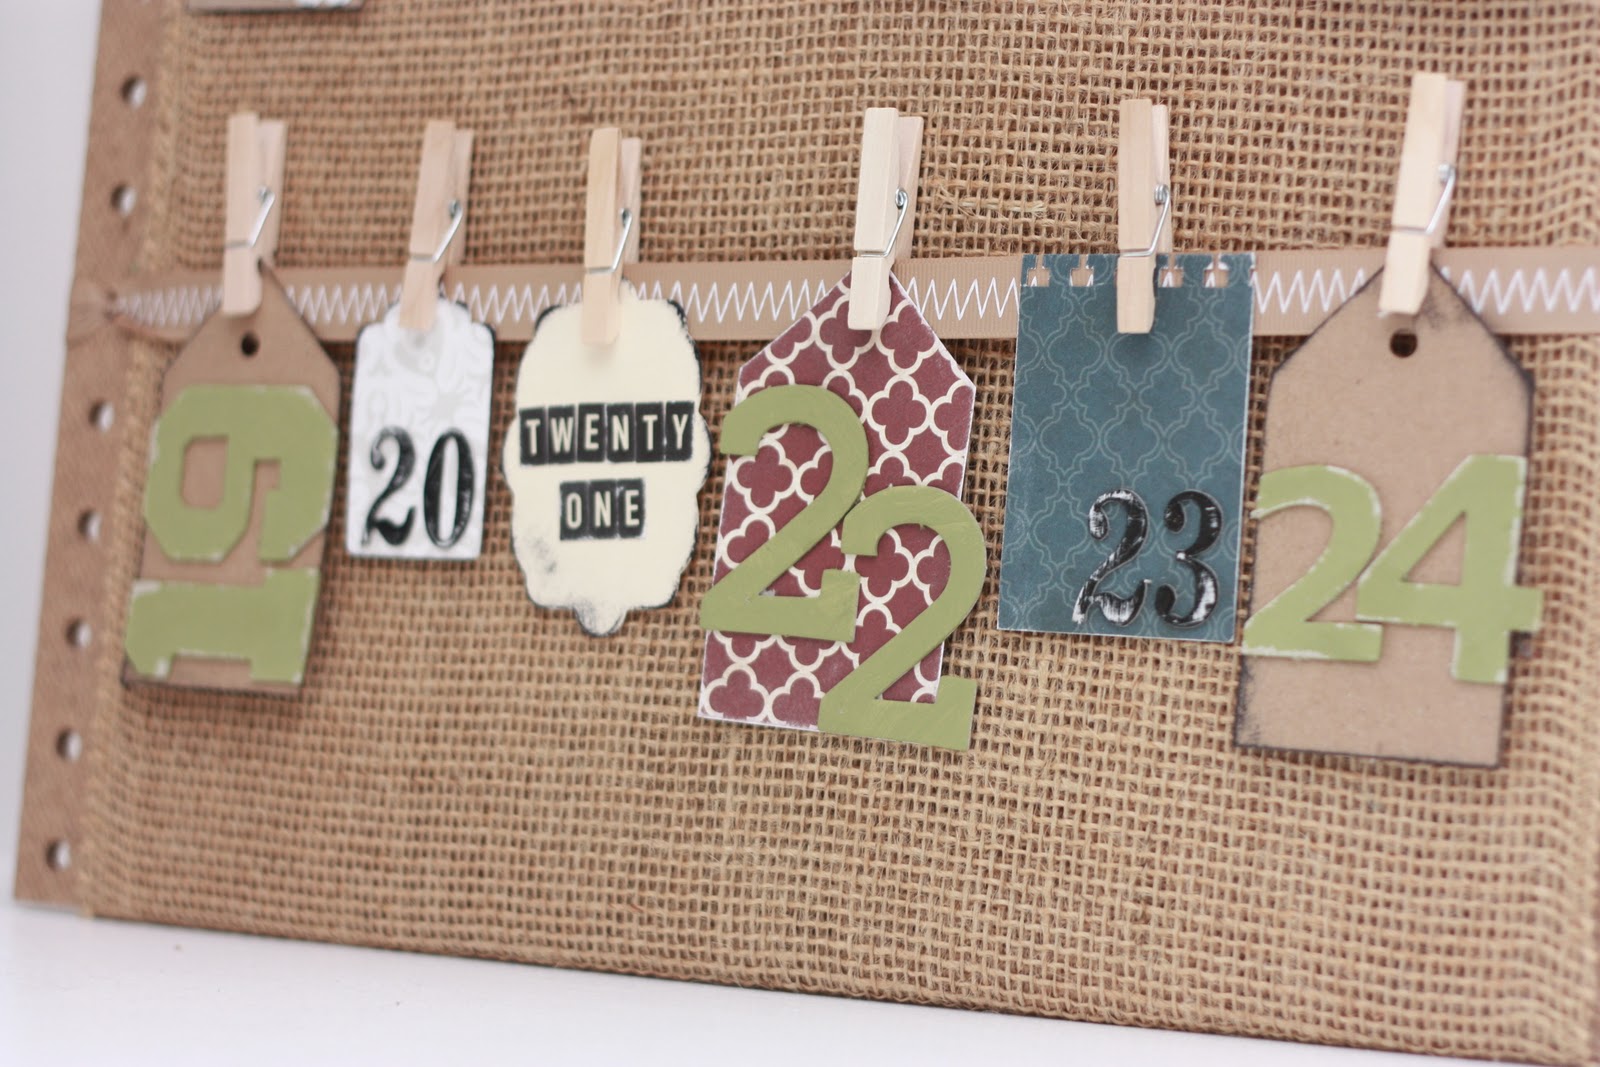
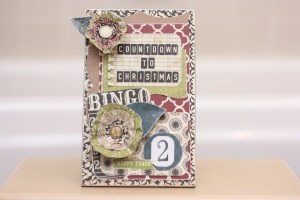
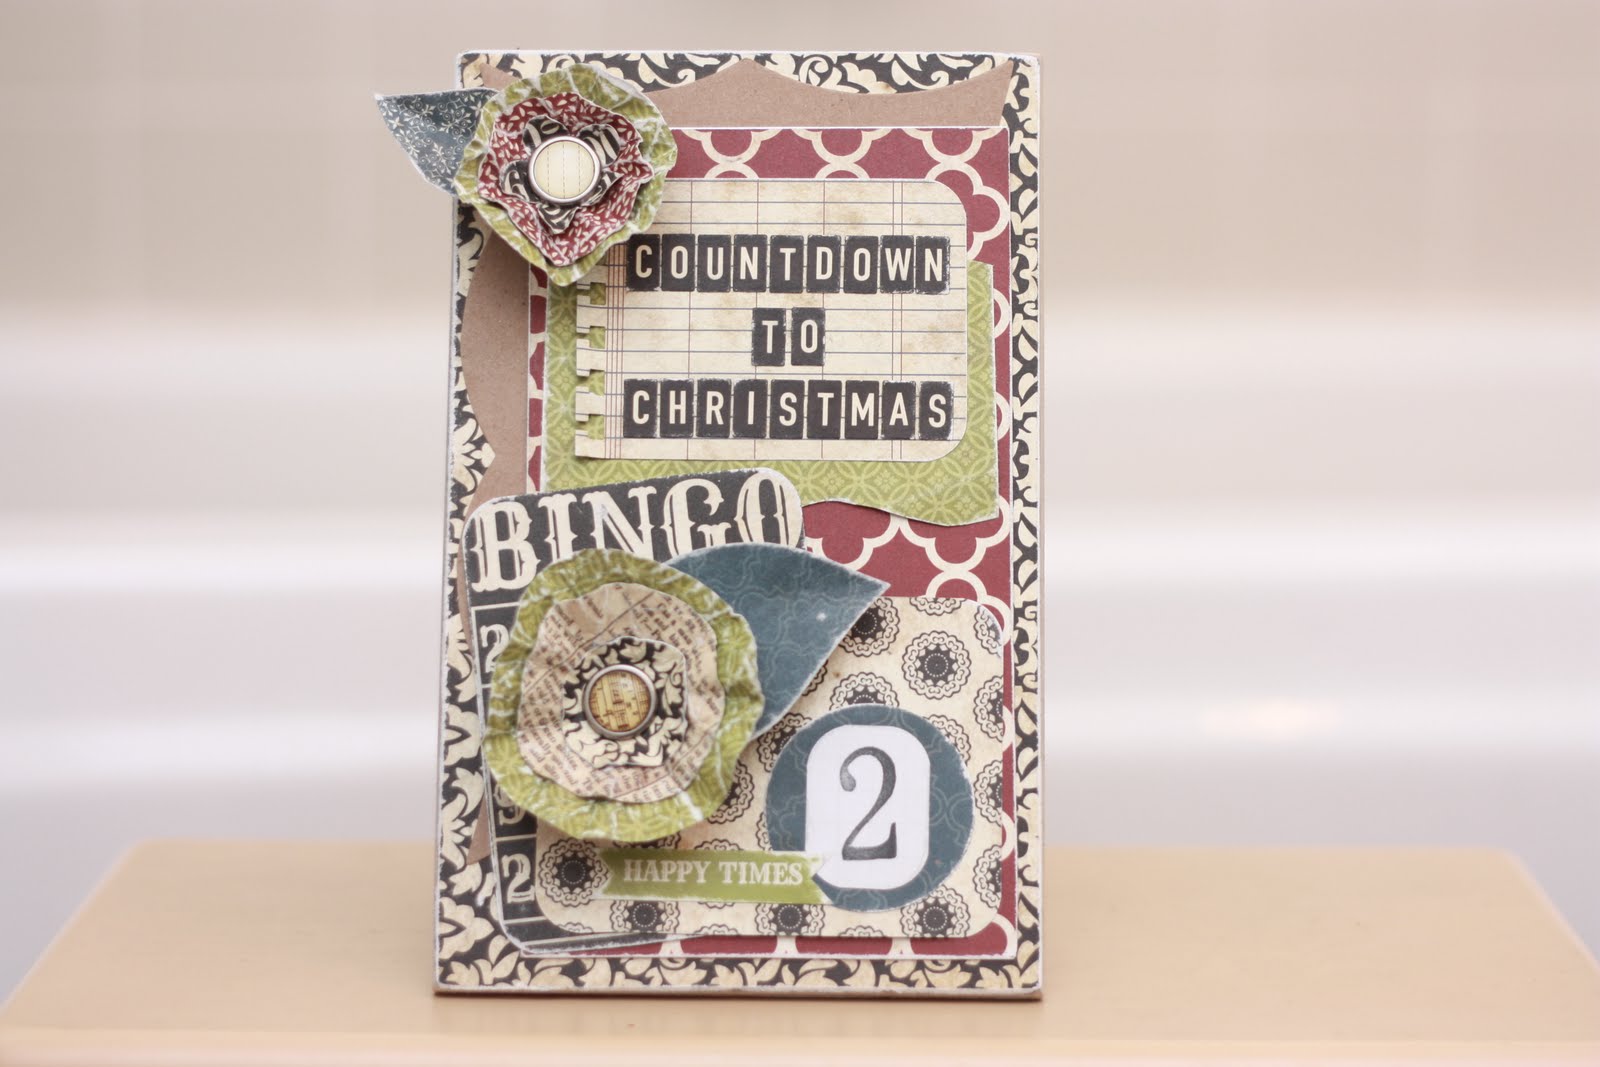
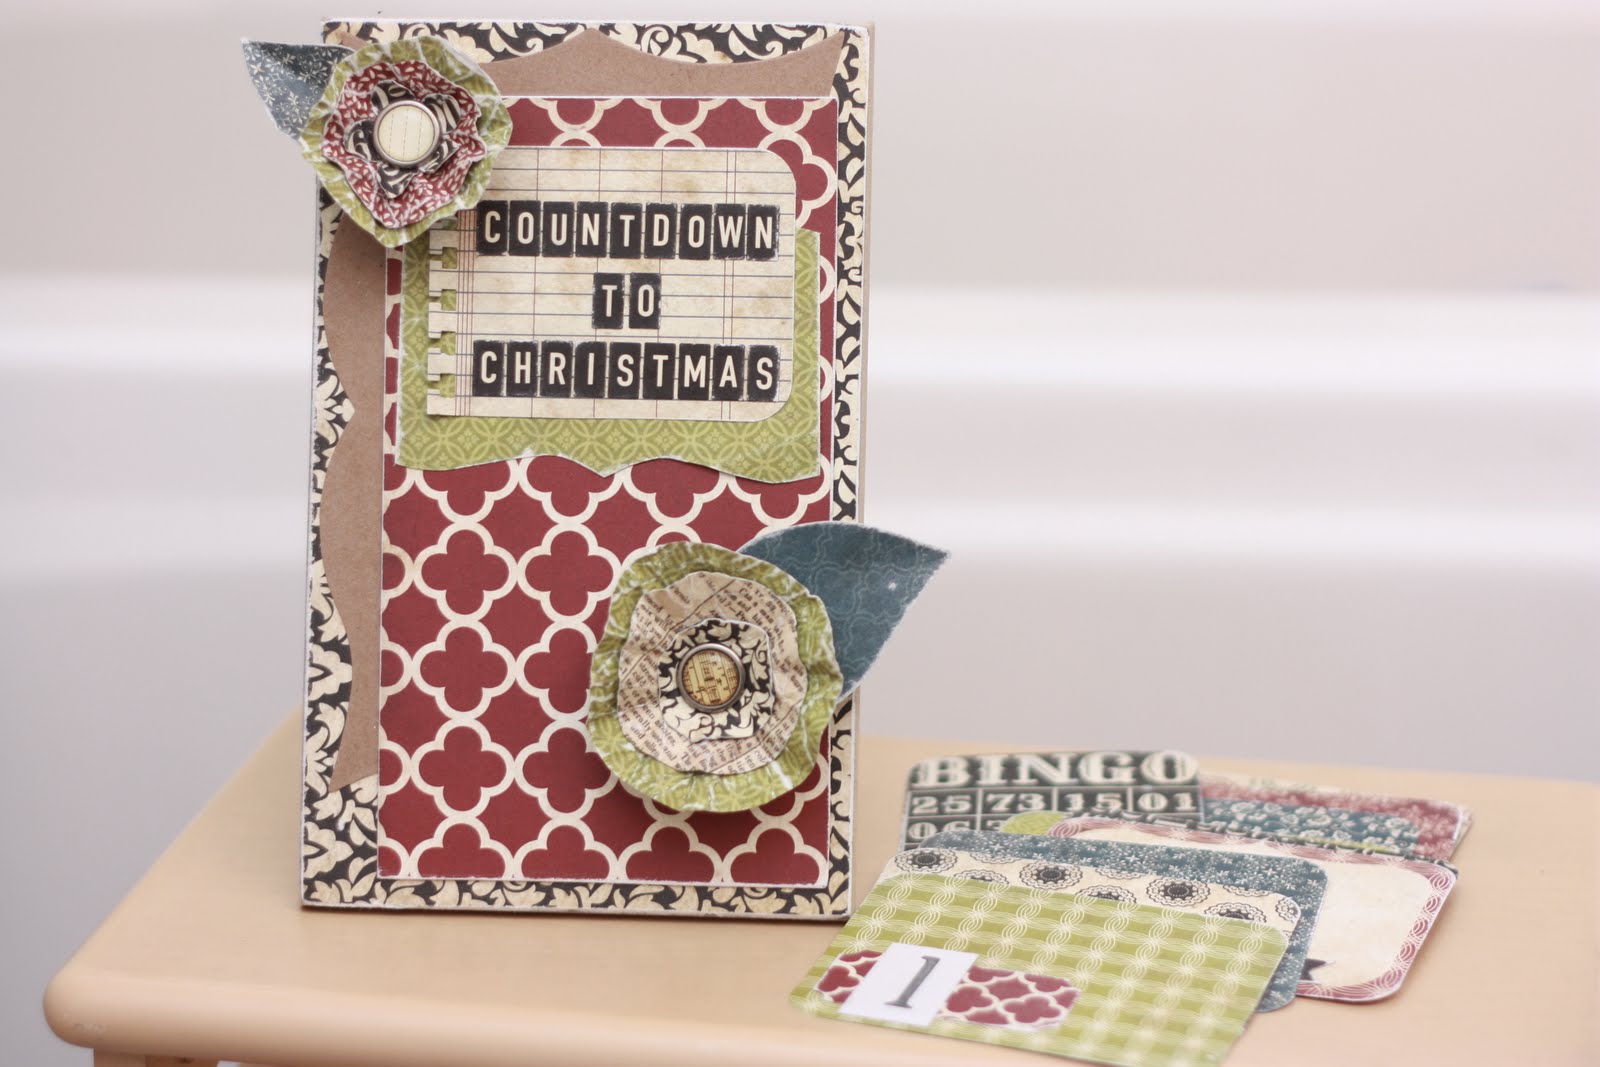
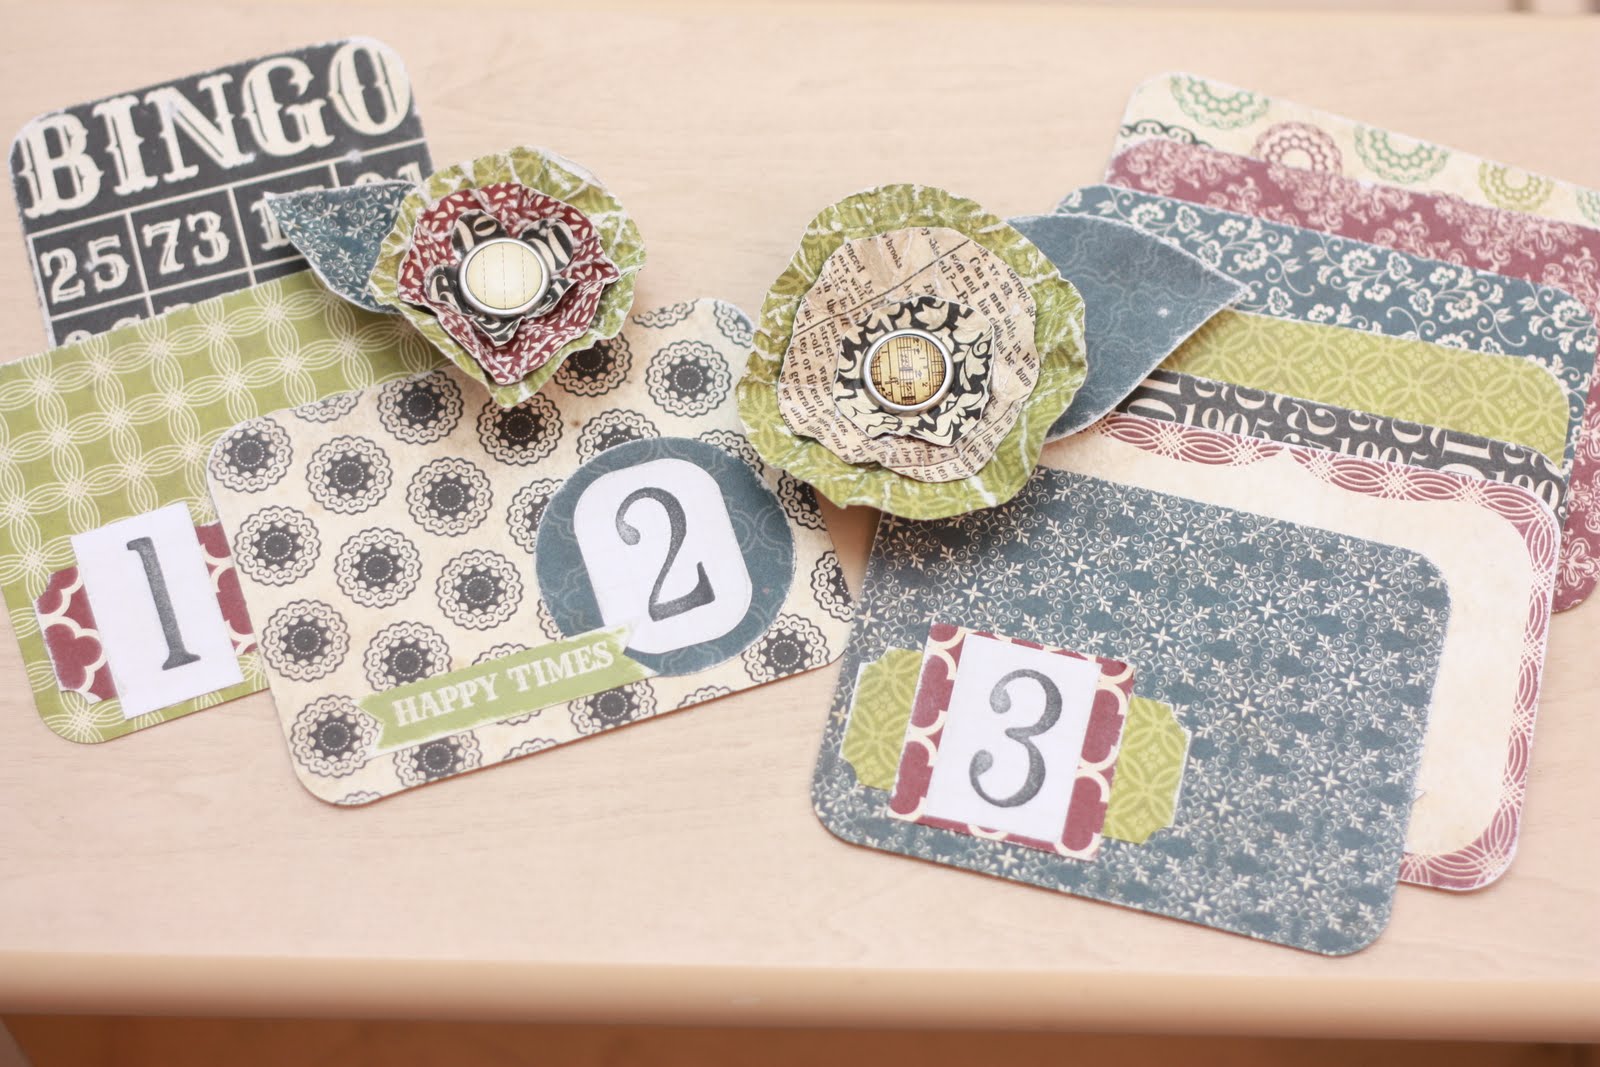
We’ll count down the days to Christmas with numbered cards that can be put up each day. The two flower magnets can be rearranged according to where the number was placed:
The actual magnet board without any of the goods:
Two magnet flowers:
The goodies: number cards, magnet flowers, and embellishment cards:
The paper made this project. I loved the colors and patterns and non-traditional red and green.
Father’s Day Present
Posted: June 16, 2011 Filed under: Scrapbooking Leave a commentIn my head, this was going to be a quick, easy project. Snap a few photos. Print them out. Find a frame. Scrap the sentiment. Voila, done. Heh. Photo shoots with a two year old and four year old are anything but easy these days. It went a little something like this:
“Ty and Jake, do you want to help Mommy make something for Daddy? Father’s Day is coming up soon.”
NO. Want to play with cars.
“Do you guys want to just take a couple of quick pictures?”
NO. Want to play with cars.
“If you take pictures, we’ll go outside and play with the water.”
NO. Want to play with cars.
“If you take pictures, you can have some M&Ms.”
Ty is game. Shocking, I know. We head to the bathroom (for some reason I get the best pictures in there). And it then goes a little something like this:
“Okay Ty, I need you to hold this and smile.”
Promptly puts fingers over writing.
“You need to move your fingers so I can see what it says.”
Turns it around so HE can see what it says.
“No turn it this way.”
Turns it towards me, upside down.
Why am I doing this…
I fix it. He promptly puts it over his face.
“Ty, I need to SEE you.”
Pulls it down. Crazy face.
“Nice face, please.”
Nearly TWENTY minutes later, we have some contenders:

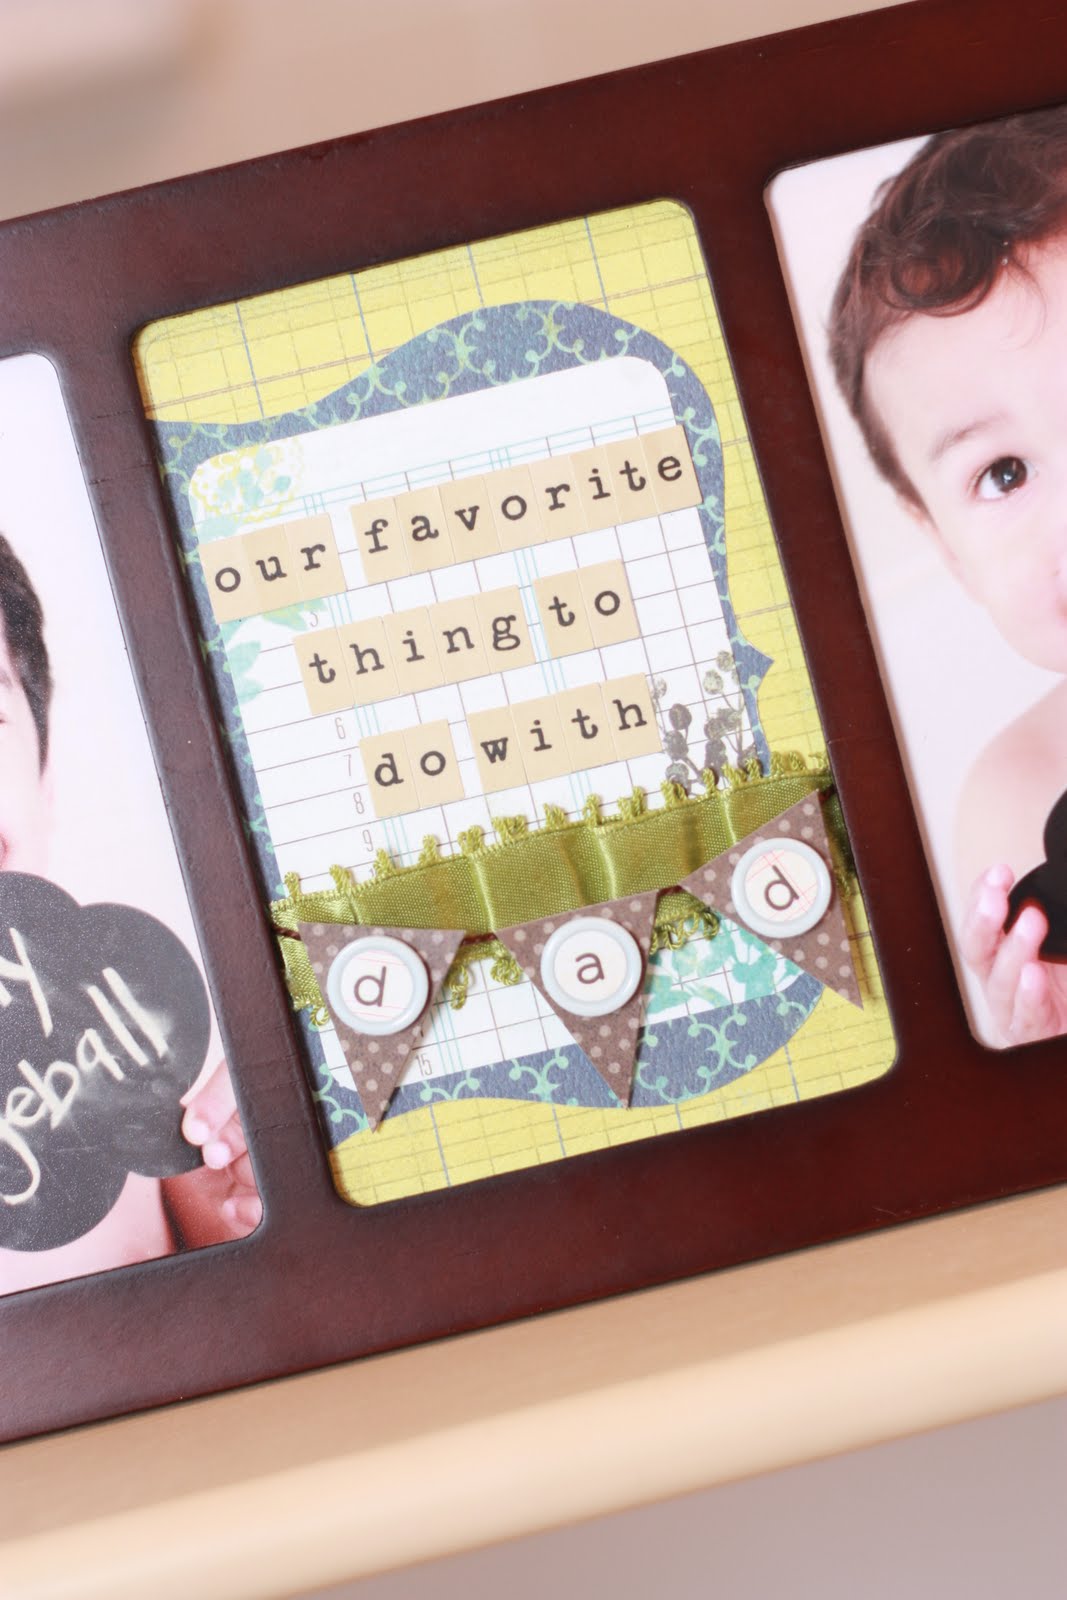
I asked each boy what his favorite thing to do with Daddy was and then wrote it on a chalkboard sticker:


Ty gets his M&Ms and it’s off to tackle Jake.
“Jake, do you want to take some pictures. You can have some M&Ms afterwards.”
He wants the M&Ms. Does NOT want to take pictures.
I beg. Plead. Bribe. He’s not interested.
I beg. Plead. Bribe. He’s not interested.
Finally at bath, I give it another shot. Water and chalk don’t mix.
This is the best shot I have of Jake. I gave up trying after this one:


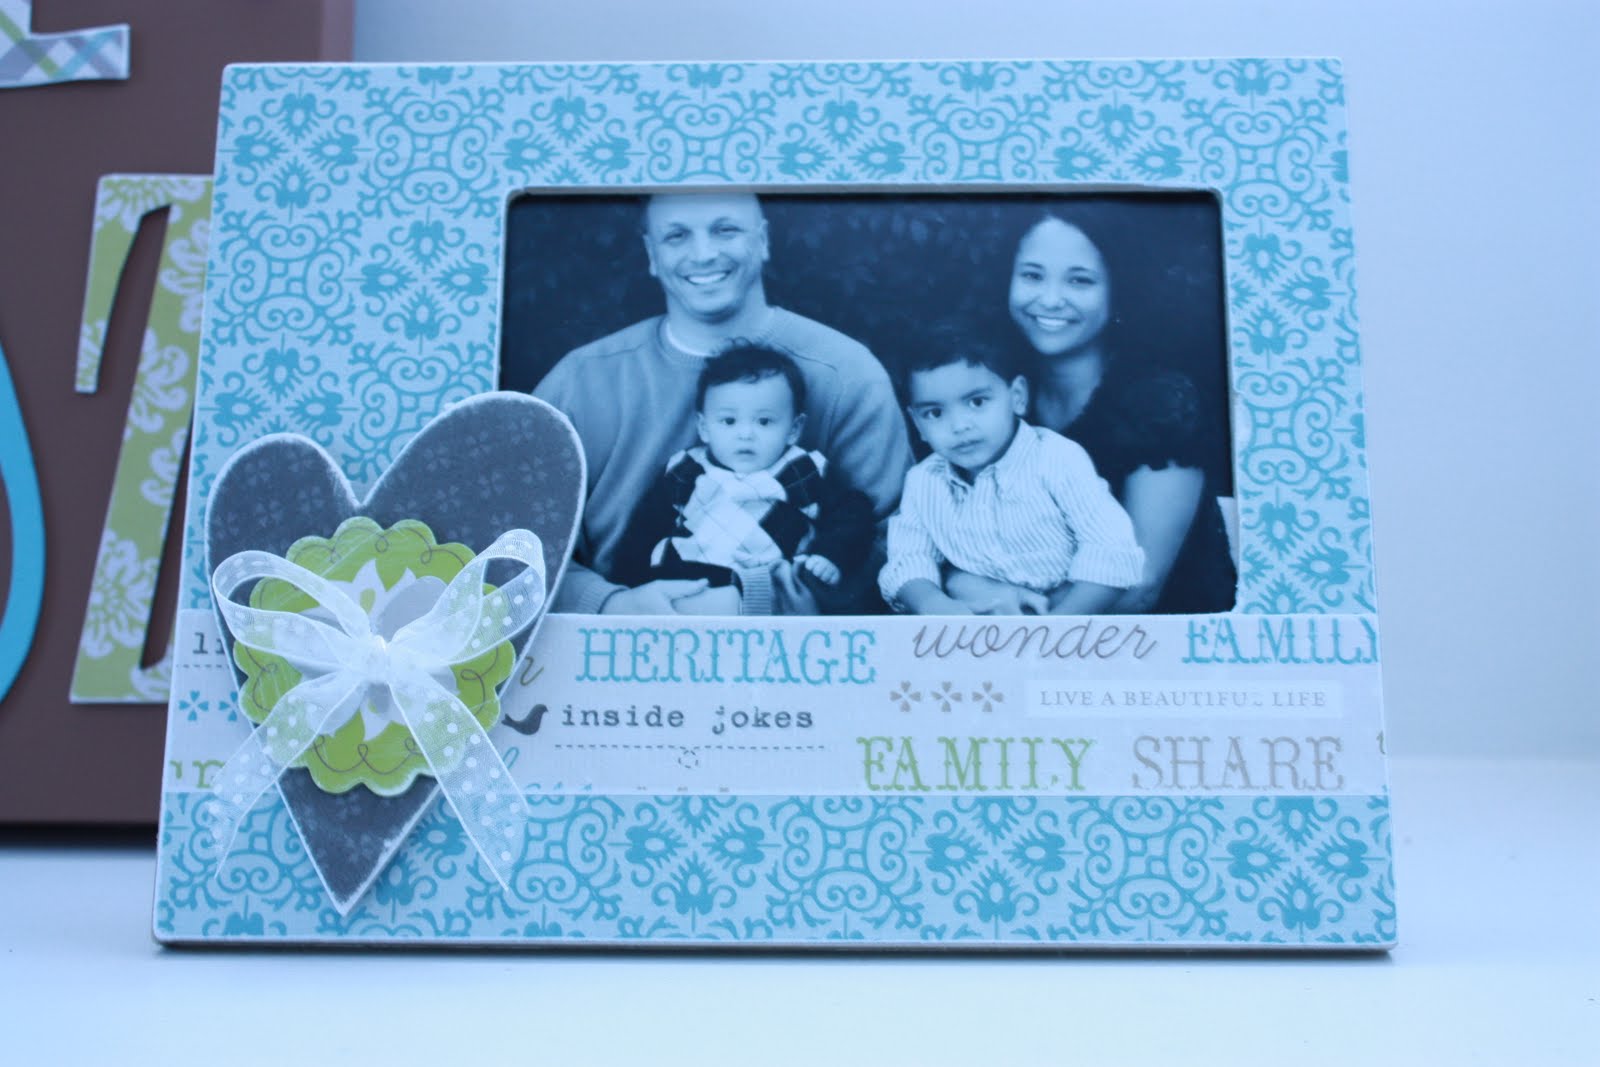
After the torturous photo session, the final product came out better than I had hoped.
Father’s Day Present:


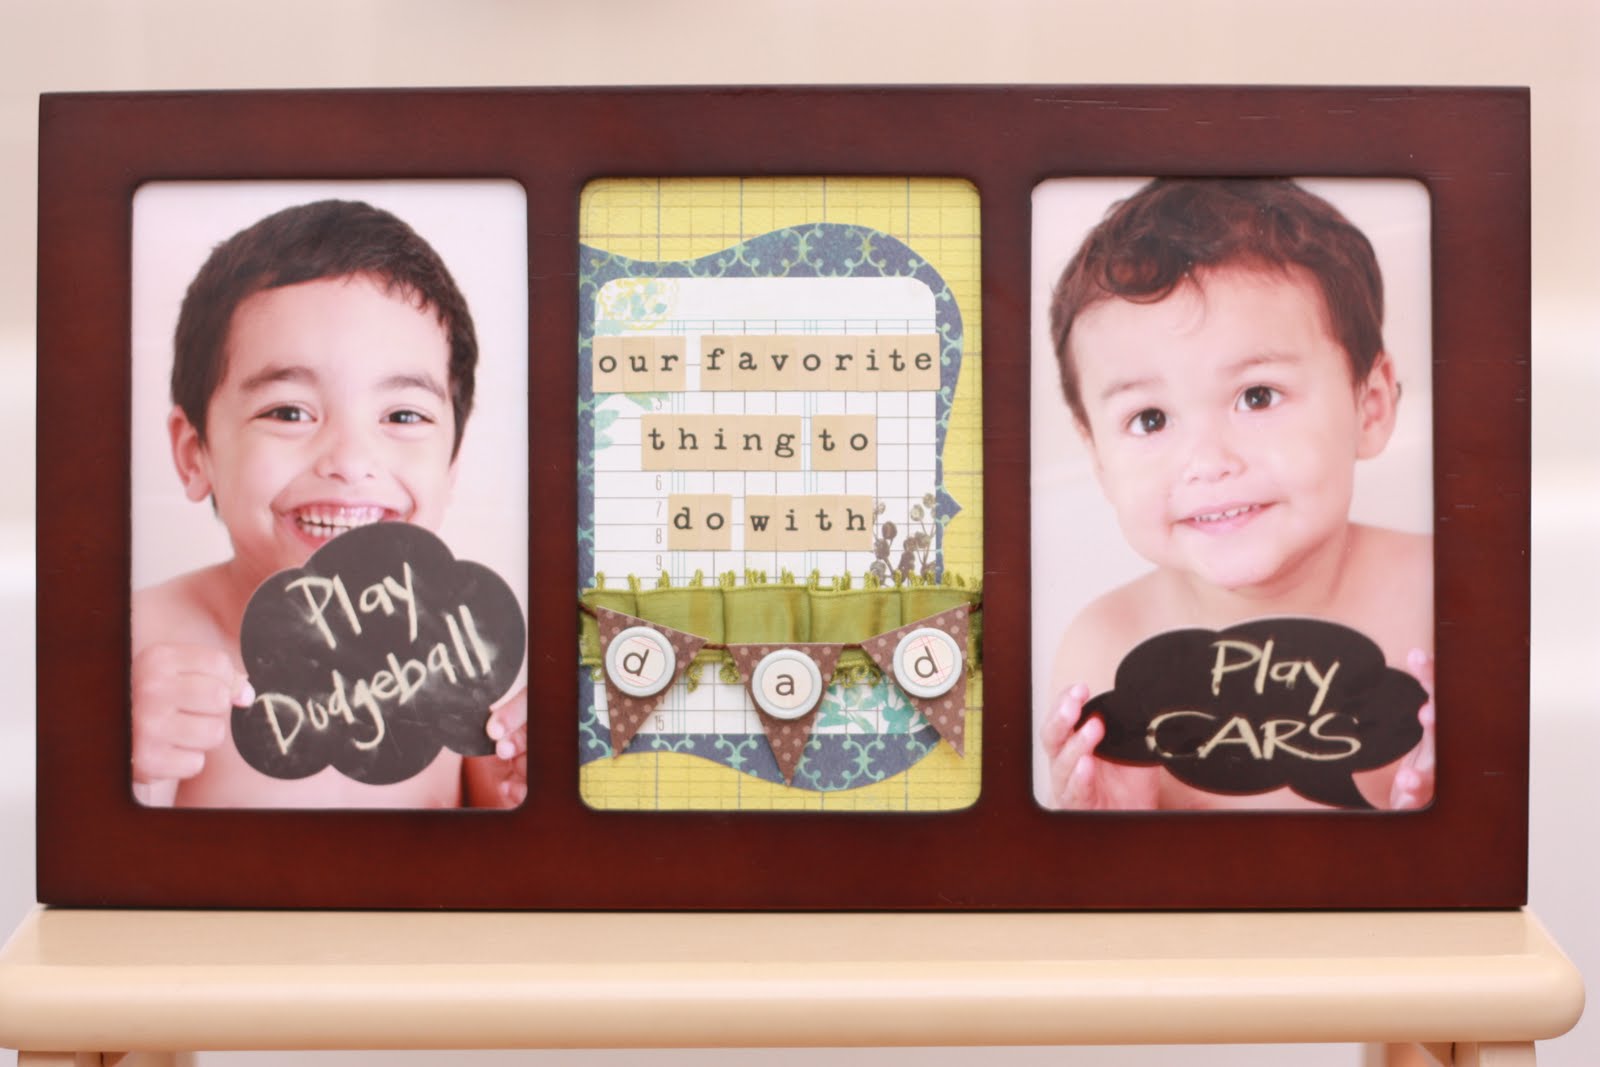
Tried something new with the ribbon. Love the texture it adds:
Finshed Valentines for the Boys’ Classes
Posted: February 9, 2011 Filed under: Fun Activity, Scrapbooking Leave a comment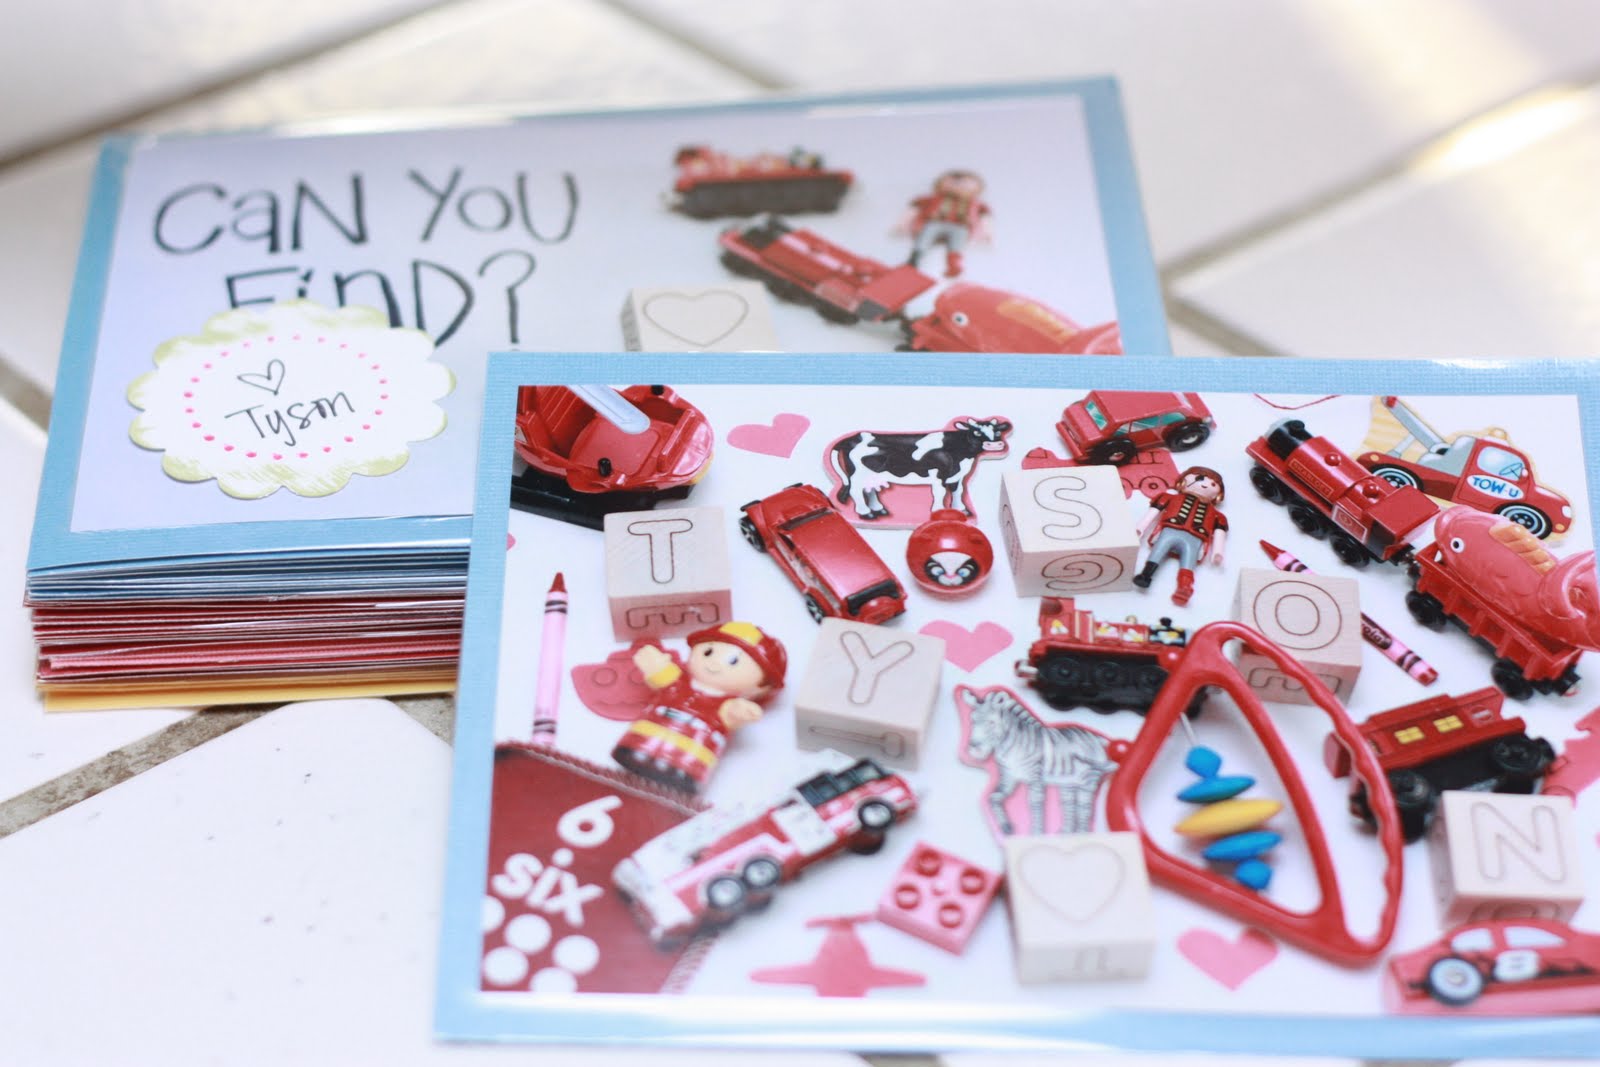
Scrappy Flower Fun
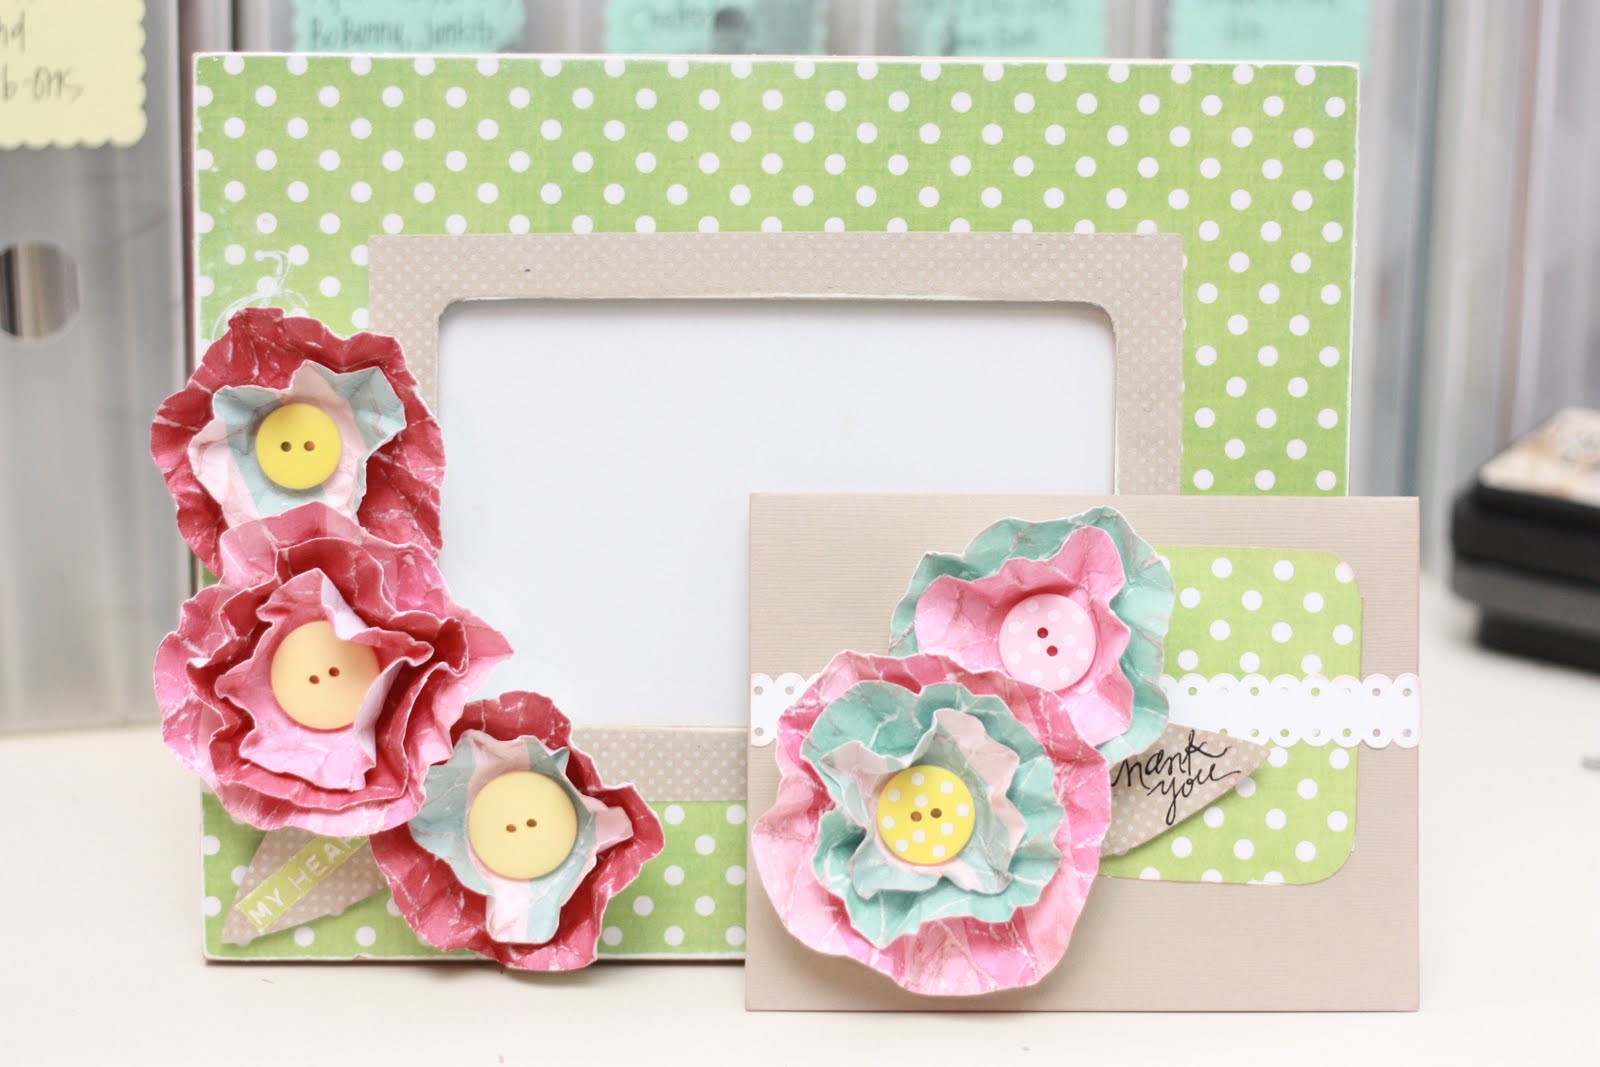
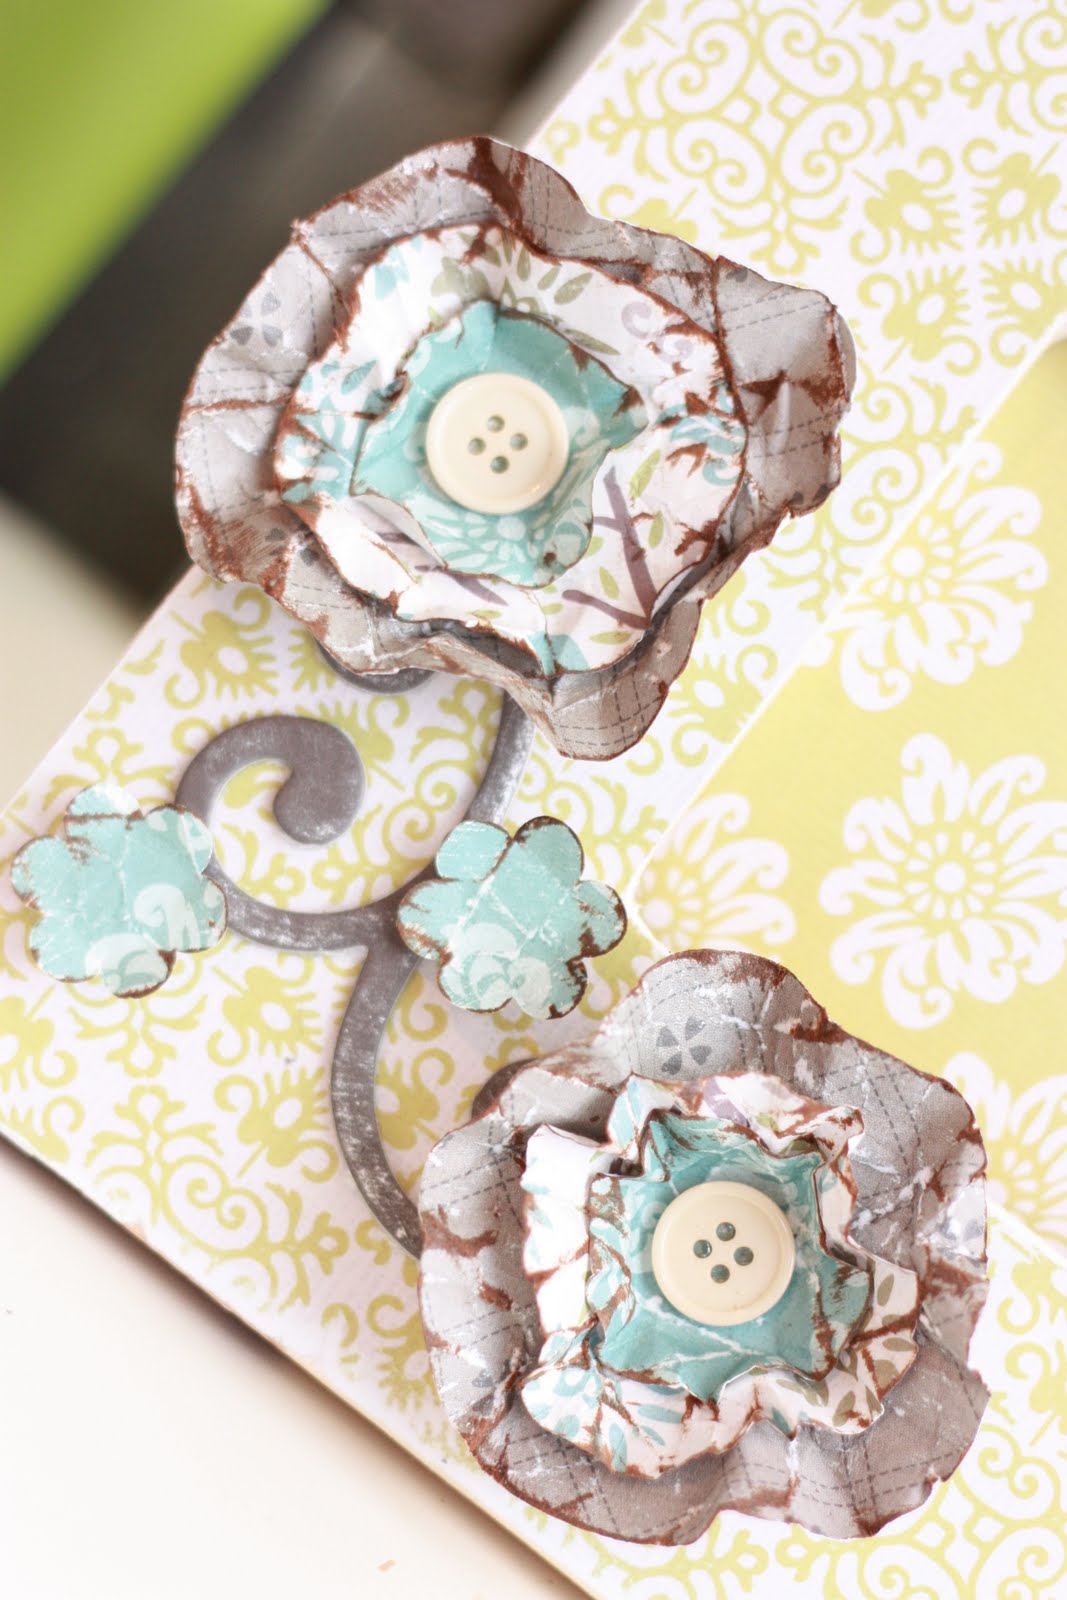
Posted: January 24, 2011 Filed under: Scrapbooking Leave a commentI have been busy. Scrapping. LOVING it. For inspiration, I checked out a few of my old scrap magazines and saw these cute, gorgeous paper flowers everywhere. Girl layouts. Boy layouts. Loved them. So, I set out to do my best to recreate them and came up with this frame:
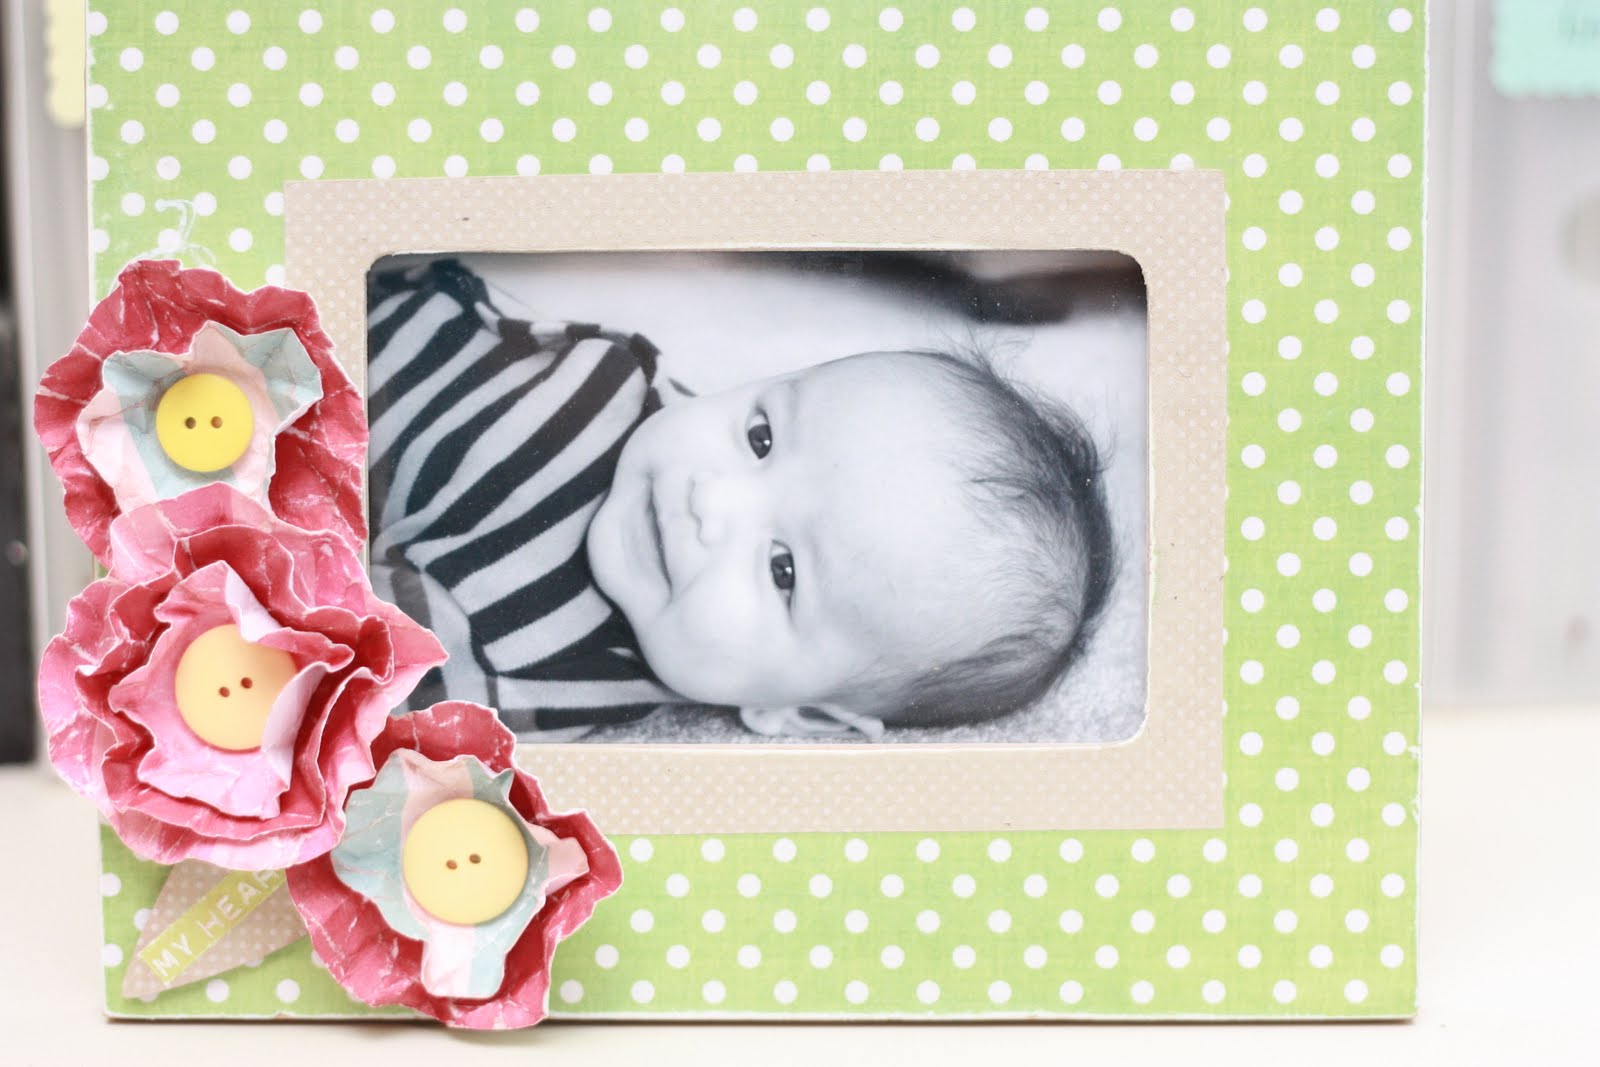
Girly. Flowers. Love the combination of green, craft paper, red, and blue. Blue and craft paper are a very common thread in my scrapping. If you haven’t noticed already. It was fun to step WAY out of my normal color choices and throw together something a little girly. I am not often afforded that fun opportunity with two little boys at home.
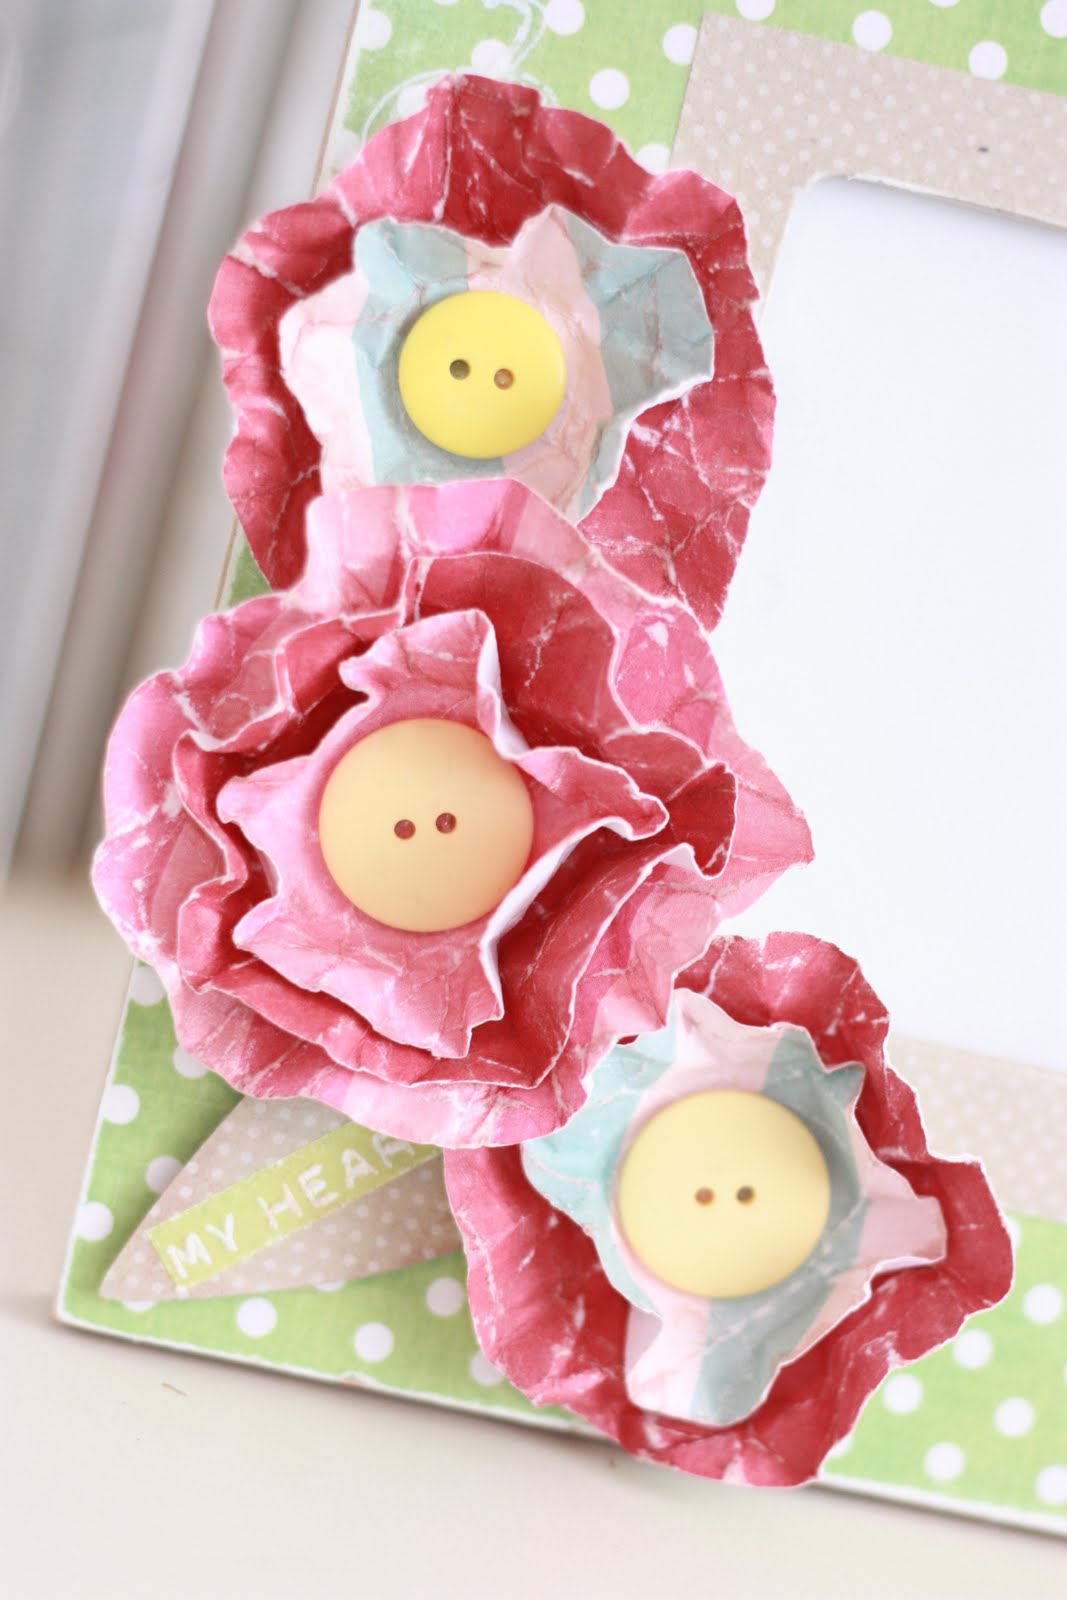
The flowers themselves are super easy. A little time consuming but overall easy to do. There are so many embellishment options: ink the edges, distress the edges, spray paper with distressing ink, spray papers with glitter ink, etc, etc, etc. The crafty wheels are turning:
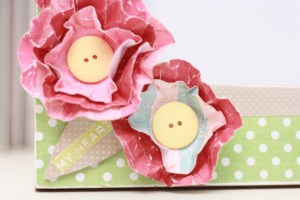
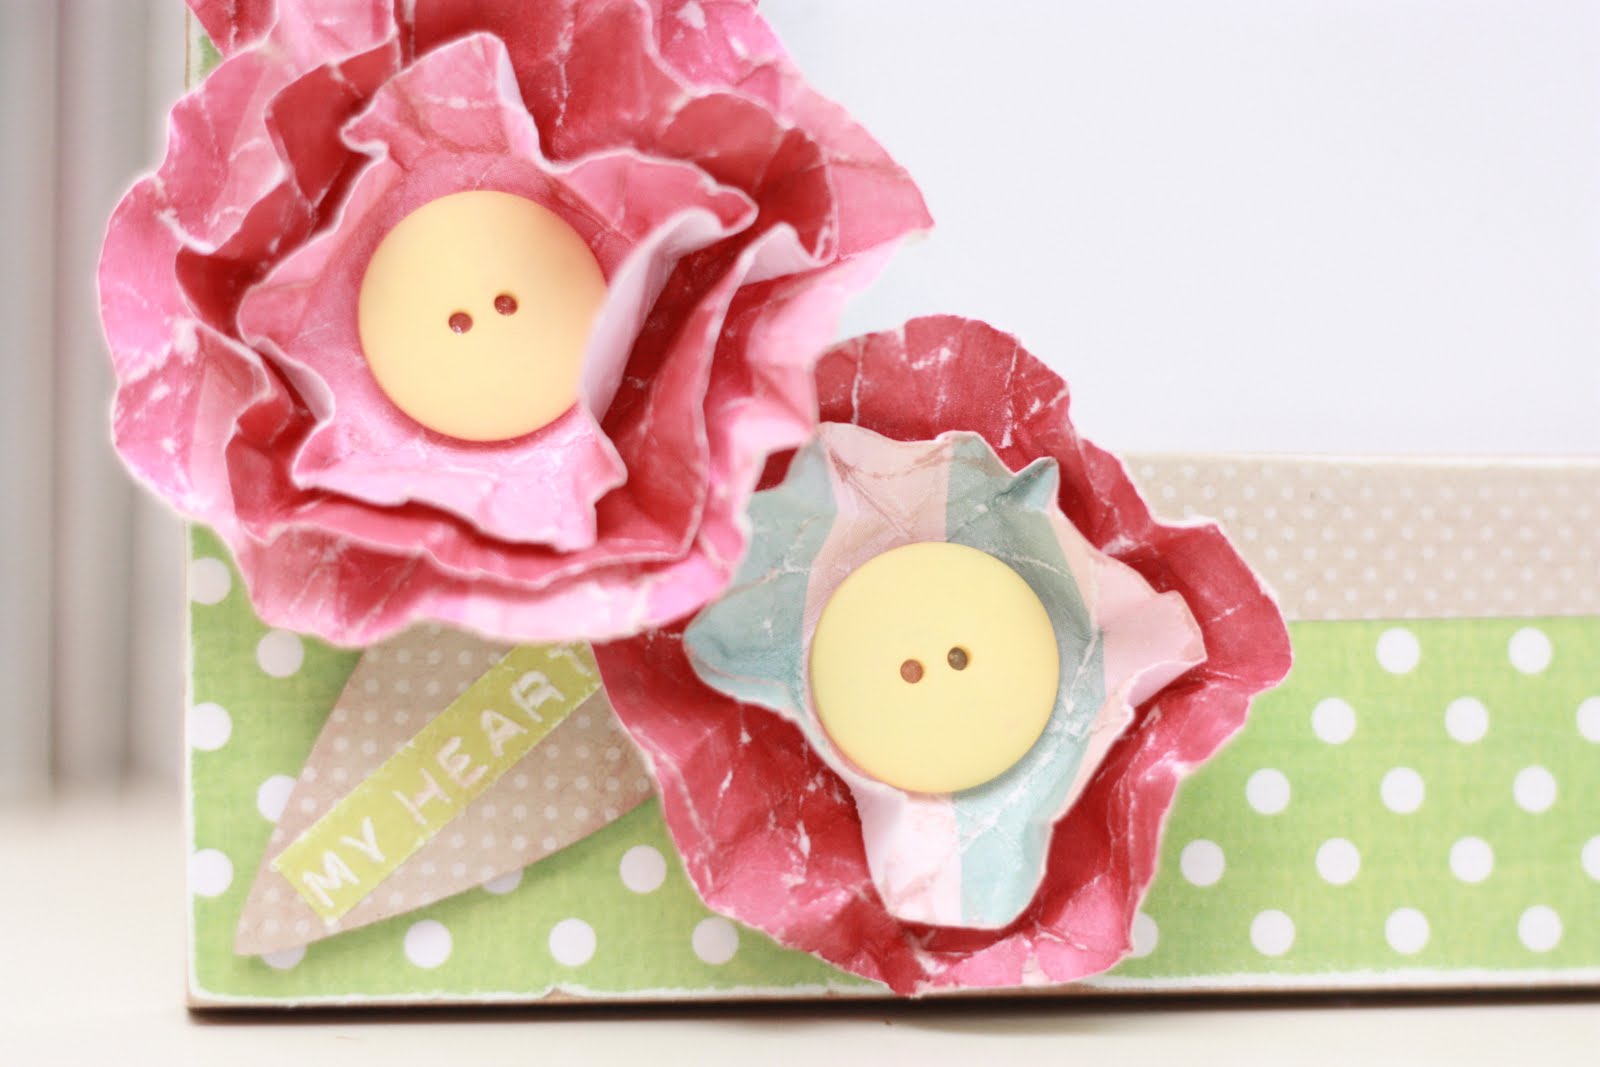
I used 5 pieces of 12 x 12 paper (plus a little craft paper for the frame and leaves). The green dots for the frame. Four coordinating pieces for the flowers. You cut three varying sized strips. Make the strips into squares. Cut circles. The more imperfect the circle, the cuter the flower. Spray circles with water or a distress/shimmer ink and crinkle. Unwrap, distress edges. Layer the circles: I did some centered and then some off center. Like the look both ways. I used the leftover flowers for coordinating cards:
The hardest part will be figuring out how to smashthese bad boys into an envelope:

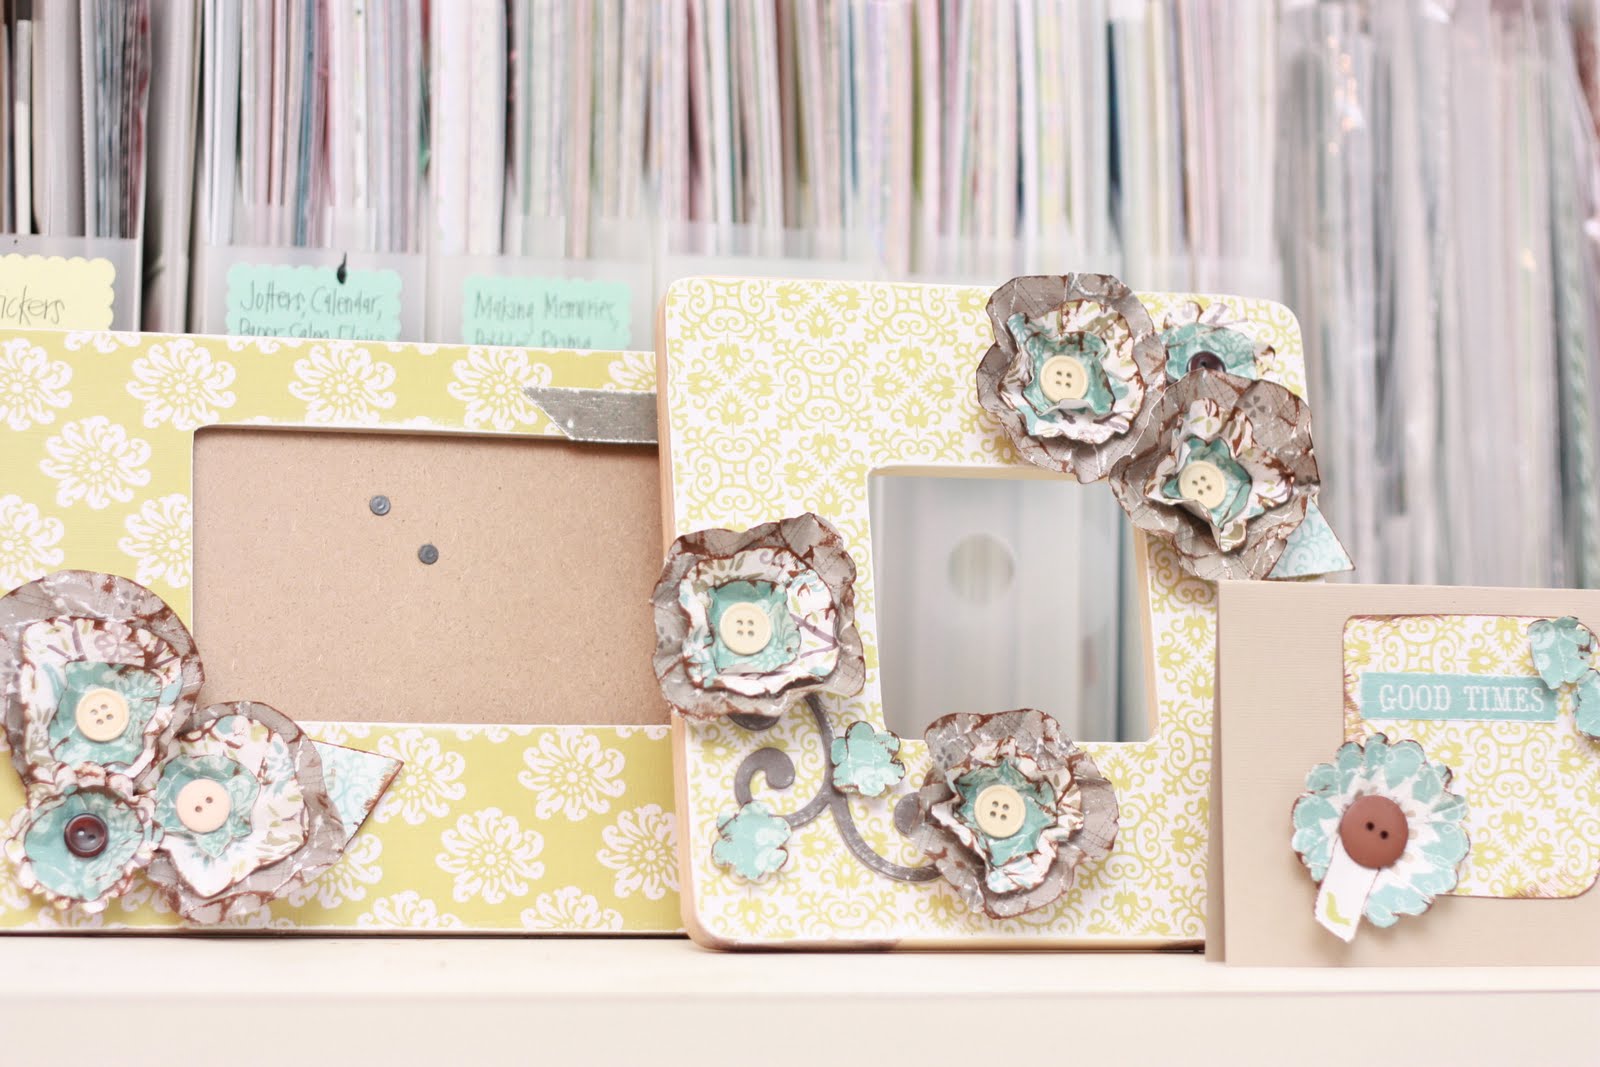
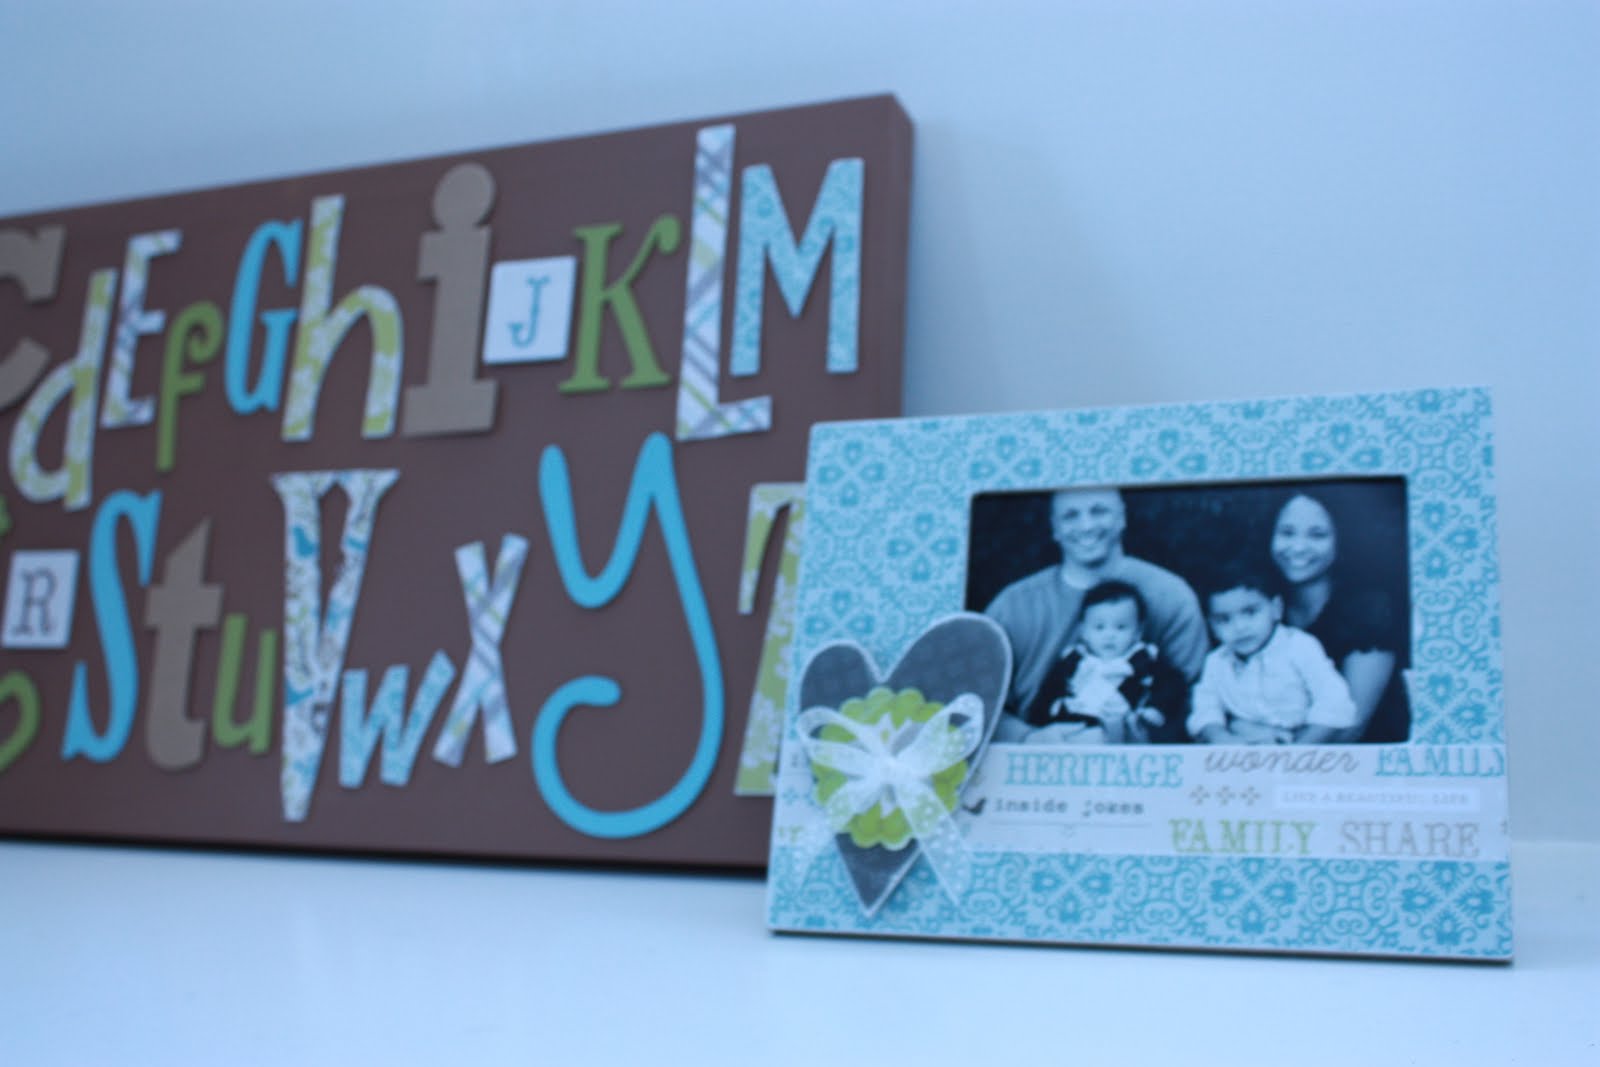
I went to bed far too late after having finished the above projects. All I could think about is what combination of blue and brown I could use to make some frames for the house. Once the boys went down for their naps, I raced out to the garage to throw these together. They match the alphabet canvas I made a few months ago:
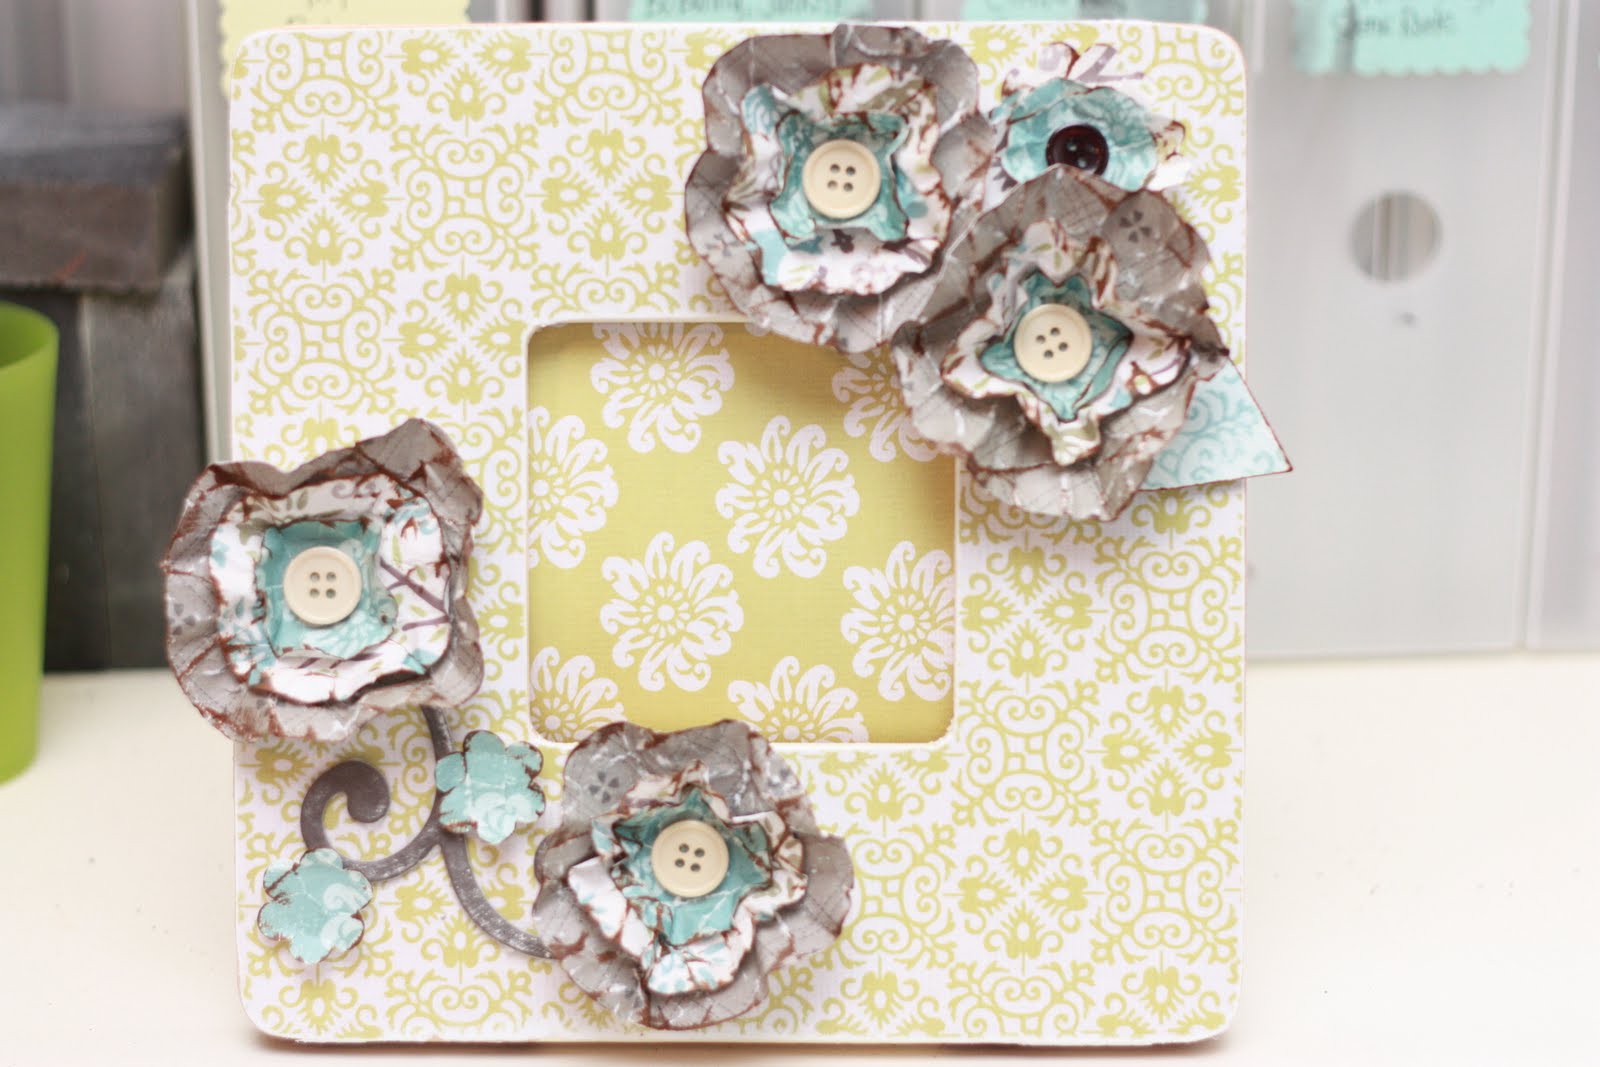

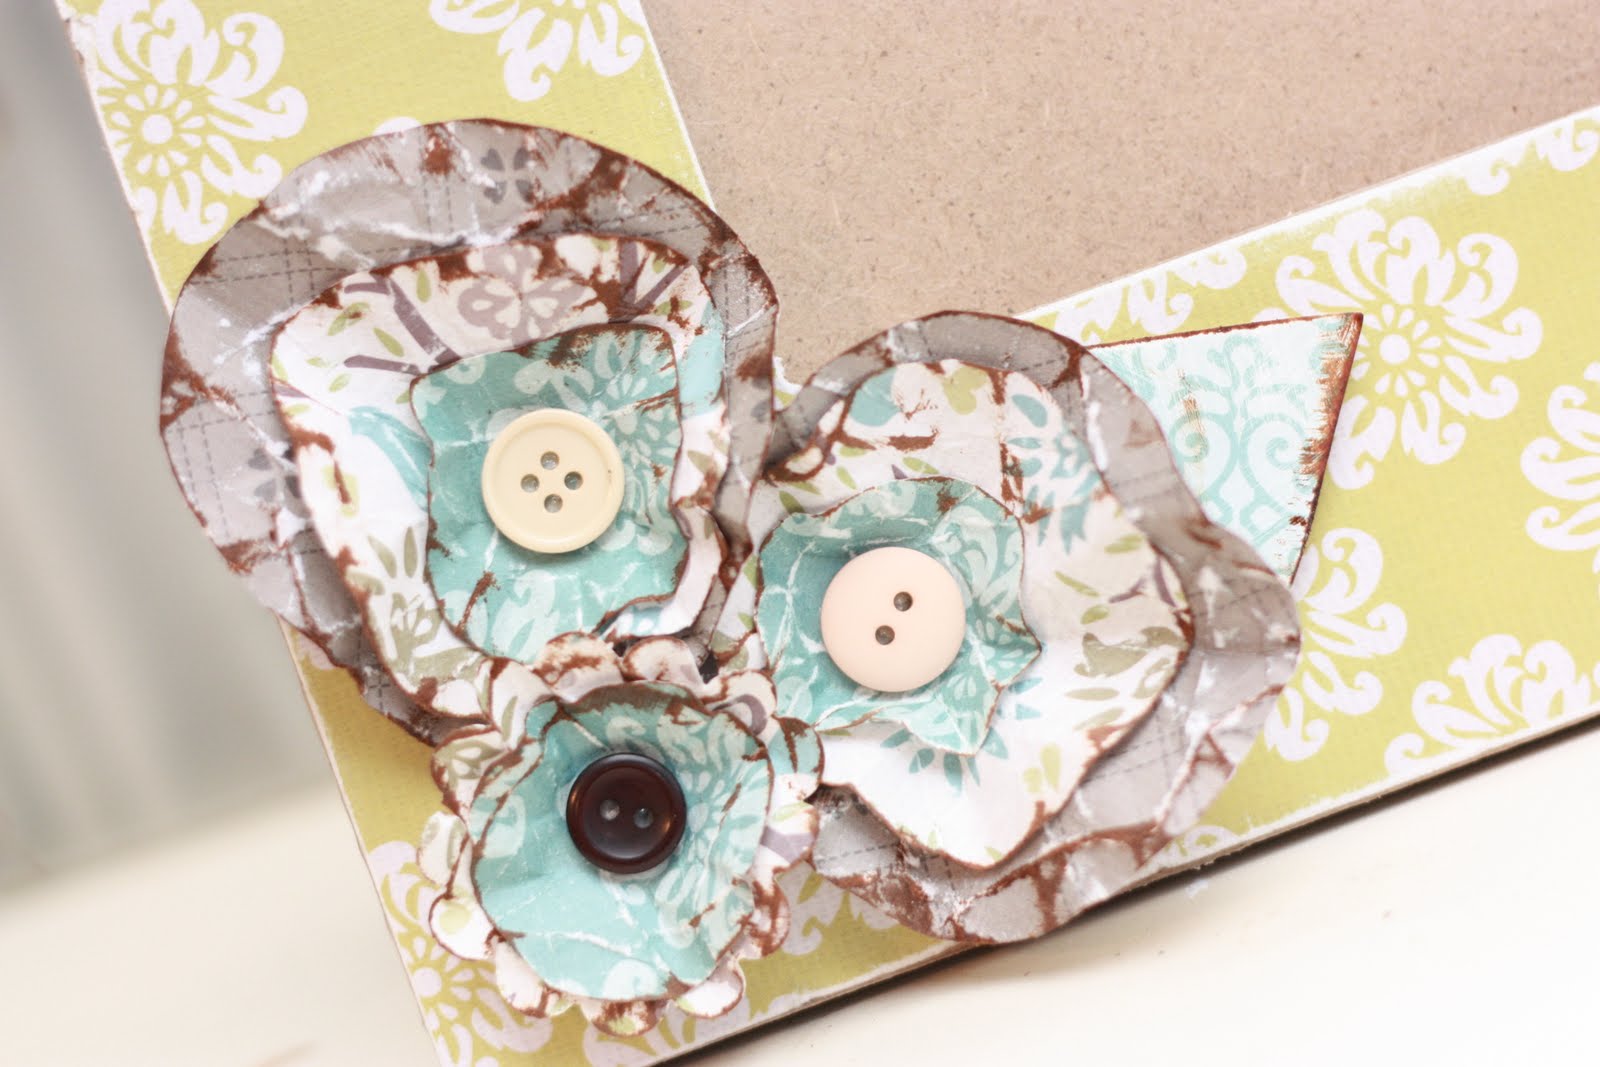
And was cut short before I could finish this one…plan to add something to the upper right hand corner at some point. This frame has the flowers that were put together off centered. A little bit of a different look:

Trying to be good about not wasting scraps. Used them for this card:

Not bad for a nap time’swork:
Scrappy Project: Alphabet Canvas
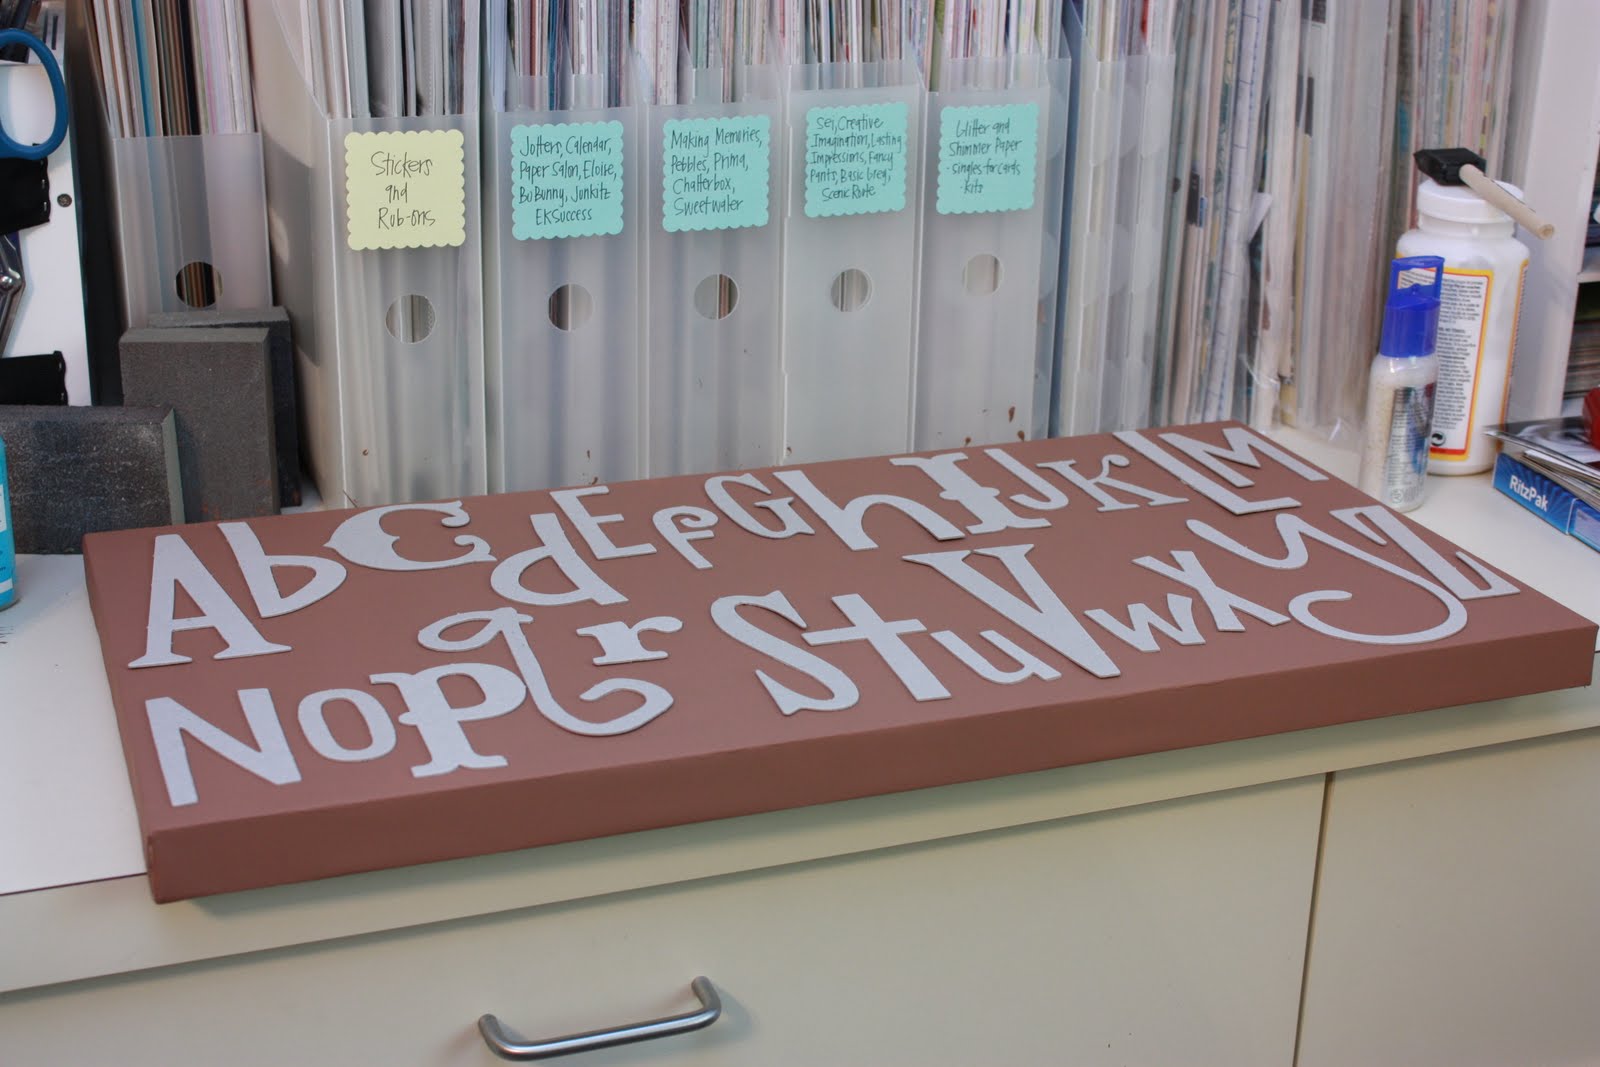
Posted: October 12, 2010 Filed under: Scrapbooking Leave a commentI rescued this 12 x 24 canvas from Joann’s clearance aisle months ago for under $3. I knew immediately what I wanted to do with it and finally found the time to make it happen.
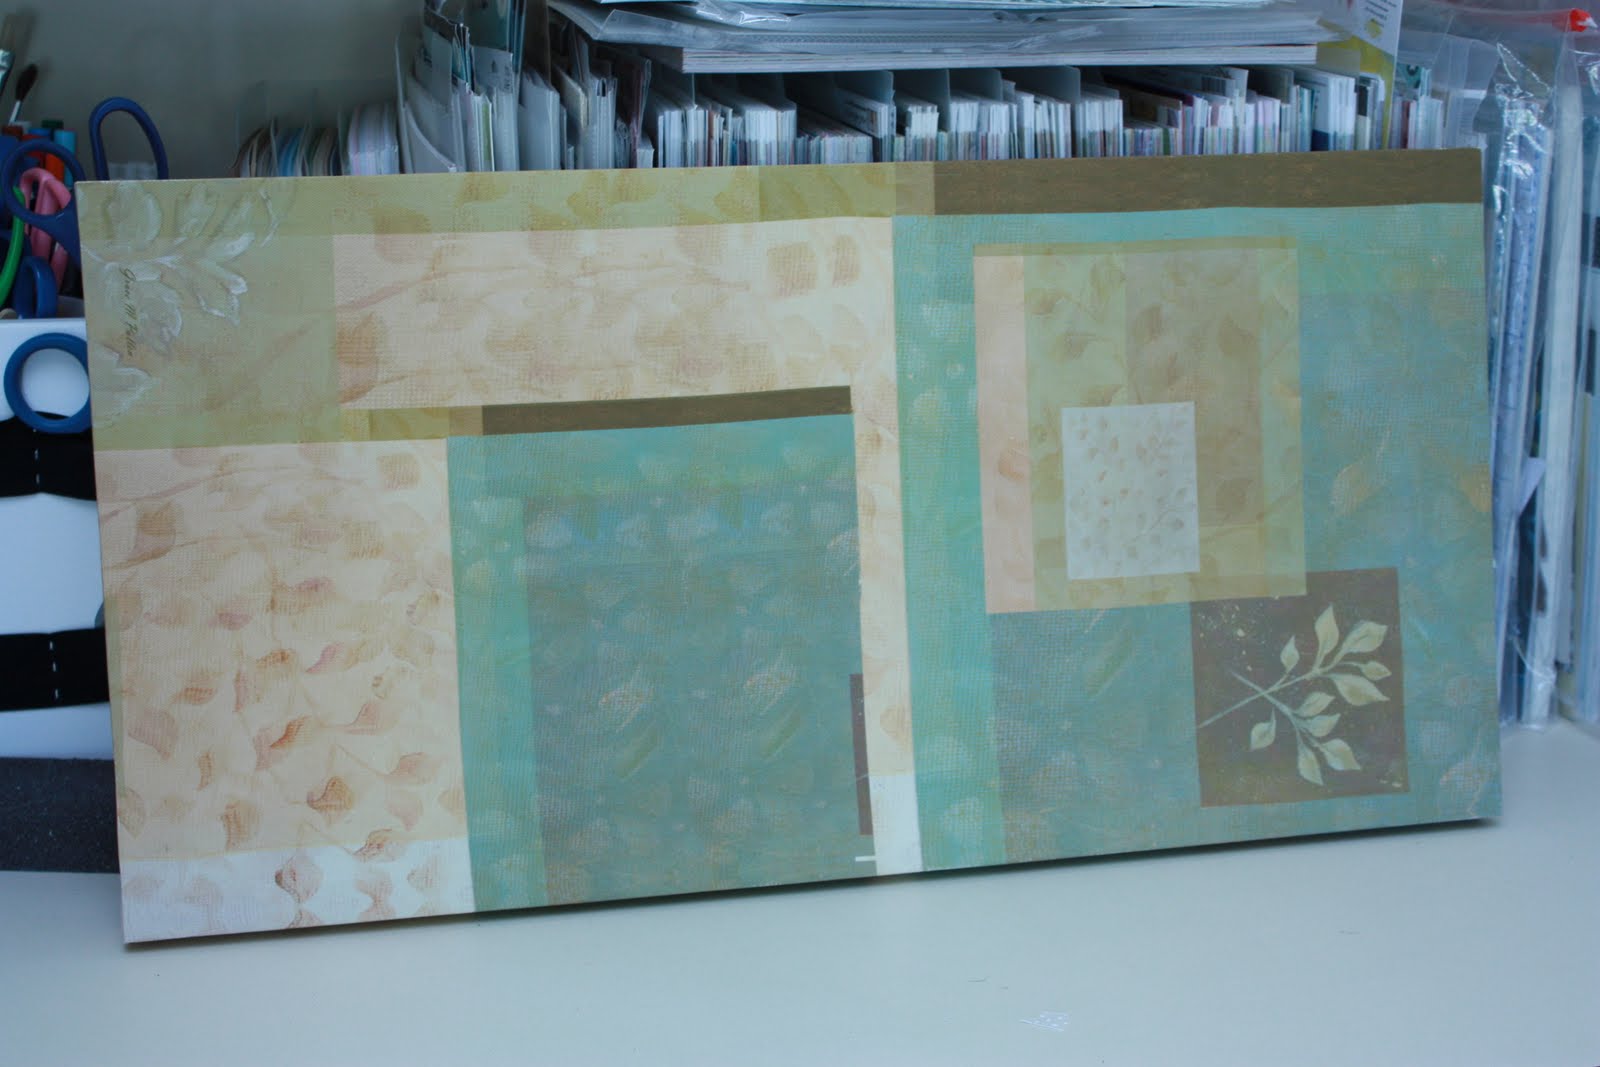
I have a *small* collection of chipboard (read: an entire drawer full) and wanted to make something for our family room using the colors of the throw rug we bought months ago. Many stores showcase pictures of alphabet walls or alphabet pictures…all way TOO expensive. Or way too time consuming. Here is my go at an alphabet canvas. It took two coats of acrylic paint to cover the existing painting. I then laid out the chipboard letters:

I ended up switching some of the chipboard letters out for some corrugated ones to add texture. I painted a few letters, mod podged a few…

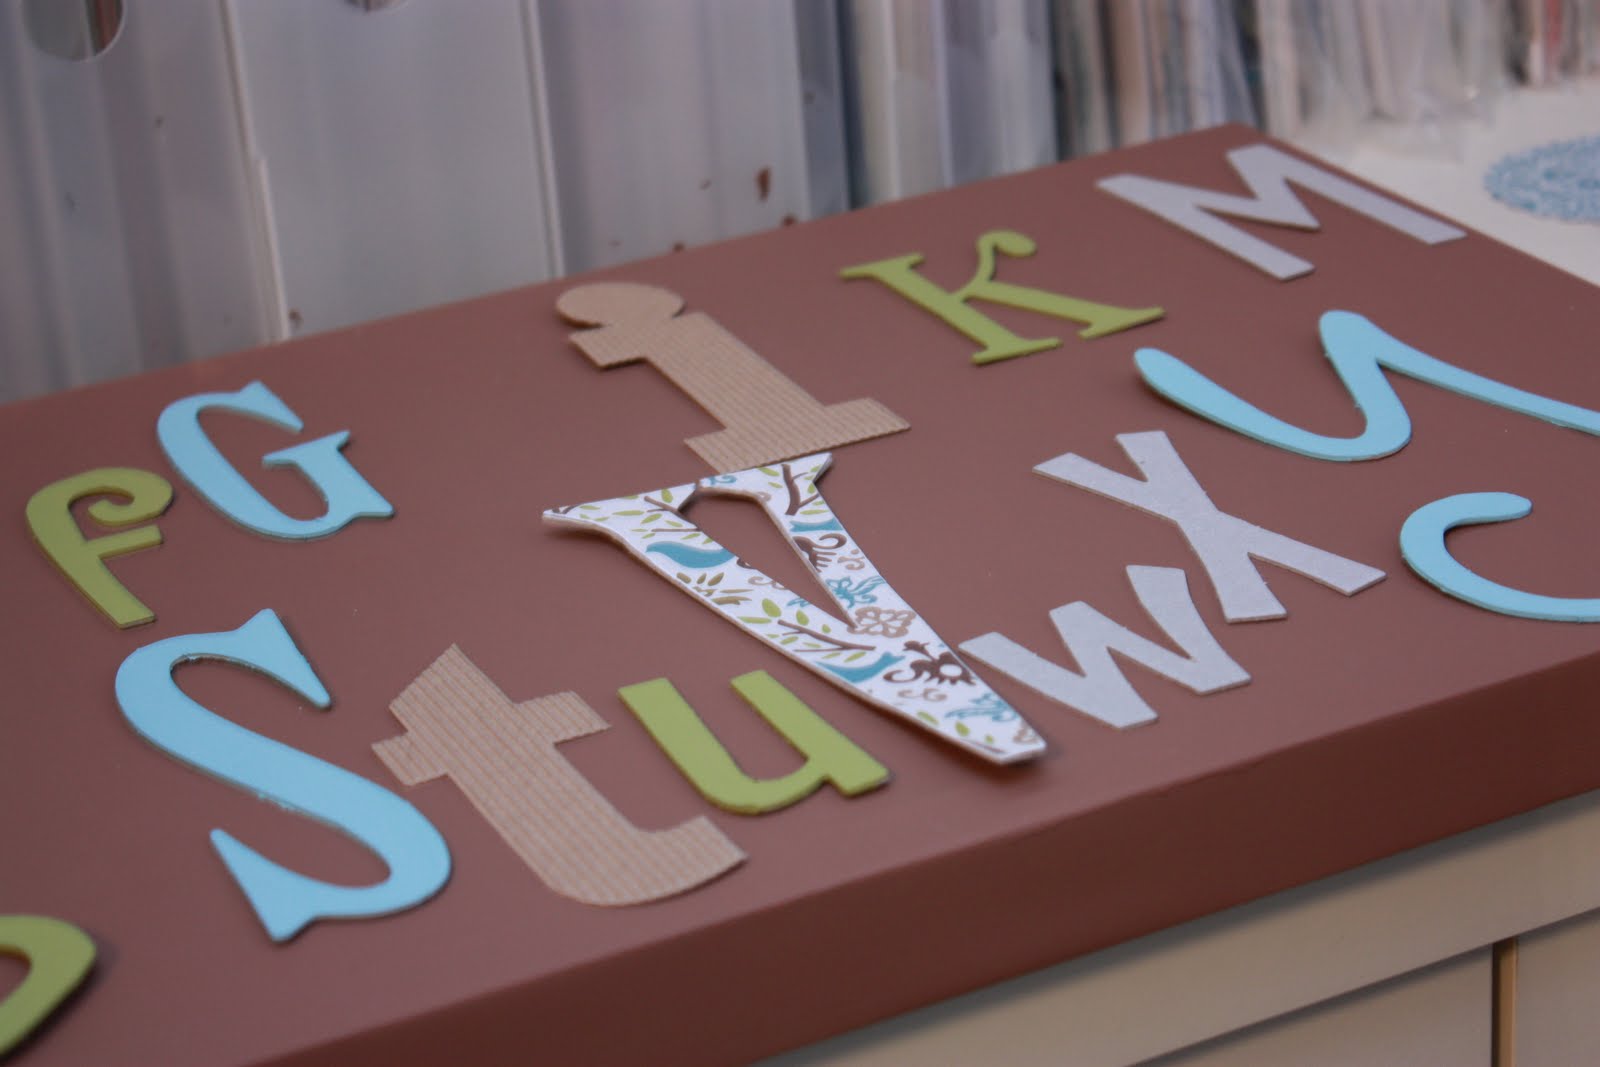
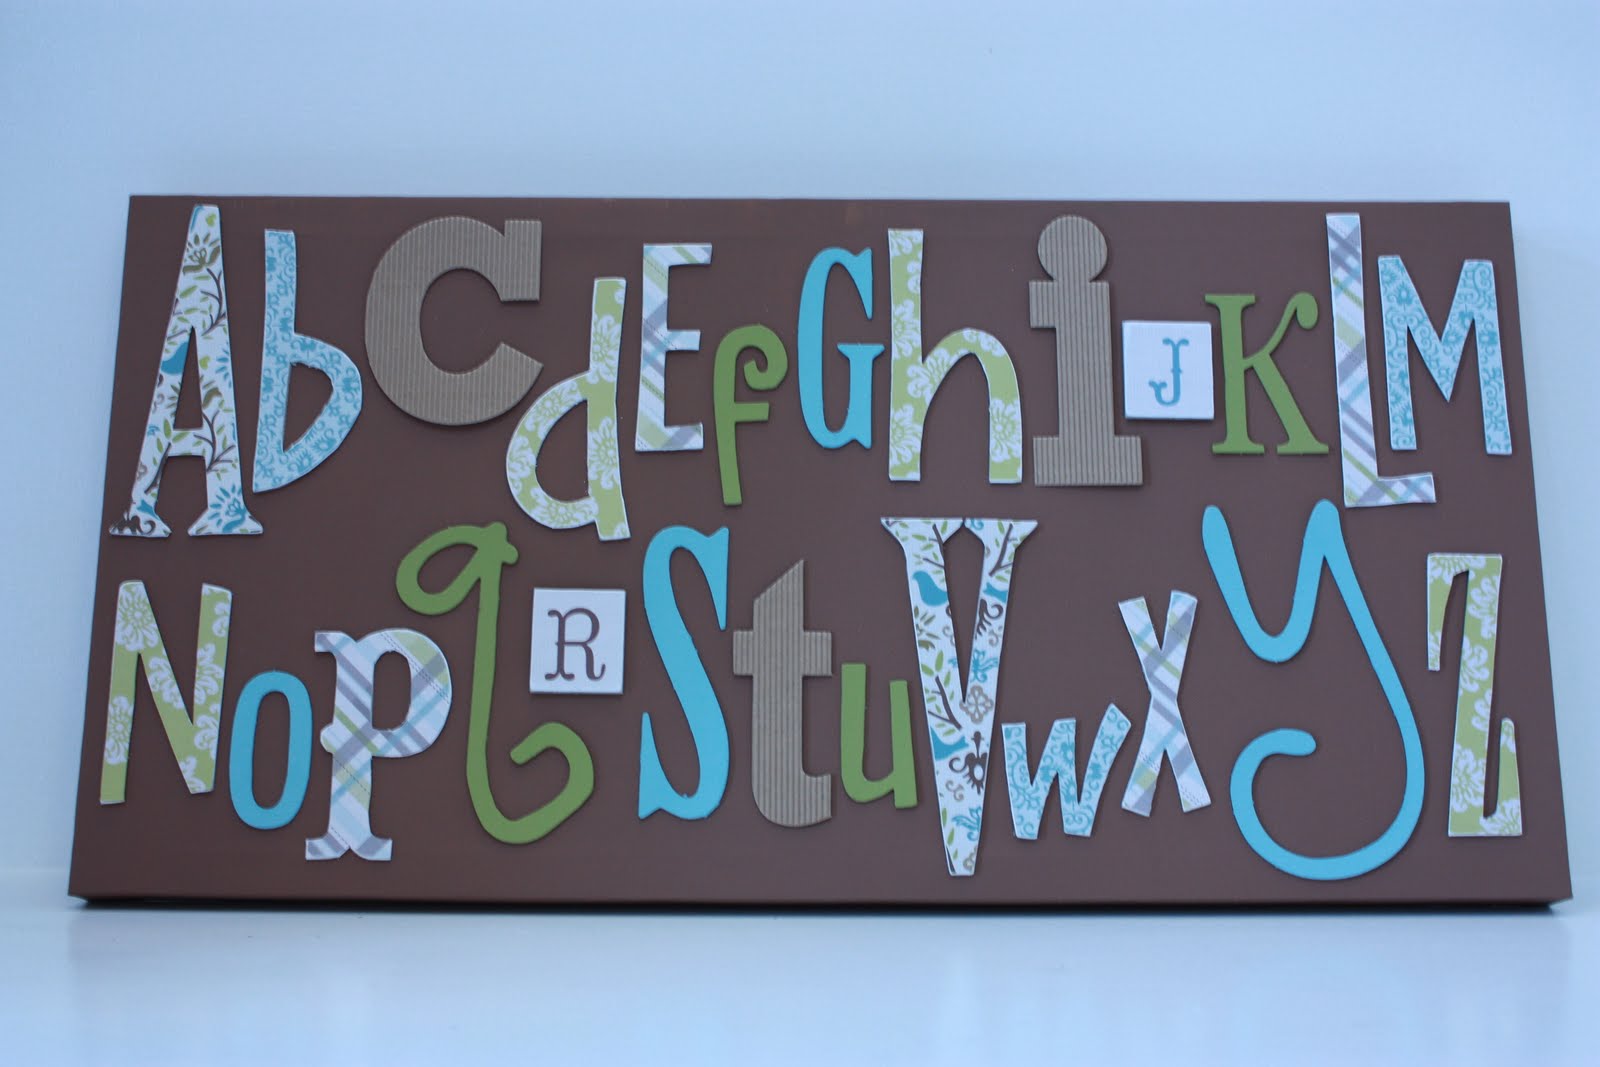
And I kinda love the way it turned out:
Some letters are pop dotted to at height:

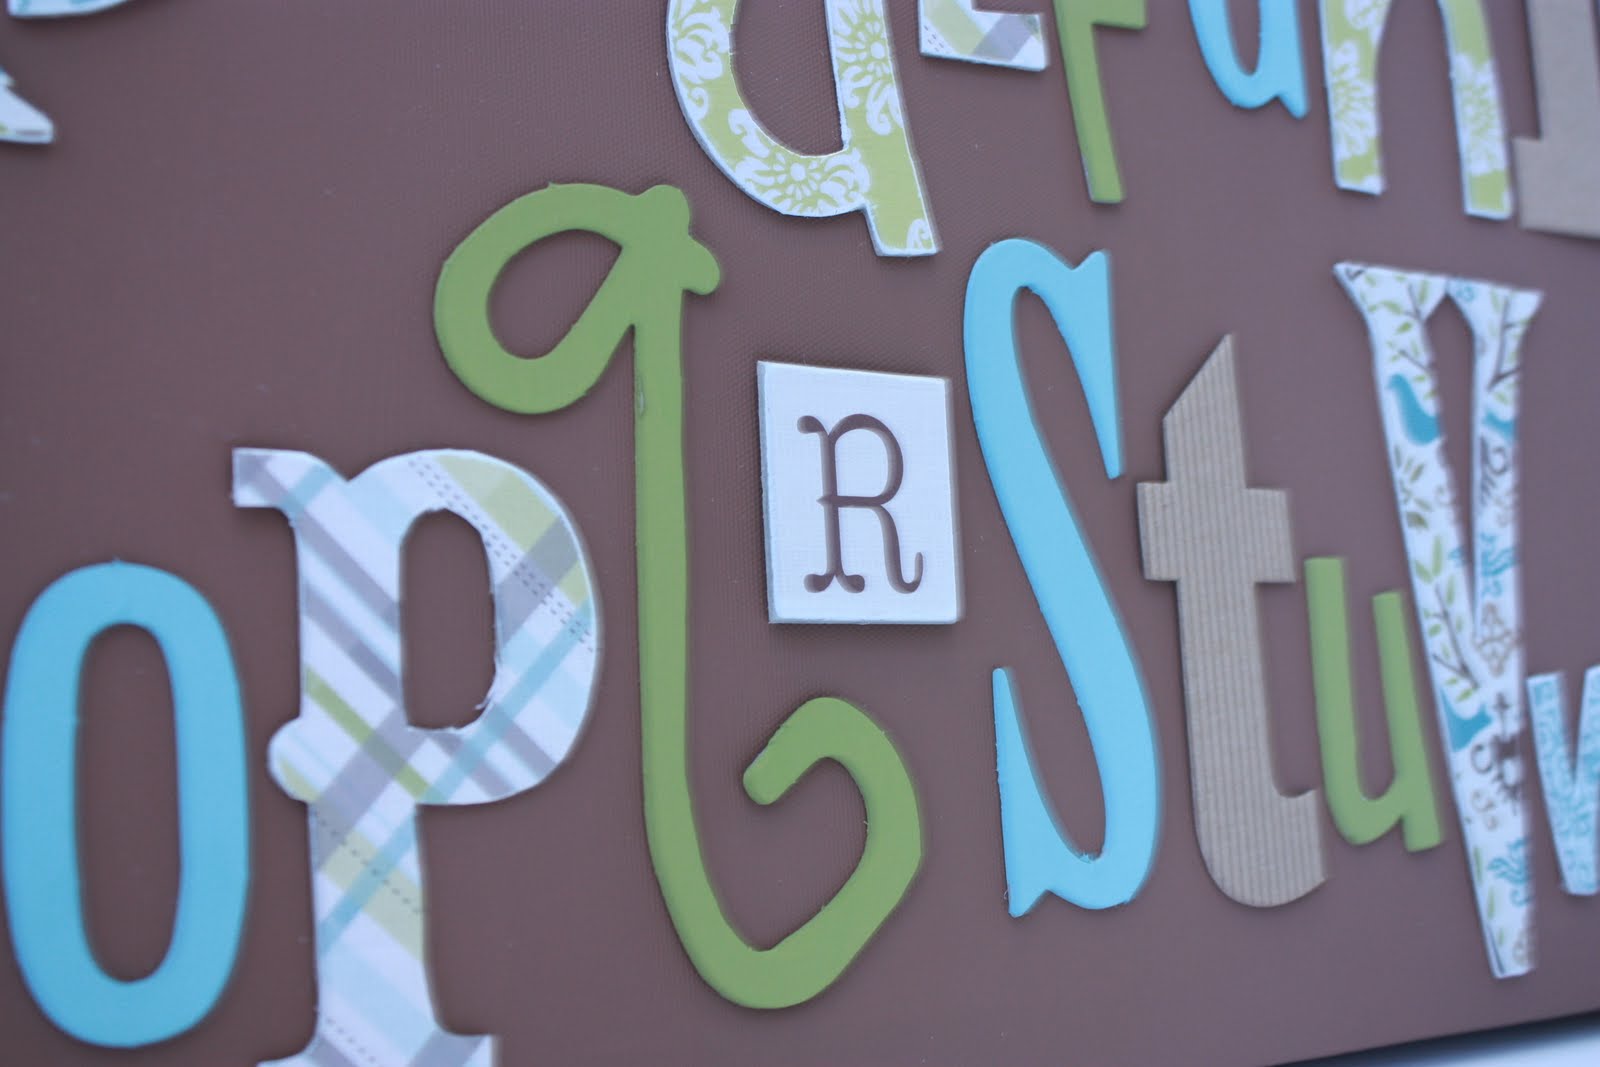
The “q” ended up being my favorite letter- whimsy and fun:
Made a little frame to match with the leftover paper:
My new and improved shelf in the family room:
I apologize for the white balance being off…
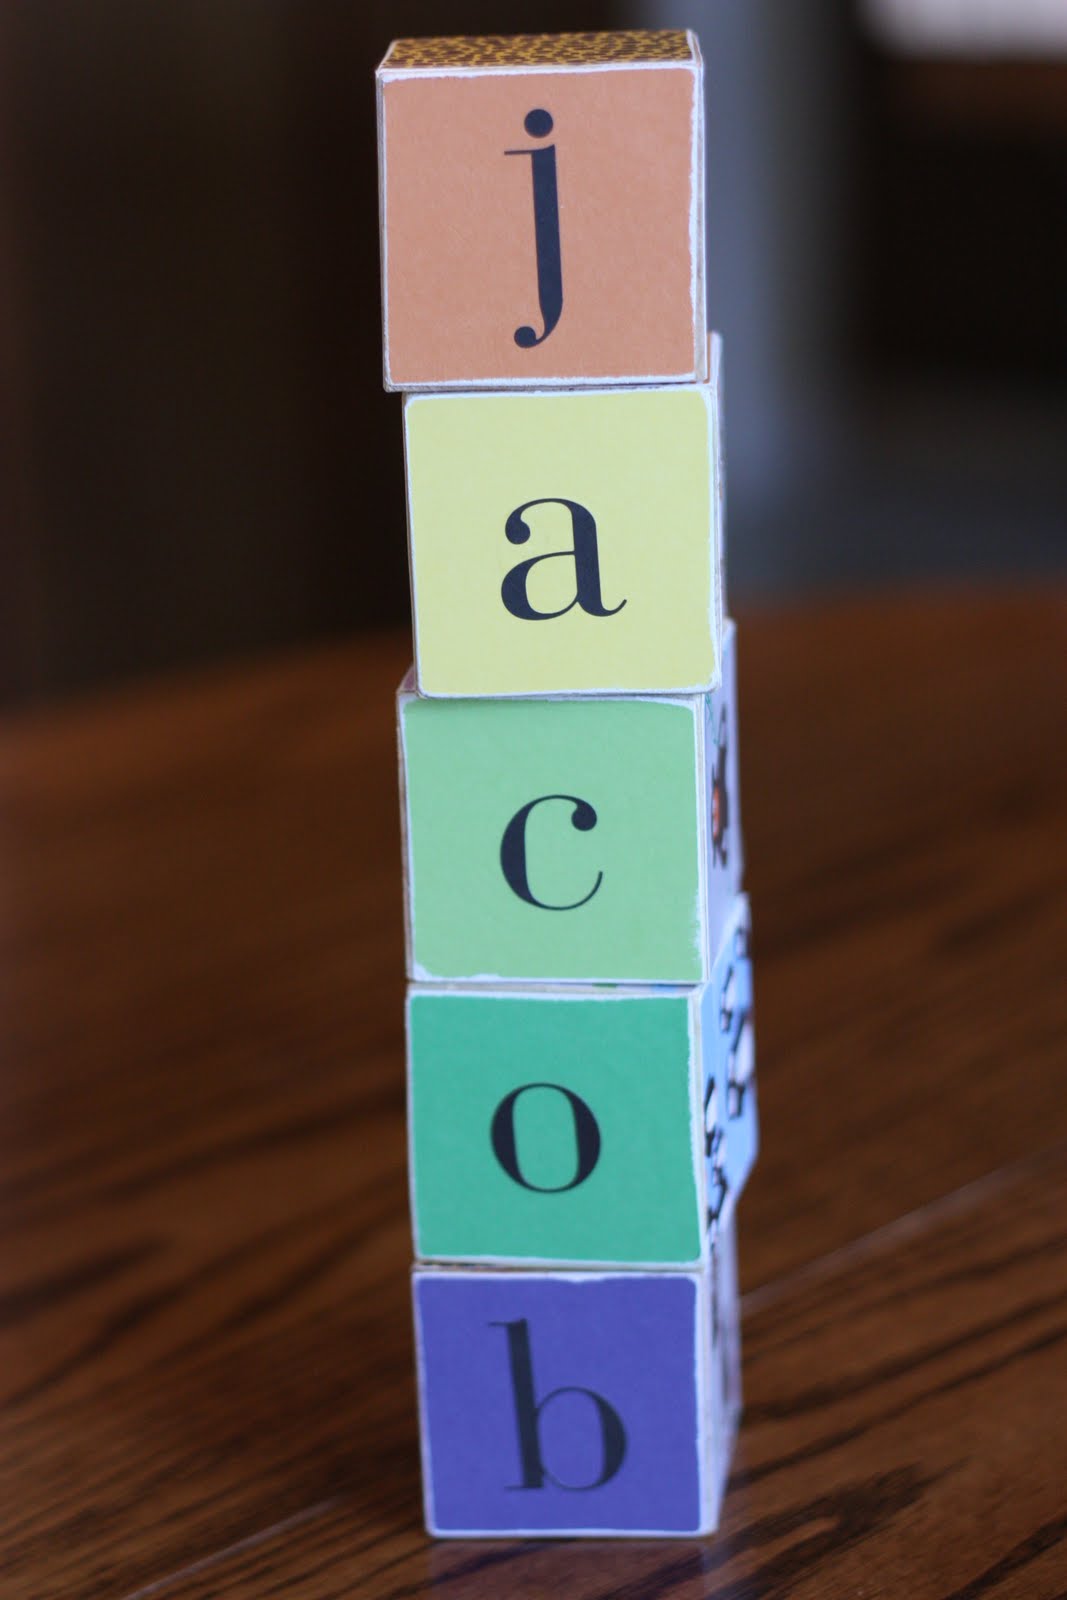
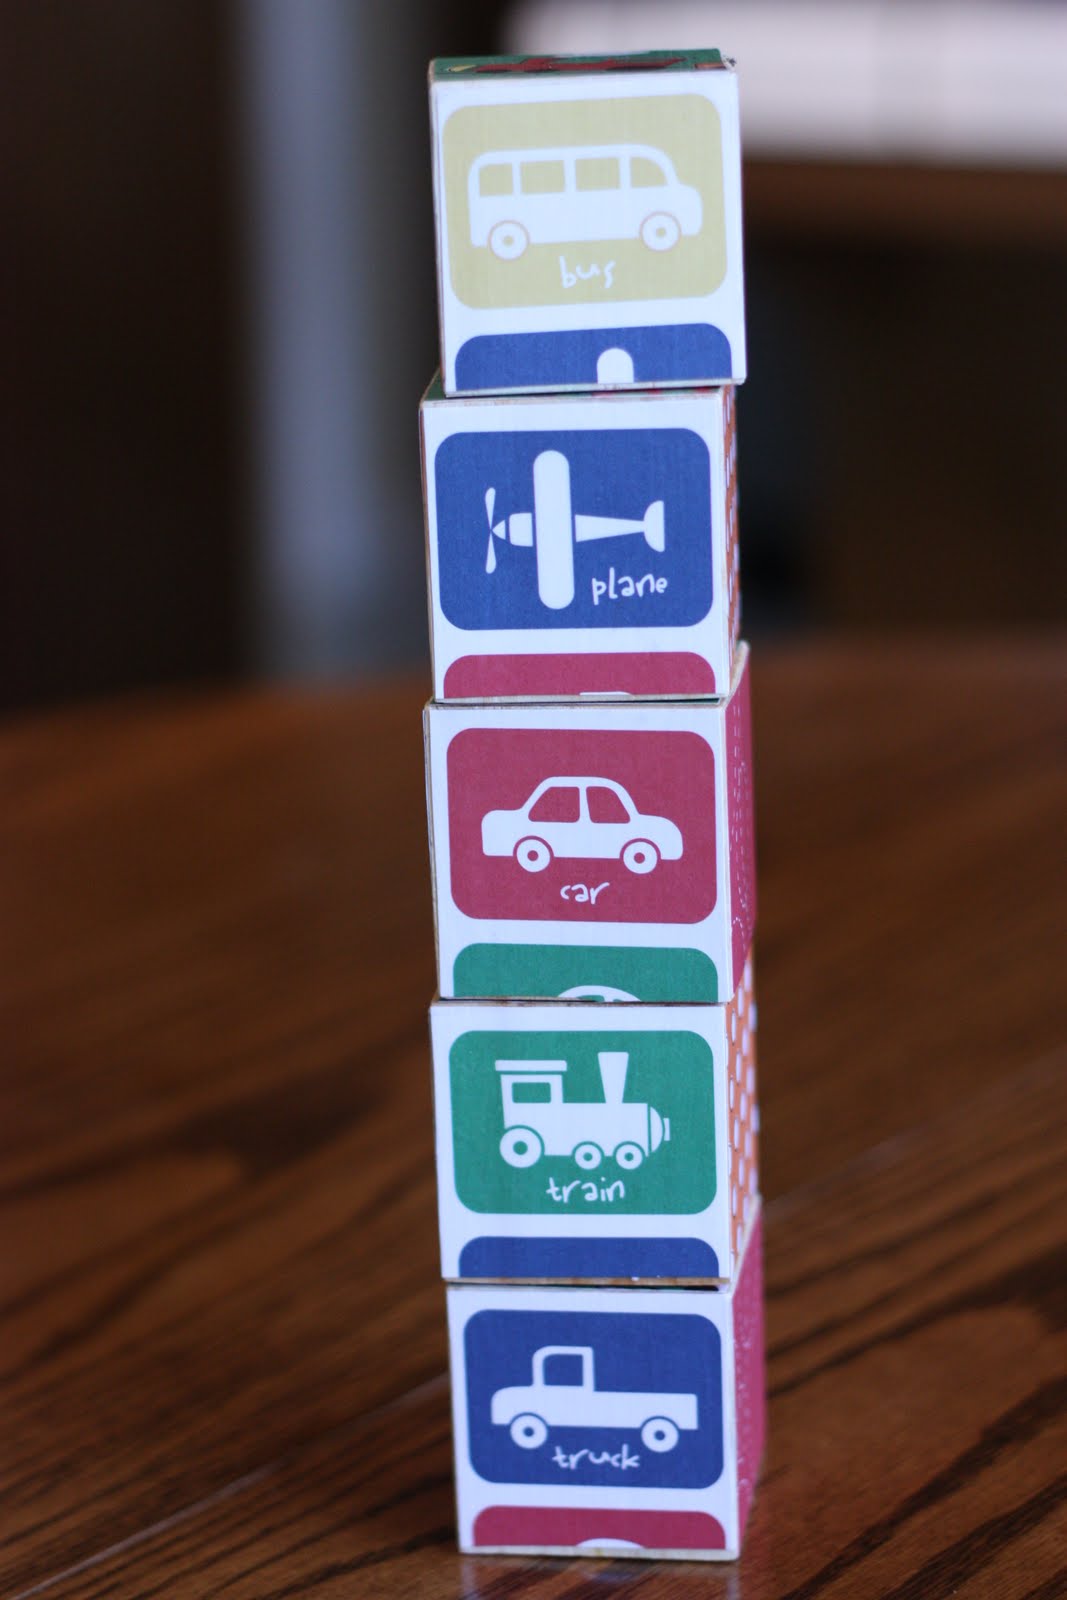
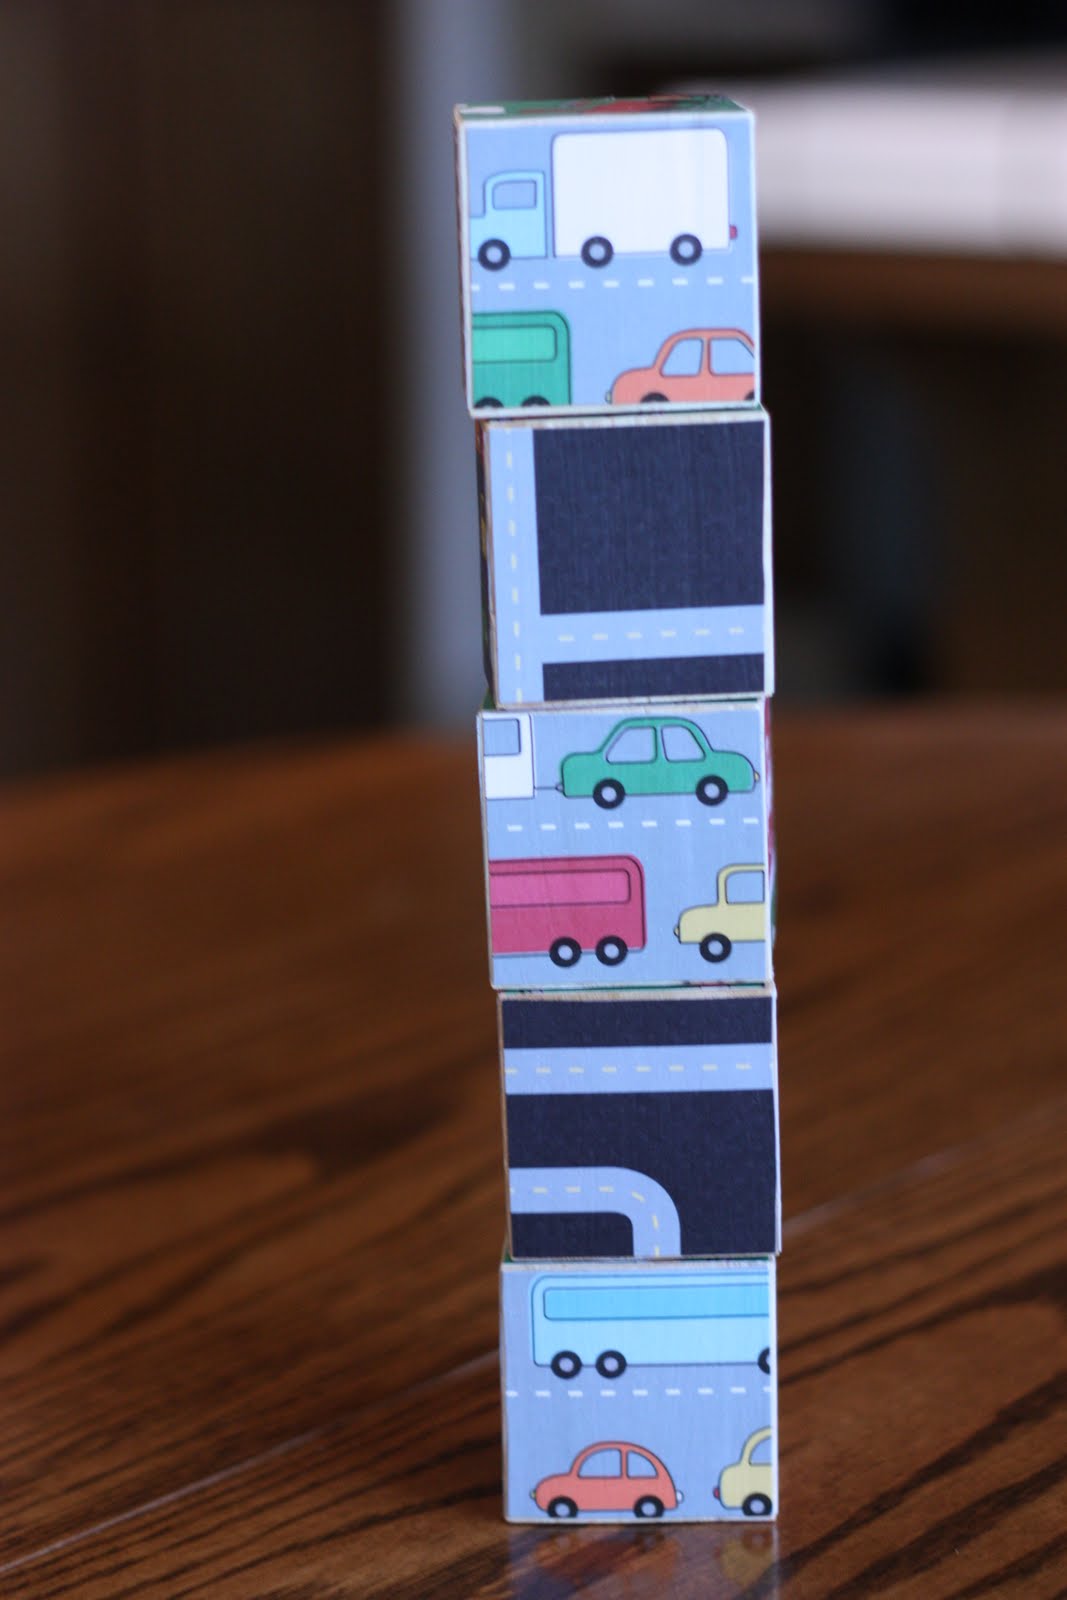
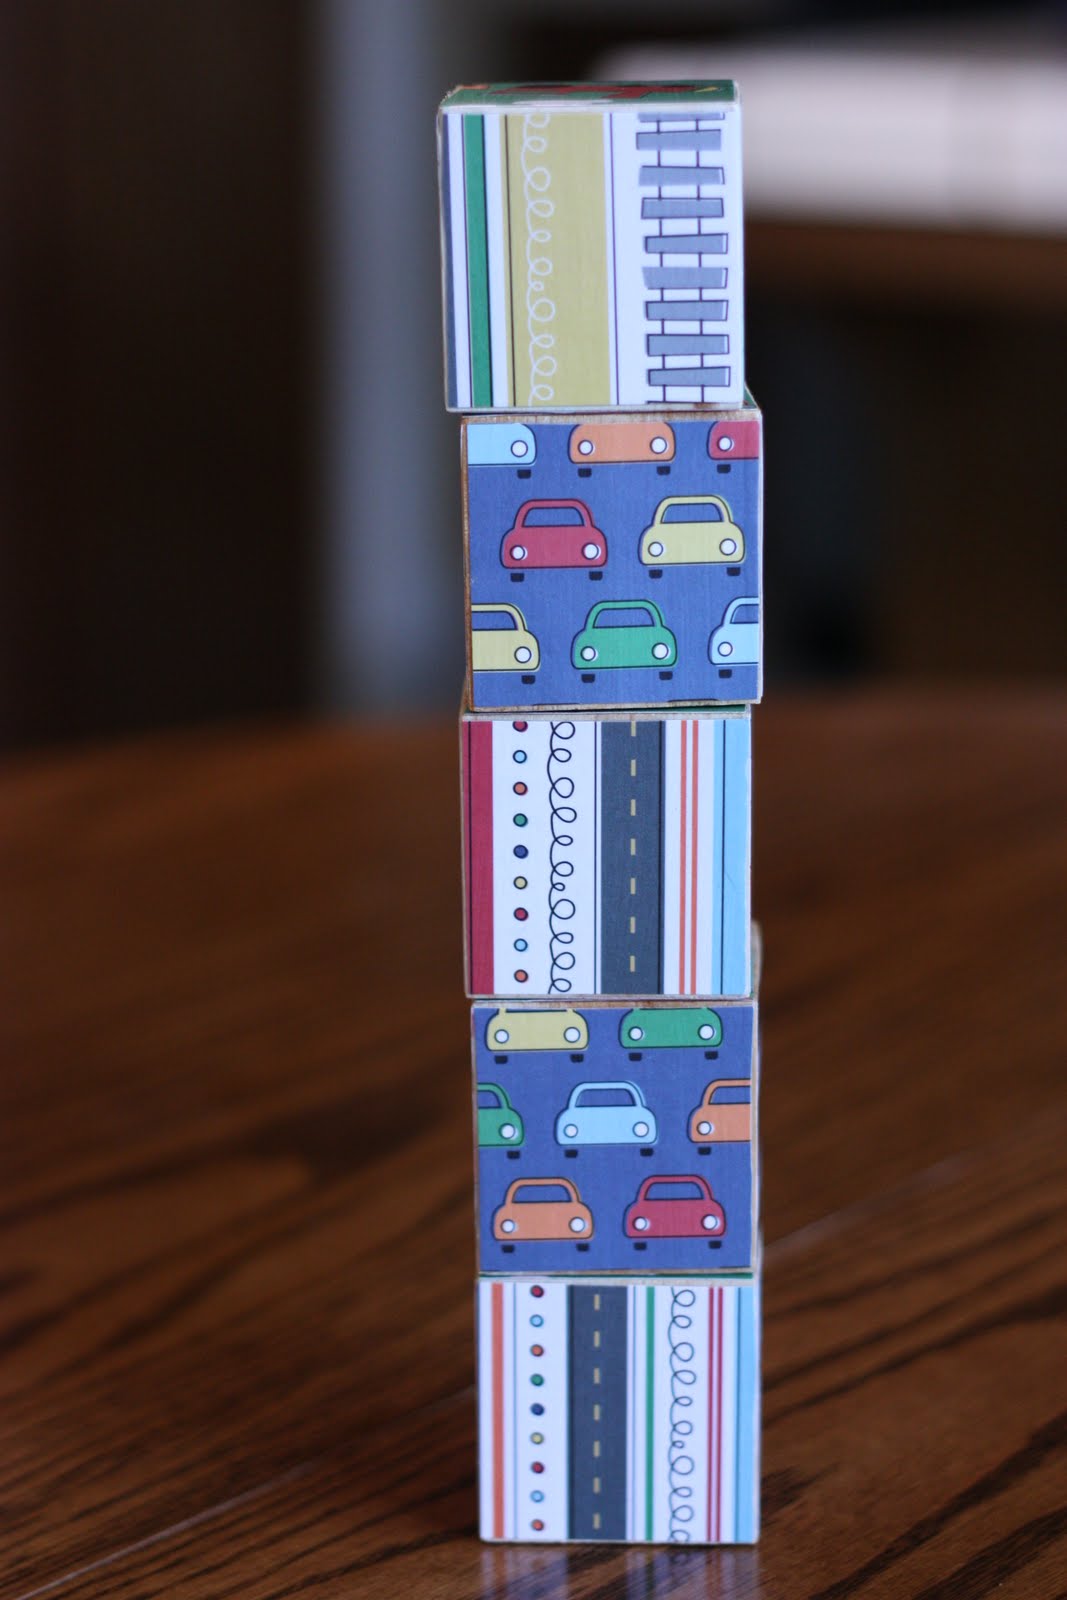
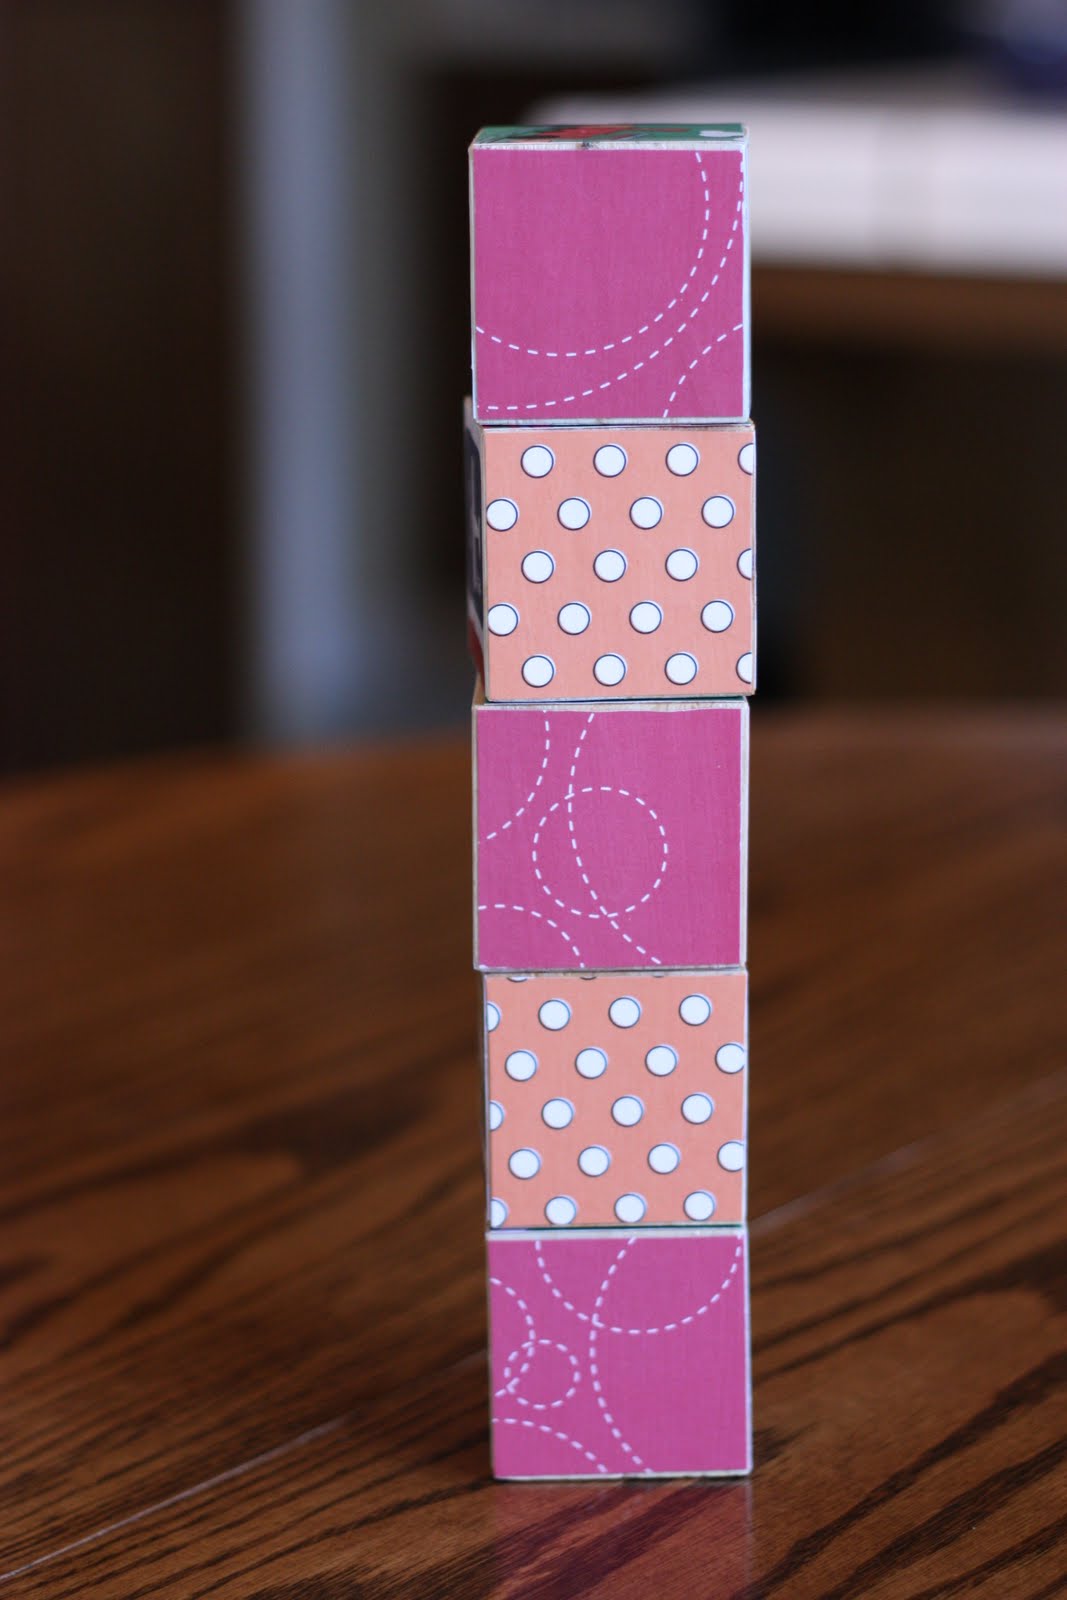
Decorated Wooden Blocks- Finished
Posted: February 10, 2010 Filed under: Scrapbooking Leave a commentI finally finished the sets of wooden blocks for the boys. I found letters for Jacob’s and completed a new set of transportation themed blocks for Ty. They have all his favorite things: trains, trucks, airplanes, roads:


Scrapbooking Project: Room Letters
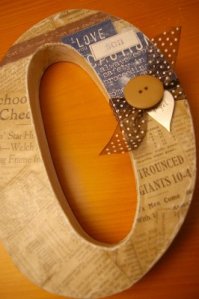
Posted: February 23, 2009 Filed under: Scrapbooking Leave a comment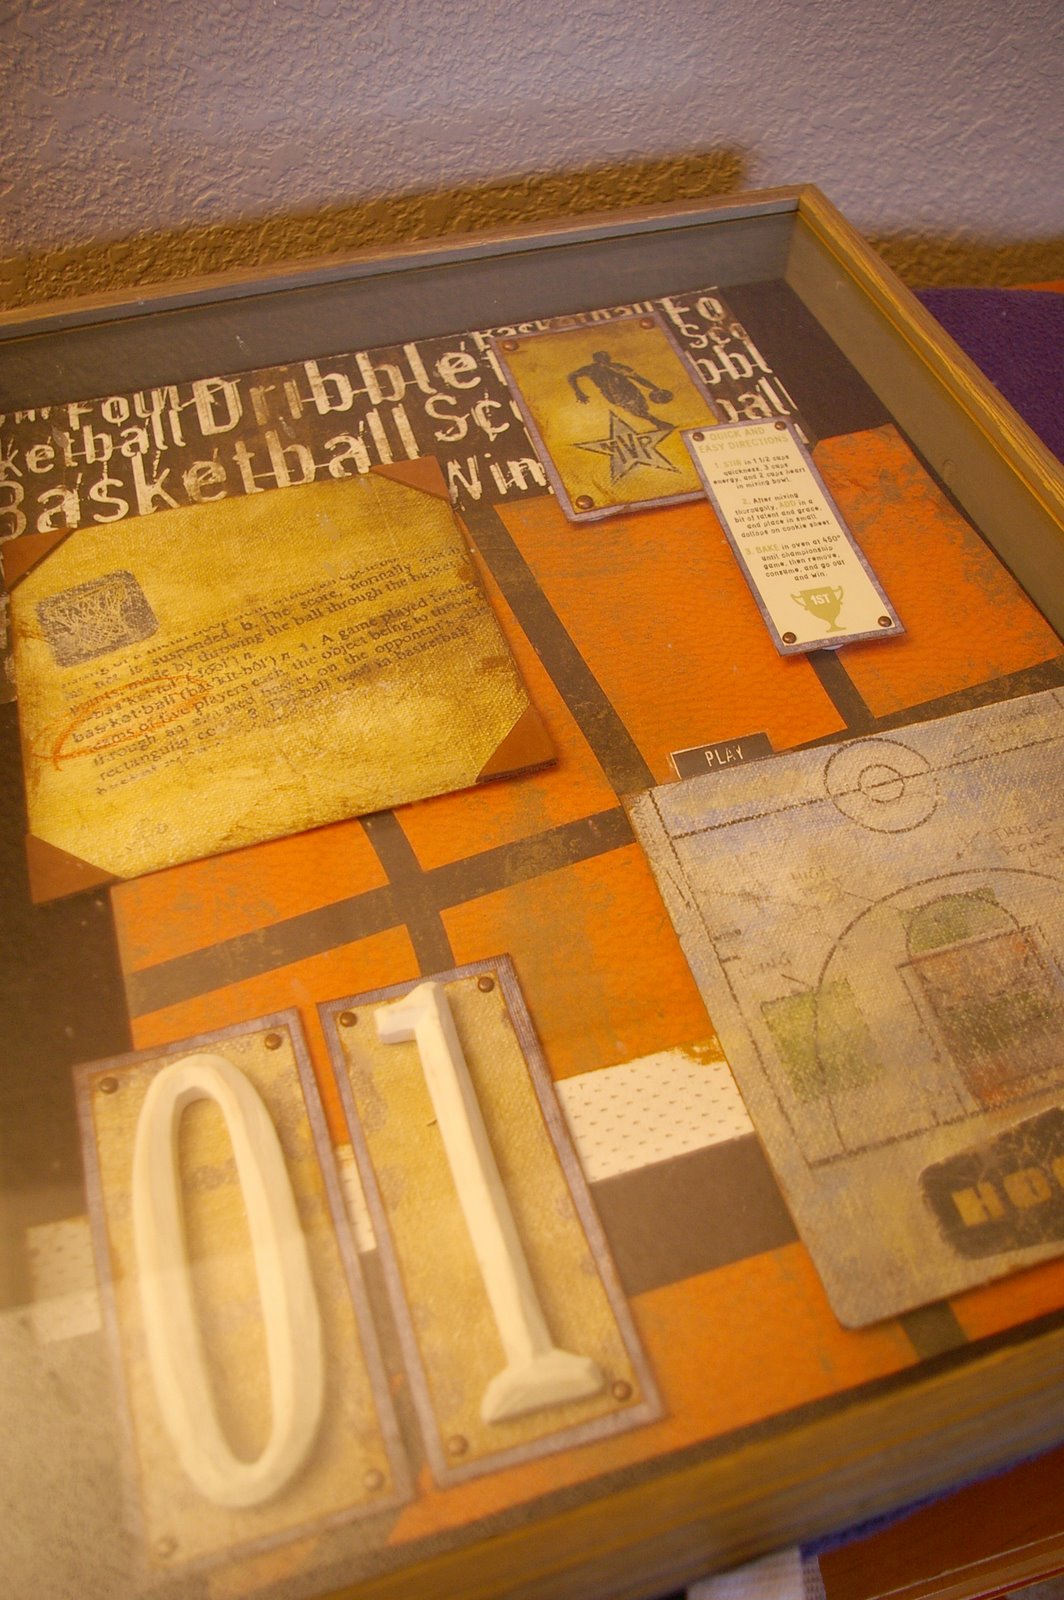 Using the shadow boxes I made to match the nursery when Ty was born as inspiration, I finally got around to making letters for Jacob. I am not entirely sure they are done- I feel as though they are missing *something* but I can’t figure out what it is right now. They were really easy: paper mache letters, 12 x 12 scrapbook paper, white acrylic paint, stickers for embellishments, ribbon, buttons, pop dots, glue dots, and Modge Podge for the finish. Voila- letters to match the room.

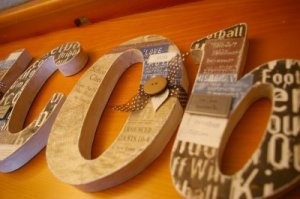
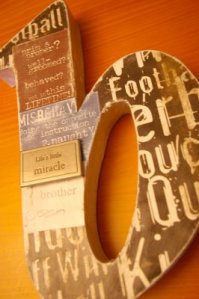
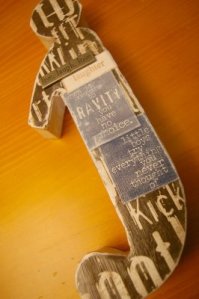 The “a” and “o” ended up being my favorites…